Keeping your garden properly watered can be a challenge, especially in dry regions or during hot summer months. A DIY drip irrigation system offers an affordable solution that conserves water while ensuring your plants receive consistent moisture. This guide will walk you through creating your own efficient watering system using readily available materials, helping you save time, reduce water waste, and grow healthier plants.
Why Choose a DIY Drip Irrigation System?
Before diving into the construction process, let’s understand why a drip irrigation system is worth your time and effort. These systems deliver water directly to plant roots, minimizing evaporation and runoff while maximizing efficiency.
Water Conservation Benefits
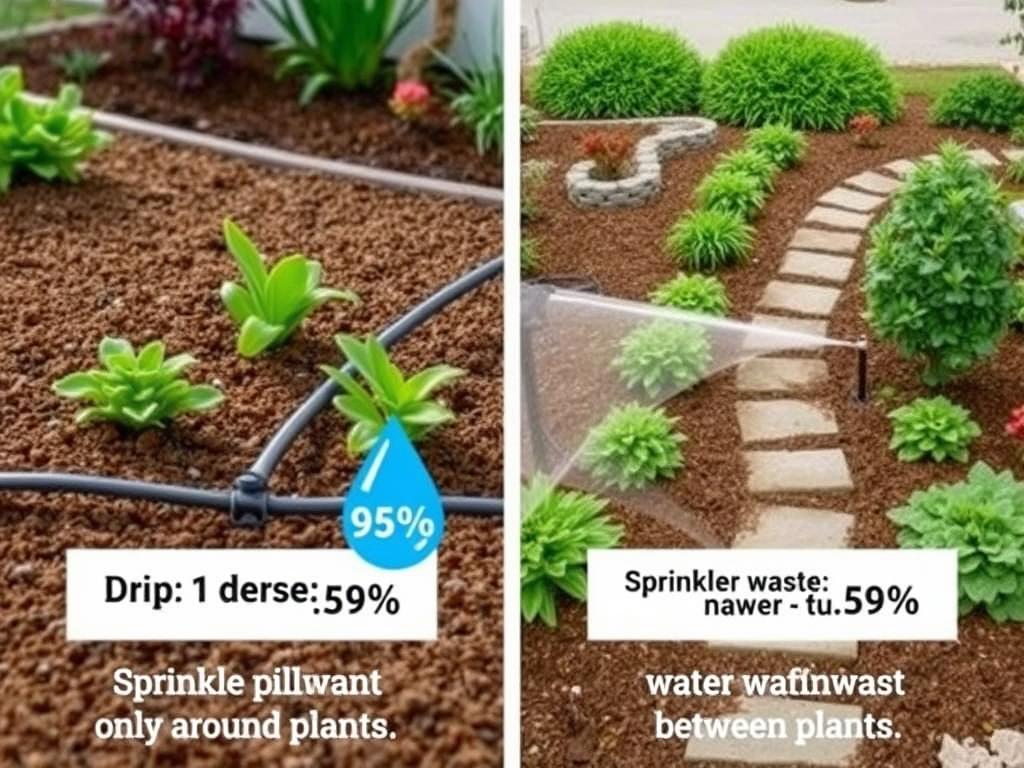
Drip irrigation can reduce water usage by up to 70% compared to traditional sprinkler systems. By delivering water directly to the root zone, you’ll minimize evaporation and prevent water from reaching areas where it isn’t needed, like pathways or spaces between plants.
Time and Cost Savings
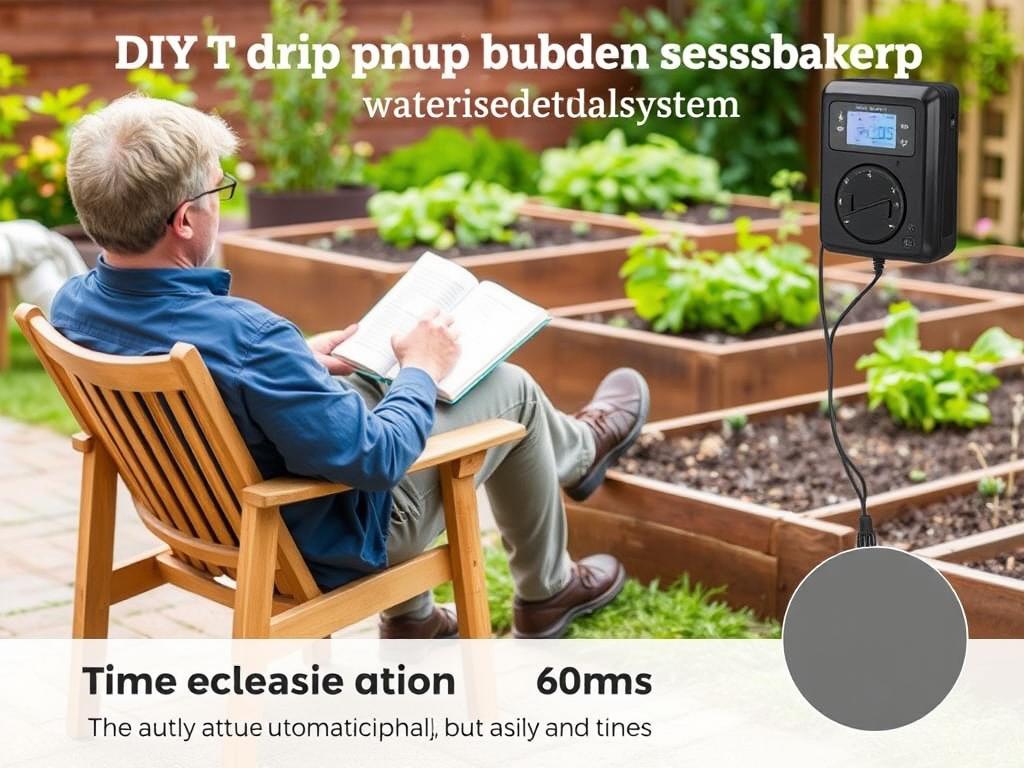
Once installed, a drip system saves hours of manual watering time each week. The initial investment is minimal compared to pre-made systems, with most DIY setups costing between $50-85 depending on your garden size. Plus, you’ll likely see reduced water bills throughout the growing season.
Plant Health Improvements
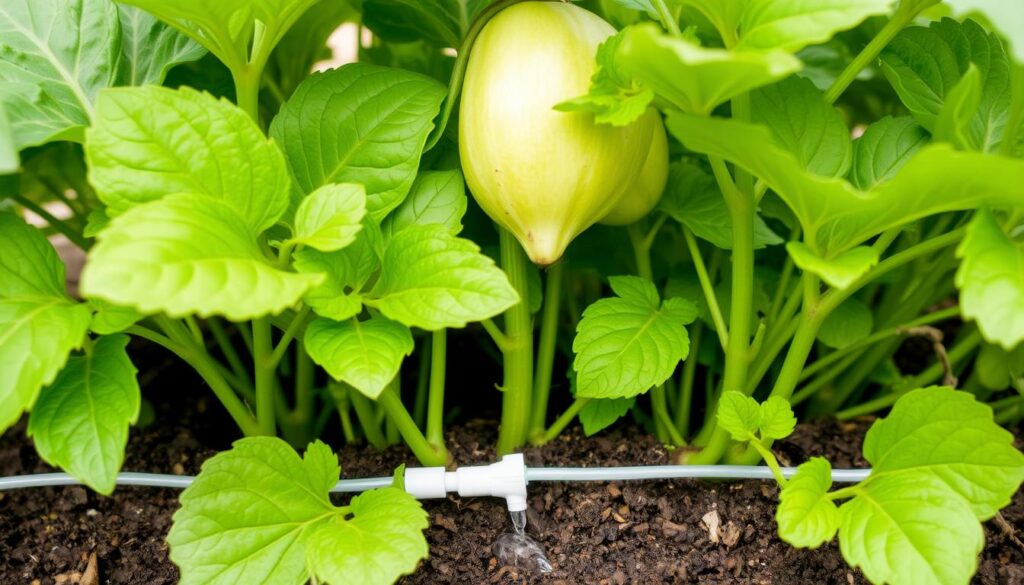
Consistent, targeted watering promotes stronger root development and reduces many common plant diseases. By keeping foliage dry, you’ll minimize fungal problems while ensuring your plants receive the perfect amount of moisture at the root zone where it matters most.
Materials You’ll Need for Your DIY Drip Irrigation System
One of the advantages of building your own system is the ability to customize it to your garden’s specific needs. Here’s a comprehensive list of materials you’ll need, with approximate costs to help you budget.
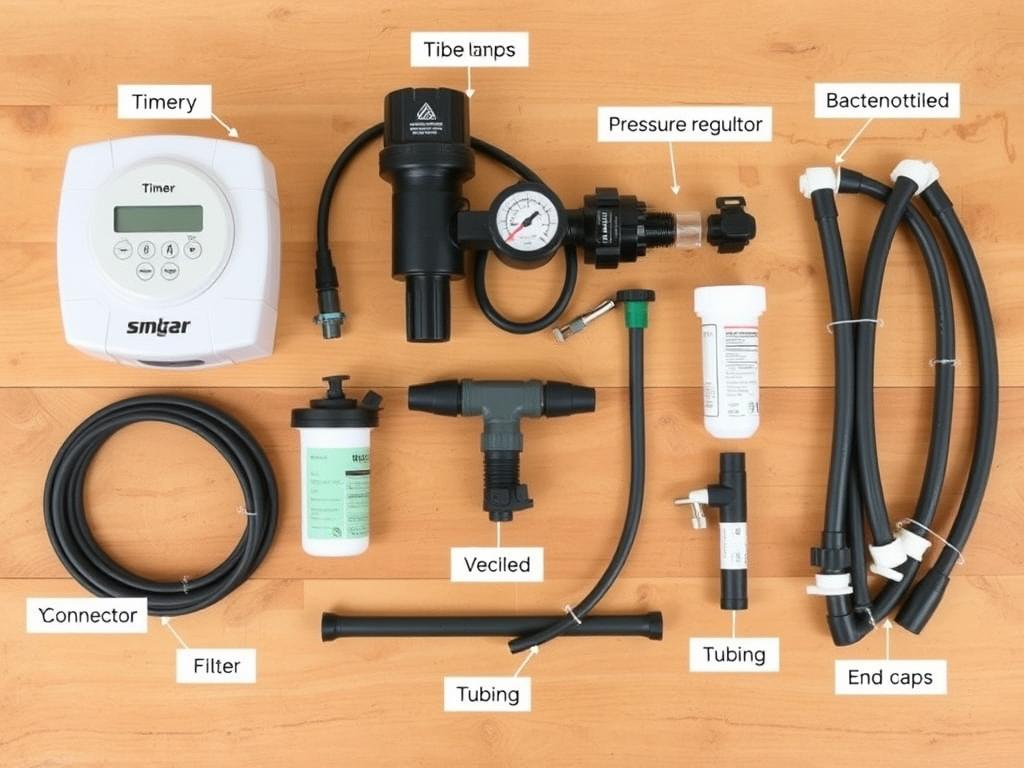
Basic Components
- Timer for outdoor faucet ($15-30)
- Pressure regulator (25-30 PSI) ($10)
- Backflow preventer ($5-10)
- Y-connector or splitter for faucet ($5-10)
- Filter ($5)
- ½-inch polyethylene tubing for main lines ($10-15 per 50ft)
- ¼-inch distribution tubing ($5-10 per 50ft)
- End caps and plugs ($3-5)
Connection Fittings
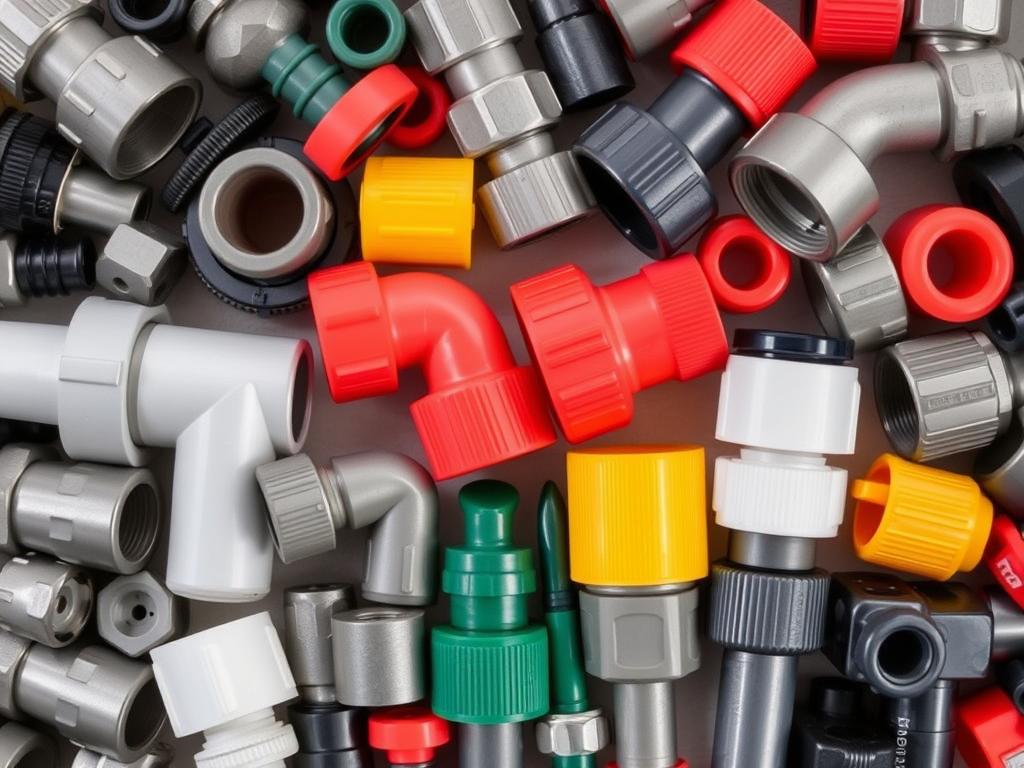
- ½-inch barbed connectors (tees, elbows, couplings) ($5-10)
- ¼-inch barbed connectors ($5)
- Drip emitters (various flow rates) ($5-10)
- Hole punch tool ($3-5)
- Goof plugs for sealing unwanted holes ($2)
- Hose clamps or zip ties ($3-5)
- Landscape staples/pins ($5)
- Teflon tape ($1-2)
Budget-Friendly Alternatives: If you’re looking to reduce costs further, consider these substitutions:
- Repurpose old garden hoses instead of buying new tubing
- Use a manual timer instead of an automatic one
- Start with a smaller system and expand gradually
- Check local gardening groups for used irrigation supplies
Planning Your DIY Drip Irrigation System
Before purchasing materials or cutting any tubing, take time to plan your system. A well-designed layout will ensure efficient water distribution and make installation much easier.
Mapping Your Garden
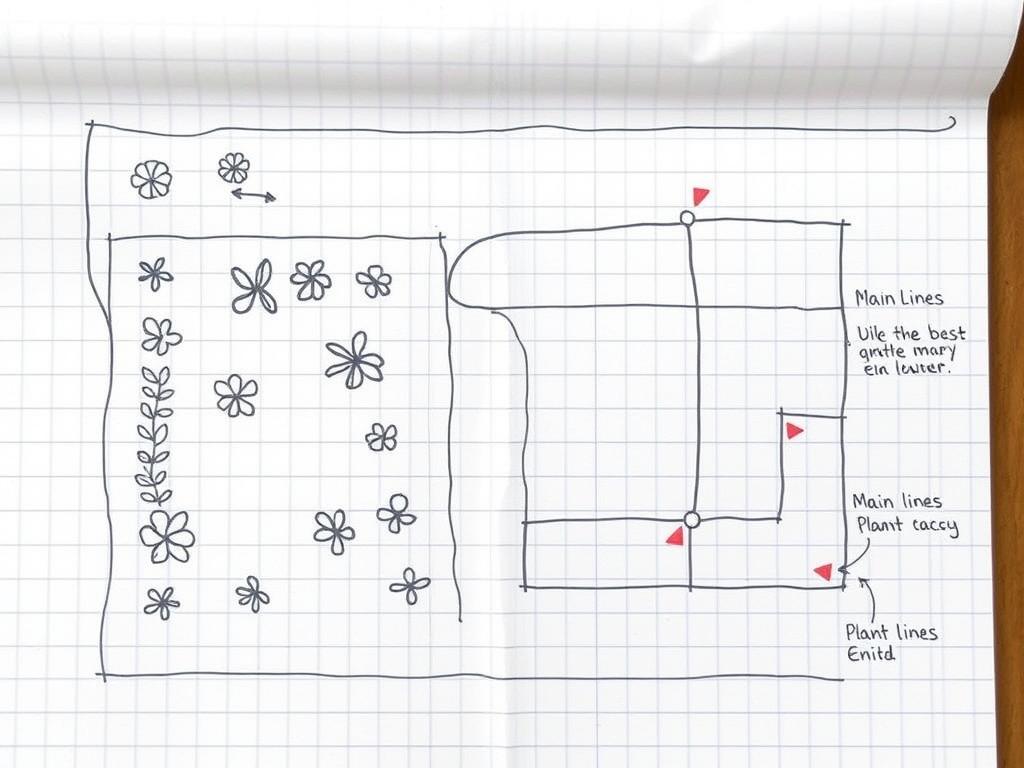
Start by sketching your garden layout on paper, including all planting areas, walkways, and the location of your water source. Measure distances accurately to determine how much tubing you’ll need. Group plants with similar watering needs together to maximize efficiency.
Calculating Water Requirements
Different plants have different watering needs. Vegetables typically require about 1-2 gallons per square foot per week during peak growing season. Consider these factors when planning your system:
| Plant Type | Water Needs | Recommended Emitter Flow Rate | Emitter Spacing |
| Leafy greens, herbs | Moderate | 0.5-1 GPH | 6-12 inches |
| Tomatoes, peppers, cucumbers | High | 1-2 GPH | 12 inches |
| Squash, melons | High | 1-2 GPH | 18-24 inches |
| Fruit trees, shrubs | Moderate to high | 2-4 GPH | Multiple emitters around drip line |
Pro Tip: For raised beds, a good rule of thumb is to use one drip line for every 12 inches of bed width. For a 3-foot wide bed, you would use 3 parallel drip lines.
Step-by-Step Assembly of Your DIY Drip Irrigation System
Now that you’ve planned your system and gathered your materials, it’s time to put everything together. Follow these steps for a successful installation.
Setting Up the Water Source
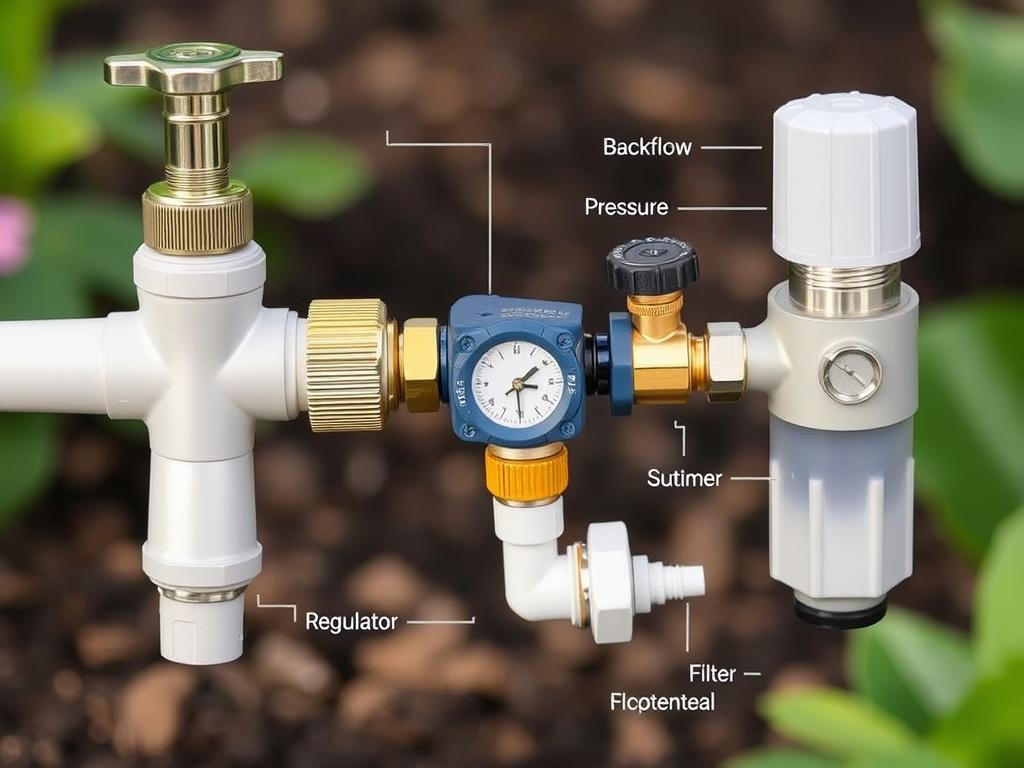
- Turn off the water at your outdoor faucet.
- Attach the Y-connector to the faucet, using Teflon tape on the threads to prevent leaks.
- Connect the backflow preventer to one side of the Y-connector.
- Attach the timer to the backflow preventer.
- Connect the pressure regulator to the timer.
- Attach the filter to the pressure regulator.
Installing the Main Line
The main line carries water from your faucet to your garden beds. Here’s how to set it up:
- Connect the ½-inch polyethylene tubing to the filter.
- Lay out the main line along the path you planned, cutting it to the appropriate length.
- Secure the tubing to the ground using landscape staples every 2-3 feet.
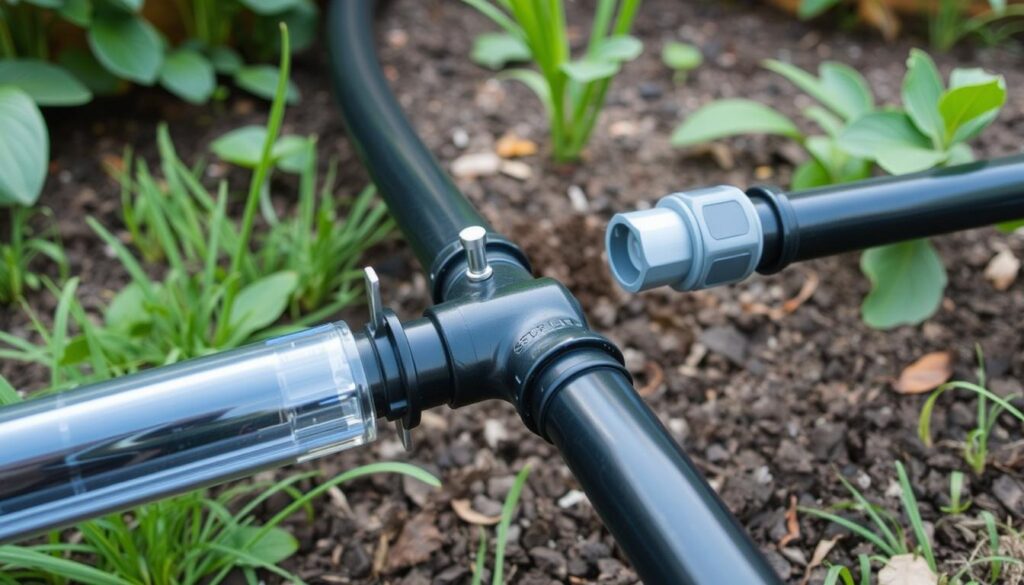
- At each point where you need to branch off to a garden bed, cut the main line and insert a tee connector.
- Continue the main line from the other side of the tee connector.
Creating Distribution Lines
Distribution lines deliver water from the main line to your plants. Follow these steps:
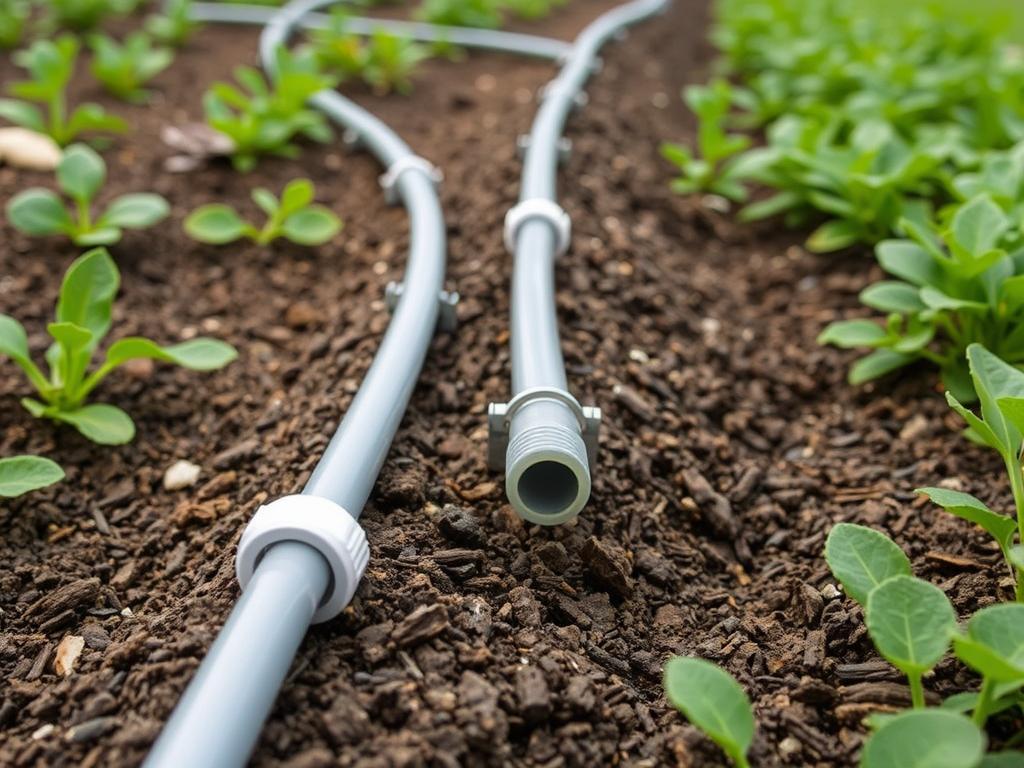
- Connect ½-inch tubing to the branch points on your main line.
- Run these lines along your garden beds or planting areas.
- For PVC-based systems, measure and cut PVC pipes to the desired lengths.
- Connect PVC pieces using appropriate fittings and PVC cement.
- For raised beds, bring the tubing up and over the edge, securing it with staples.
- Cap the ends of all lines with end caps or fold the tubing back on itself and secure with a zip tie.
Installing Emitters and Drip Lines
Now it’s time to add the components that will deliver water directly to your plants:
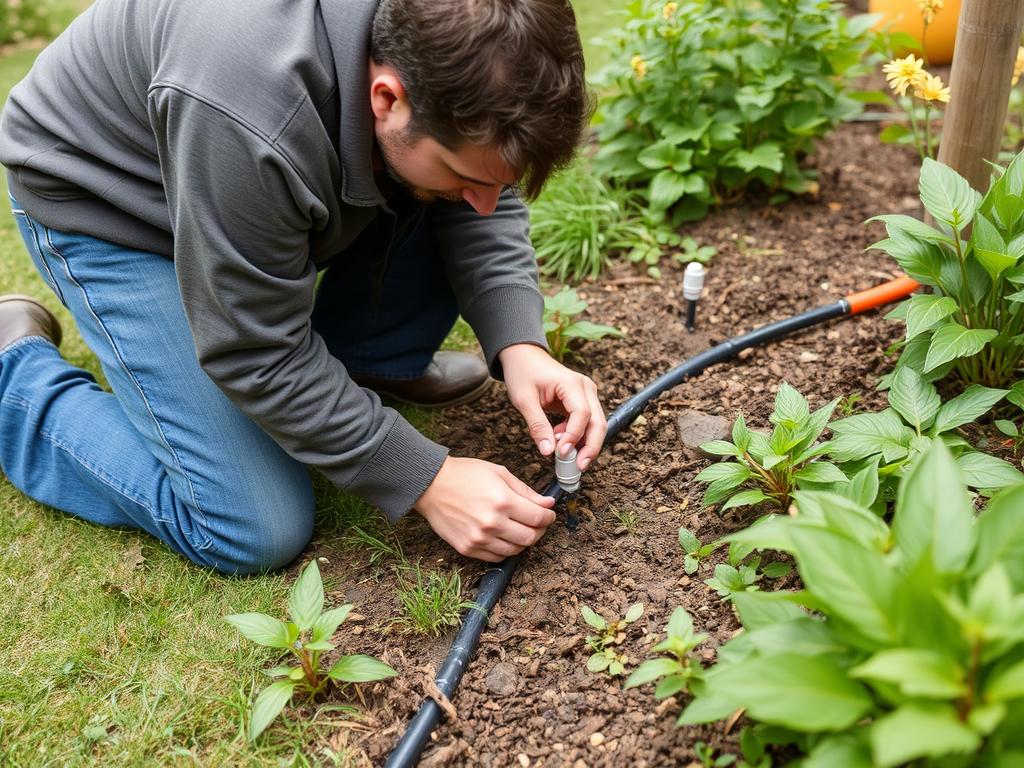
- For individual emitters: Use a hole punch tool to create holes in your distribution tubing where emitters will go.
- Insert emitters into the holes, ensuring they’re firmly seated.
- For drip lines with pre-installed emitters: Connect these to your distribution lines using appropriate fittings.
- For soaker hoses: Connect these similarly to your distribution system.
- Secure all lines with landscape staples to keep them in place.
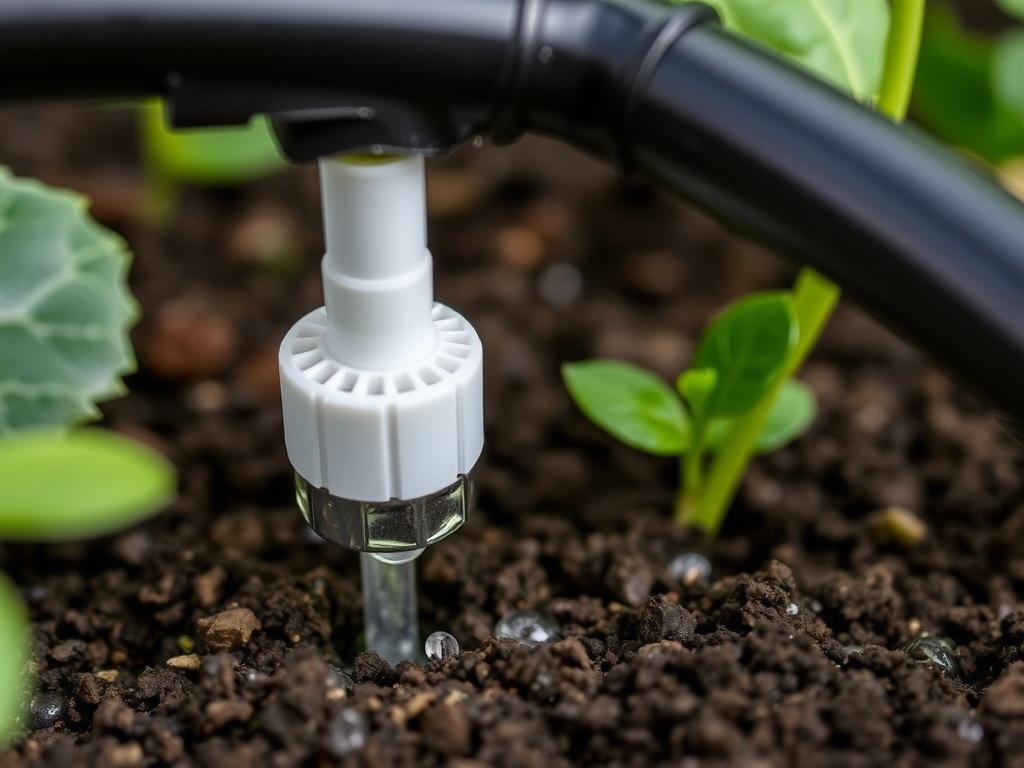
“The key to a successful drip system is even water distribution. Take your time with emitter placement to ensure each plant receives the right amount of water.”
Testing and Troubleshooting Your DIY Drip Irrigation System
Before relying on your new system, it’s essential to test it thoroughly and address any issues. This will ensure reliable operation throughout the growing season.
Initial System Testing
- Turn on the water at a low pressure and check for leaks at all connection points.
- Tighten any leaking connections or apply Teflon tape as needed.
- Verify that water is flowing through all emitters and drip lines.
- Check for clogged emitters and clean or replace as necessary.
- Ensure end caps are secure and not leaking.
Common Problems and Solutions
| Problem | Possible Cause | Solution |
| Leaking connections | Loose fittings or improper installation | Tighten connections, apply Teflon tape, or replace damaged fittings |
| Clogged emitters | Dirt or mineral buildup | Remove and clean emitters, consider adding a better filter |
| Uneven water distribution | Pressure issues or too many emitters | Add pressure regulators or divide system into zones |
| Tubing comes loose | Insufficient anchoring | Add more landscape staples or bury tubing slightly |
Pro Tip: Run your system for at least 30 minutes during the first test to ensure all components are working properly and to identify any slow leaks that might not be immediately apparent.
Maintaining Your DIY Drip Irrigation System
A well-maintained drip irrigation system can last for many years. Regular maintenance will prevent problems and ensure efficient operation throughout multiple growing seasons.
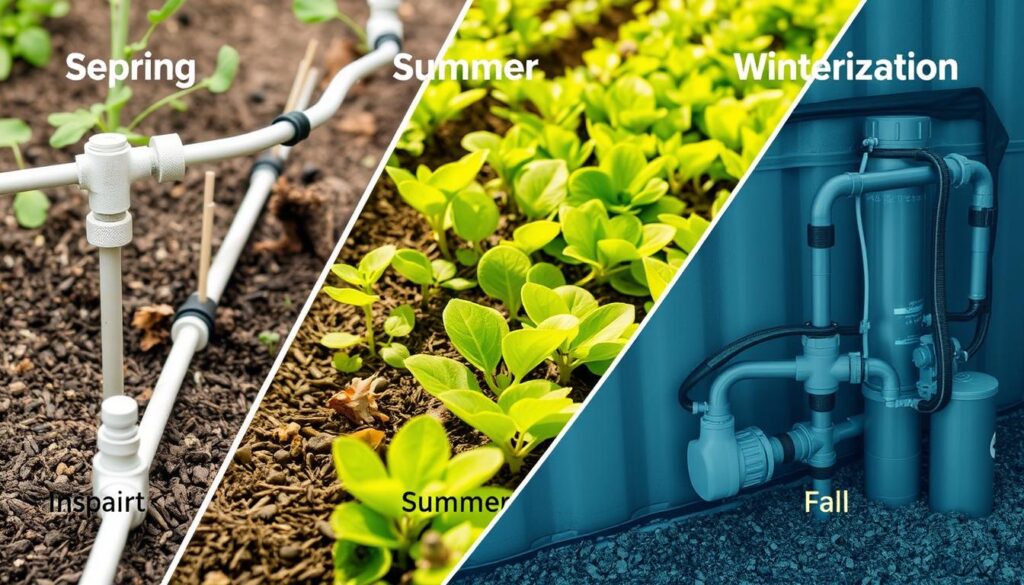
Seasonal Maintenance Tasks
Spring Startup
- Inspect all components for winter damage
- Flush the system to remove debris
- Check and clean the filter
- Test all connections for leaks
- Replace damaged emitters or tubing
Mid-Season Checks
- Monitor plant health for signs of watering issues
- Clean filters monthly
- Check for clogged emitters
- Adjust timer settings as weather changes
- Inspect for UV damage to exposed tubing
Fall Winterization
- Drain the entire system
- Disconnect from water source
- Remove battery from timer
- Store removable components indoors
- Cover exposed parts to prevent UV damage
Extending System Lifespan
With proper care, your DIY drip irrigation system can last 5-10 years or more. Here are some tips to maximize its lifespan:
- Use UV-resistant tubing or cover exposed tubing with mulch
- Clean filters regularly to prevent clogging
- Flush the system at least twice per season
- Replace worn components promptly
- Store removable parts indoors during winter
- Use a timer with rain delay feature to prevent overwatering
Advanced Tips for Your DIY Drip Irrigation System
Once you’ve mastered the basics, consider these advanced techniques to enhance your system’s efficiency and functionality.
Automating Your System
Adding automation can significantly improve convenience and water efficiency:
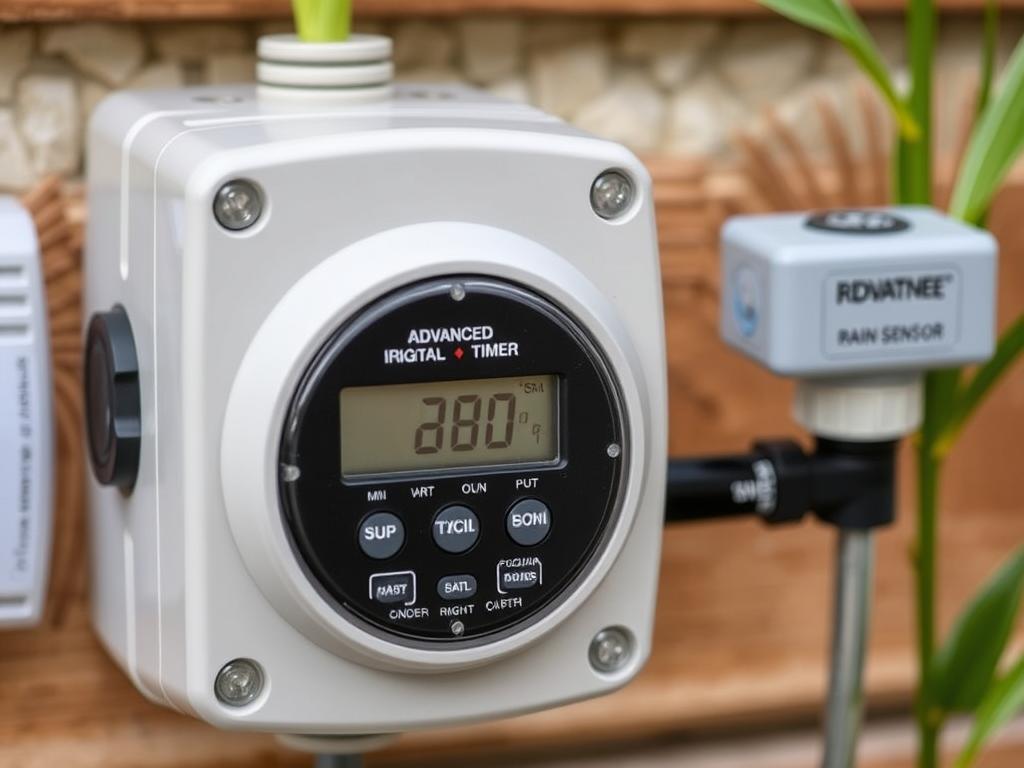
- Install a programmable timer with multiple schedules
- Add a rain sensor to prevent watering during or after rainfall
- Consider a soil moisture sensor for precise watering based on actual conditions
- Explore smart timers that adjust based on weather forecasts
Adapting for Different Garden Types
Your drip irrigation system can be customized for various garden setups:
Raised Bed Adaptation
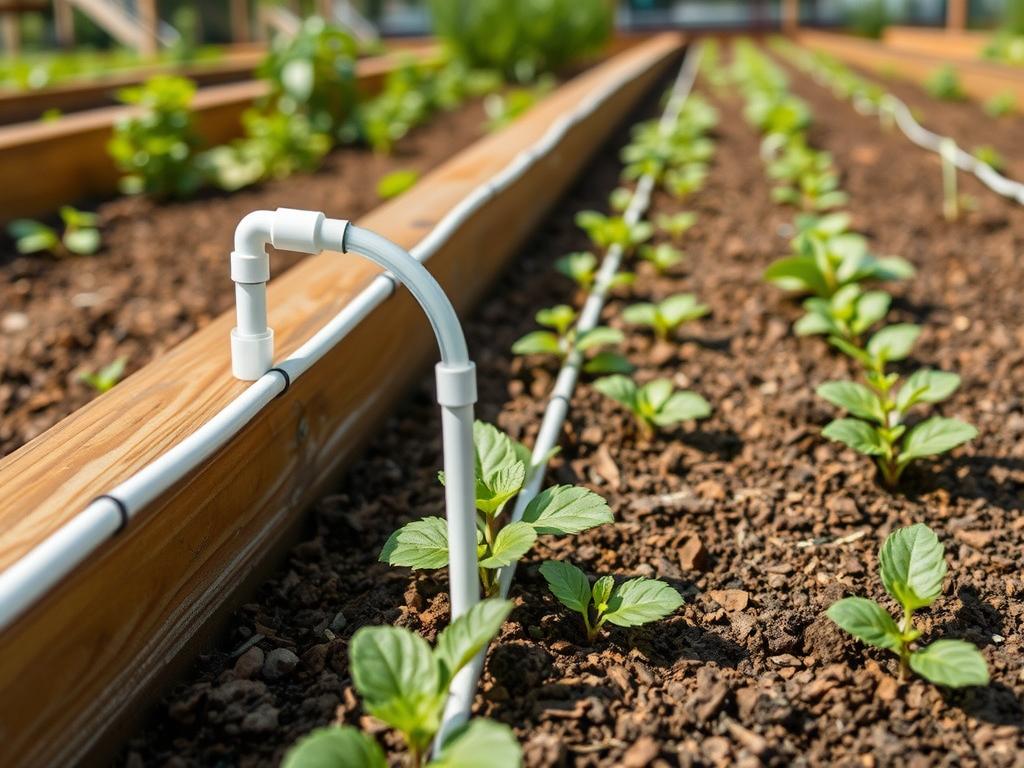
For raised beds, run your main line along the outside of the beds and bring distribution lines up and over the edges. Use elbow fittings to create a clean transition from vertical to horizontal. Space drip lines evenly across the bed width, typically one line per foot of bed width.
Container Garden Setup
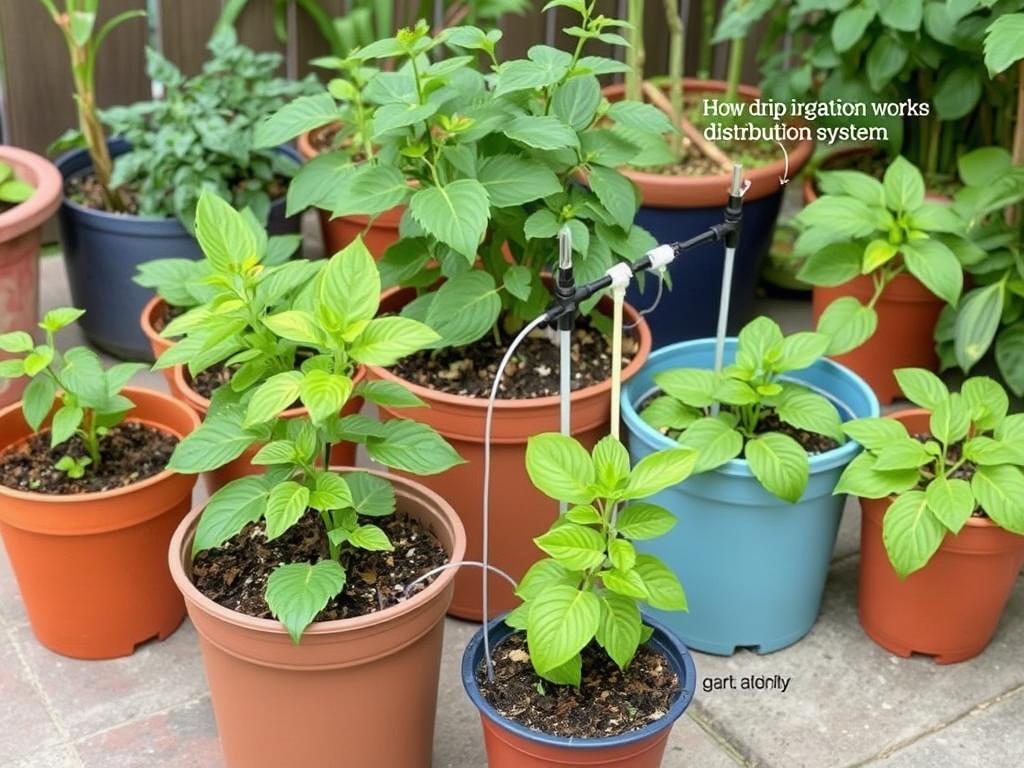
For container gardens, use ¼-inch distribution tubing with individual emitters for each pot. Secure the tubing to prevent movement and ensure each emitter is positioned directly over the soil. Consider using adjustable emitters to customize flow rates for different plant needs.
Pro Tip: For sloped gardens, install pressure compensating emitters to ensure even water distribution regardless of elevation changes. These specialized emitters deliver the same flow rate despite varying water pressure.
Conclusion: Enjoying the Benefits of Your DIY Drip Irrigation System
Building your own drip irrigation system is a rewarding project that pays dividends throughout the growing season. With minimal investment and a few hours of setup time, you’ll create a water-efficient solution that keeps your plants healthy while saving you time and money.
Remember that your system can evolve as your garden grows. Start simple and expand or modify as you gain experience and confidence. The flexibility of a DIY approach means you can continually optimize your system to meet your garden’s changing needs.
By taking control of how you water your garden, you’re not just growing healthier plants—you’re also contributing to water conservation efforts and developing valuable self-sufficiency skills that will serve you for years to come.
Ready to Start Building Your DIY Drip Irrigation System?
Download our free printable planning template to help you map out your garden, calculate materials needed, and track your installation progress. This handy resource includes a maintenance checklist to keep your system running efficiently all season long.
Will is a vertical gardening enthusiast and sustainable cultivation specialist with a passion for helping people grow fresh food in small spaces and dry climates. With years of hands-on experience testing smart irrigation systems, optimizing urban gardens, and exploring eco-friendly solutions, this author shares clear, practical tips to turn any corner into a productive garden. Whether on a sunny balcony or in a compact backyard, Will helps readers save water, maximize space, and enjoy healthy harvests year-round. When not tending to his plants, you’ll find him sipping herbal tea and sketching ideas for new sustainable projects.

