In today’s urban environments where space comes at a premium, vertical gardening offers a revolutionary approach to growing plants, herbs, and vegetables. Whether you’re dealing with a tiny balcony, a small yard in a dry climate, or simply want to maximize your growing space, understanding the differences between vertical gardening structures is crucial to your success. This comprehensive comparison of towers, panels, pallets, and other vertical growing systems will help you identify which structure best suits your specific needs, space constraints, and gardening goals.
What Are Vertical Gardening Structures?
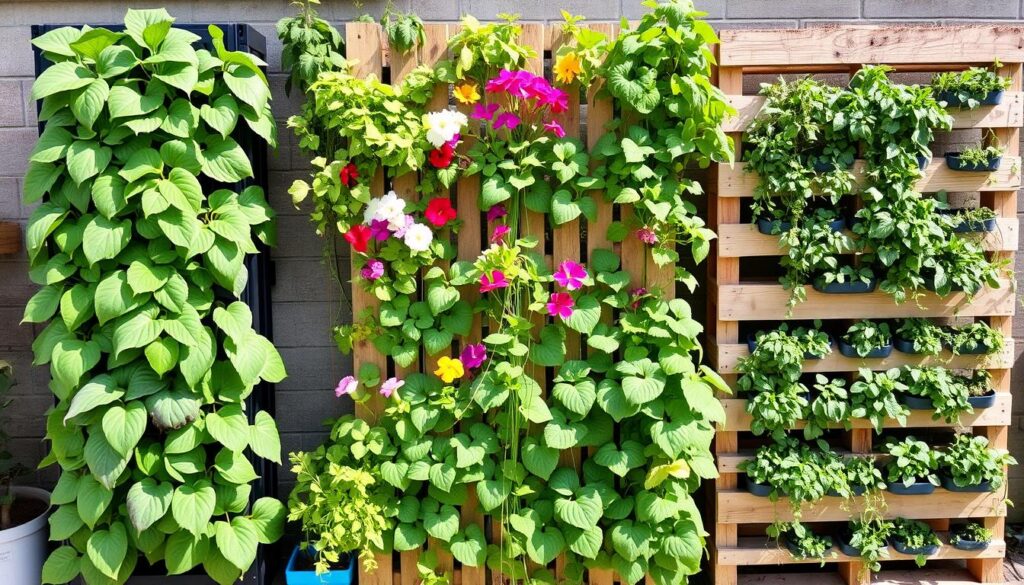
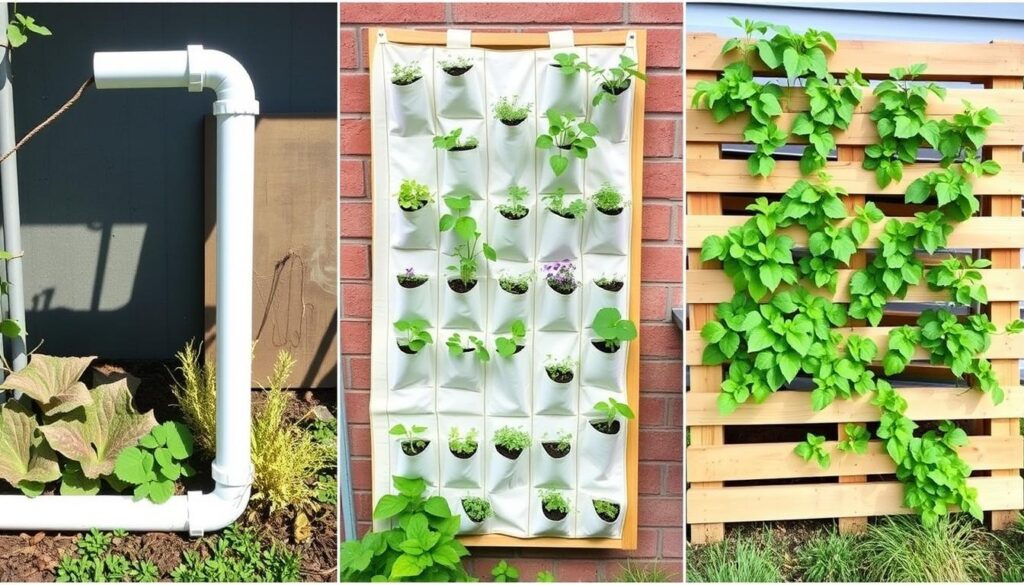
Different vertical gardening structures enable efficient use of limited space
Vertical gardening structures are specially designed systems that allow plants to grow upward rather than outward, utilizing vertical space instead of horizontal ground area. These innovative solutions transform walls, fences, and other vertical surfaces into productive growing spaces, making them ideal for urban environments, small yards, or areas with poor soil conditions.
Beyond space efficiency, vertical gardening structures offer numerous benefits including improved air circulation around plants (reducing disease problems), easier harvesting, better pest management, and in many cases, more efficient water usage—a critical advantage in dry regions. They also create visual interest, turning blank walls into living tapestries of greenery.
The three main categories we’ll compare in this article are tower systems, panel/wall systems, and pallet systems—each with distinct advantages, limitations, and ideal applications depending on your specific gardening goals.
Comparing Vertical Gardening Structures
When selecting the ideal vertical gardening structure for your space, understanding the unique characteristics of each system type is essential. Let’s examine the three main categories in detail, highlighting their designs, advantages, limitations, and best applications.

Tower Systems
Tower systems are vertical structures that stack growing containers on top of each other, creating a column of plants. These systems come in various designs, from simple stacked pots to sophisticated hydroponic towers with integrated irrigation.
Advantages
- Excellent space efficiency with high plant density per square foot
- Good for growing many small to medium-sized plants
- Often include built-in irrigation systems
- Many designs are modular and expandable
- Some systems can be moved easily to follow the sun
- Ideal for leafy greens, herbs, and strawberries
Limitations
- Limited root space for larger plants
- Water distribution can be uneven (top plants may get more water)
- Commercial systems can be expensive
- May require electricity for pumps (hydroponic towers)
- Can be top-heavy and require secure anchoring
- Lower plants may receive less light
Example Application: A hydroponic tower garden on an apartment balcony growing lettuce, spinach, and herbs year-round with minimal water usage.
Panel/Wall Systems
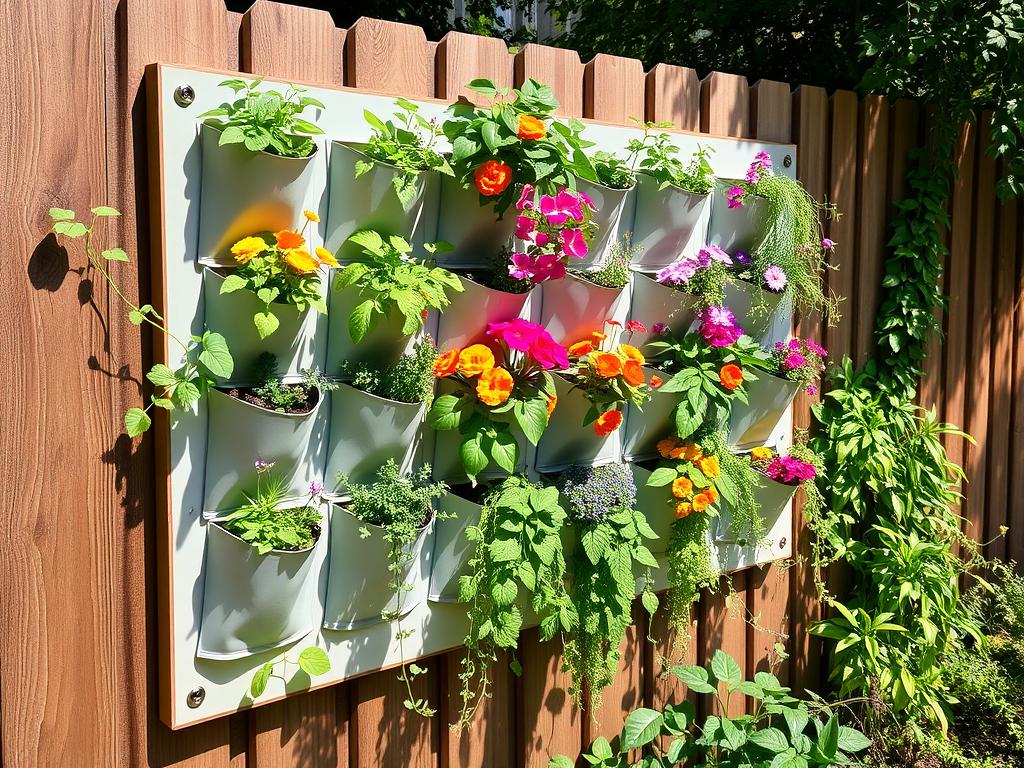
Panel or wall systems attach directly to vertical surfaces like walls, fences, or specially built frames. These systems typically feature pockets, shelves, or containers that hold growing media and plants, transforming vertical surfaces into living walls.
Advantages
- Maximizes use of existing vertical surfaces
- Creates stunning visual impact and aesthetic appeal
- Can provide insulation and shade for buildings
- Works well for shallow-rooted plants
- Many options from simple pocket hangers to elaborate living walls
- Can incorporate drip irrigation for water efficiency
Limitations
- Limited soil volume can require frequent watering
- Installation may be complex for some systems
- Potential for water damage to walls if not properly waterproofed
- Weight considerations for wall-mounted systems
- Some systems can be expensive
- May require more maintenance than other structures
Example Application: A felt pocket panel system mounted on a balcony railing growing cascading flowers, small herbs, and succulents in a dry climate.
Pallet Systems
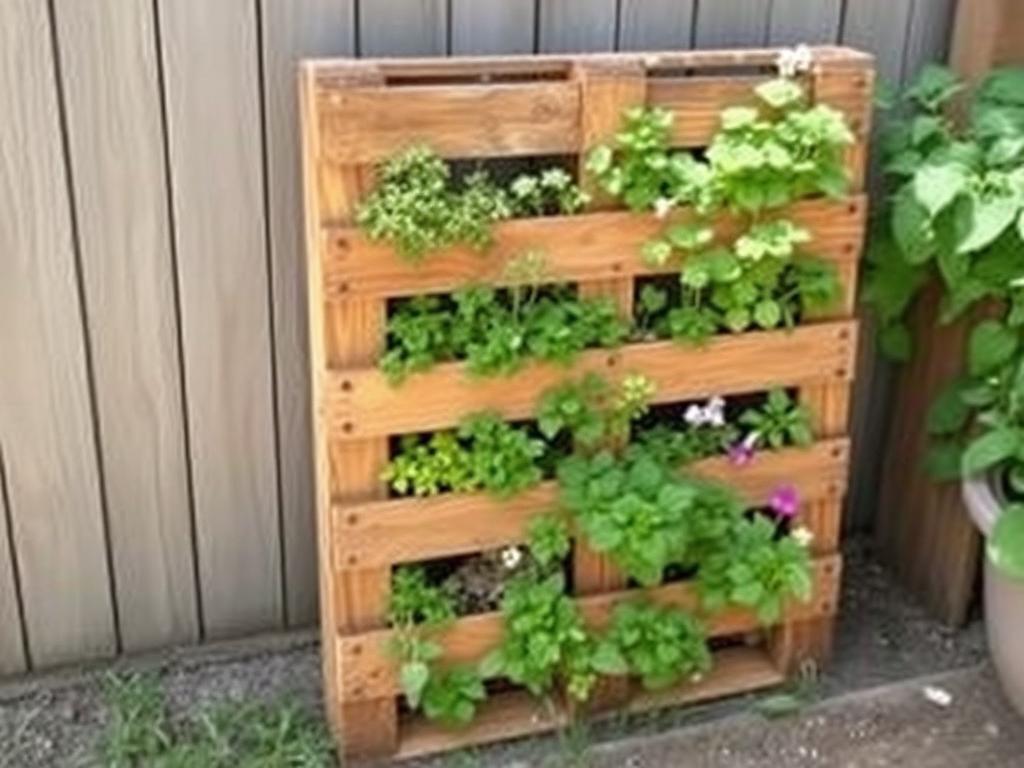
Pallet systems repurpose wooden shipping pallets into vertical gardens. These upcycled structures can be mounted on walls or designed to stand freely, with plants growing from the spaces between slats or in added containers.
Advantages
- Very low cost or even free if using reclaimed pallets
- Environmentally friendly through upcycling
- Customizable and DIY-friendly
- Can be freestanding or wall-mounted
- Rustic aesthetic appeals to many gardeners
- Good project for beginners with basic tools
Limitations
- Durability issues if not properly treated
- Limited lifespan compared to purpose-built systems
- Potential for soil loss without proper containment
- May contain chemicals if using treated pallets
- Less sophisticated irrigation options
- Can be heavy when filled with soil and plants
Example Application: A treated pallet garden leaning against a fence growing strawberries, lettuce, and trailing herbs in a small backyard.
| Feature | Tower Systems | Panel/Wall Systems | Pallet Systems |
| Initial Cost | $$ – $$$$ (DIY to commercial) | $$ – $$$ (varies widely) | $ (mostly DIY cost) |
| Space Efficiency | Excellent (small footprint) | Excellent (uses existing walls) | Good (needs floor space if freestanding) |
| Water Efficiency | Very good (especially hydroponic) | Moderate (depends on design) | Fair (can be improved with drip systems) |
| Plant Compatibility | Leafy greens, herbs, strawberries | Shallow-rooted plants, succulents, flowers | Versatile, good for herbs and small vegetables |
| Maintenance Level | Medium to High | Medium to High | Medium |
| Durability | High (commercial systems) | Medium to High | Low to Medium |
| DIY Difficulty | Medium to High | Low to High (depends on design) | Low to Medium |
Need Help Choosing Your Ideal Vertical Garden Structure?
Download our free Vertical Garden Structure Selection Guide with detailed plans, material lists, and step-by-step instructions for building your own custom vertical garden.
How to Choose the Best Vertical Gardening Structure
Selecting the right vertical gardening structure involves considering several key factors specific to your situation. Follow this step-by-step approach to find your perfect match:
Step 1: Assess Your Space
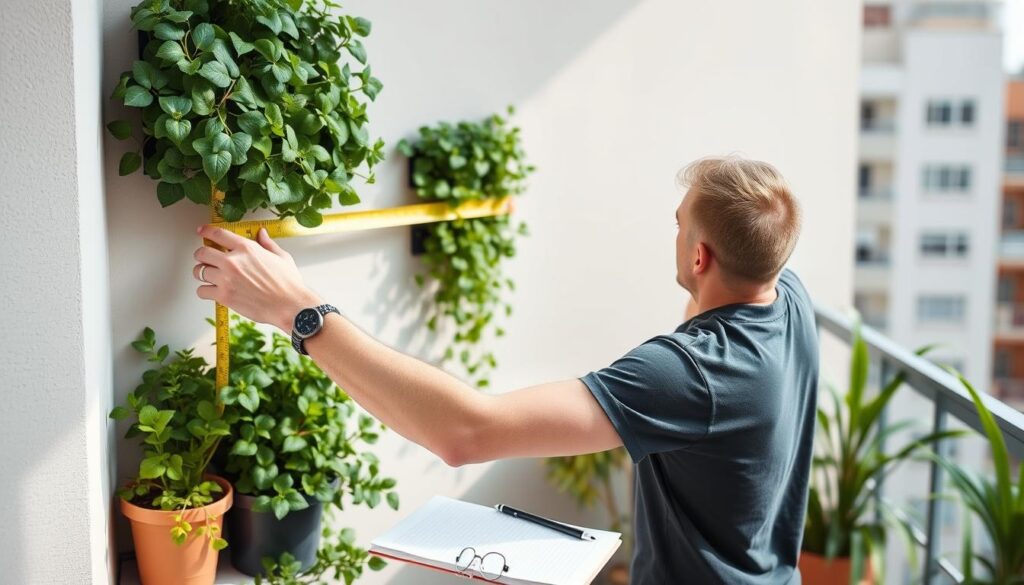
Begin by thoroughly evaluating the area where you plan to install your vertical garden. This assessment is crucial for determining which structure will work best in your specific environment.
- Measure available space – Note both the floor space (footprint) and vertical height available.
- Evaluate sunlight patterns – Track how sunlight moves across your space throughout the day. Most vegetables need 6+ hours of direct sunlight.
- Check for mounting options – For wall systems, identify sturdy mounting points that can support the weight of a fully planted structure.
- Consider wind exposure – Especially important for balconies or rooftops where wind can stress plants and structures.
- Assess water access – How easily can you provide water to your vertical garden? Is there a nearby spigot or will you need to carry water?
Pro Tip: Take photos of your space at different times of day (morning, noon, afternoon) to accurately map sunlight patterns before choosing your structure.
Step 2: Prioritize Water Efficiency
In dry climates or areas with water restrictions, designing your vertical garden for optimal water efficiency is essential for sustainability and plant health.
Drip Irrigation Systems
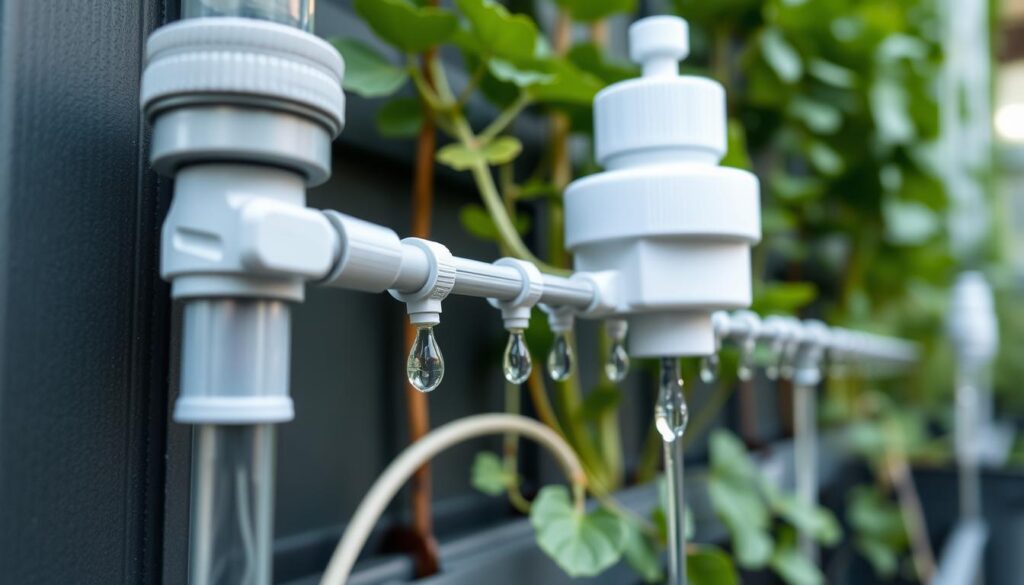
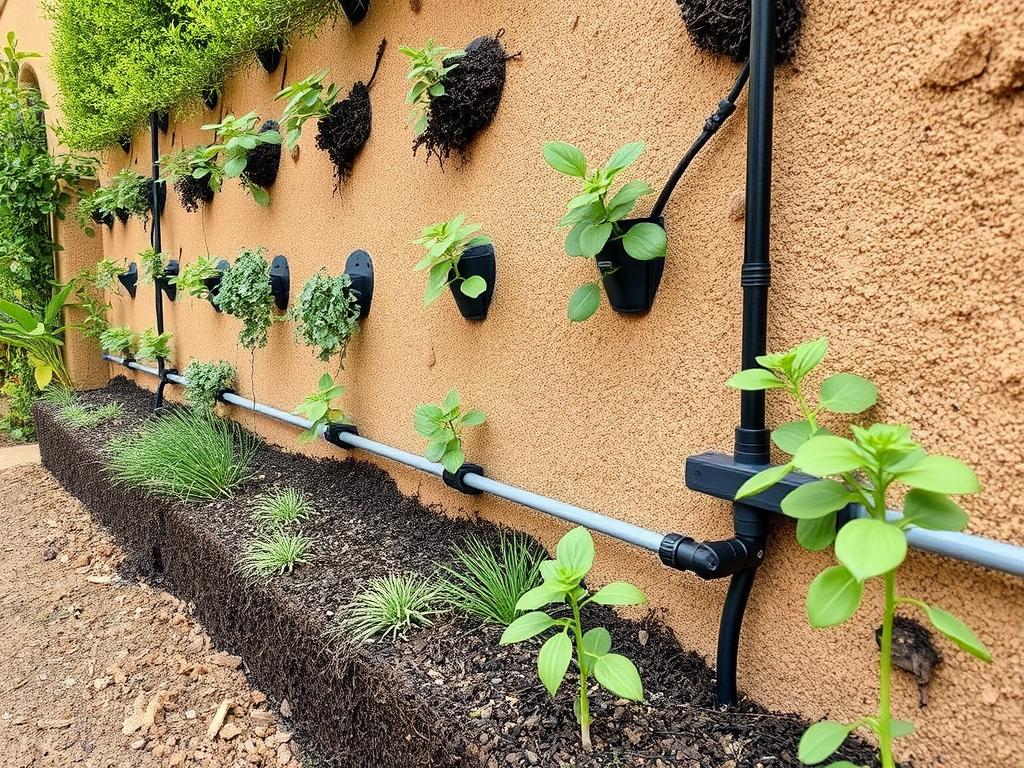
Drip irrigation delivers water directly to plant roots, minimizing evaporation and runoff. For vertical gardens, consider:
- Gravity-fed systems that water from top to bottom
- Pressure-compensating drippers for even water distribution
- Timer-controlled systems to automate watering
- Micro-tubing that can be directed to individual plants
Self-Watering Systems
Self-watering designs incorporate water reservoirs that plants can access as needed:
- Wicking systems that draw water up to roots
- Reservoir-based containers with water indicators
- Hydroponic systems that recirculate nutrient solution
- Sub-irrigation planters that water from below
Drought-Tolerant Plant Selection
Complement your water-efficient structure with appropriate plant choices:
Herbs
- Rosemary
- Thyme
- Sage
- Oregano
- Lavender
Vegetables
- Cherry tomatoes
- Bush beans
- Peppers
- Compact eggplant
- Swiss chard
Ornamentals
- Succulents
- Sedums
- Portulaca
- Nasturtium
- Trailing verbena
Step 3: Match Plants to Structures
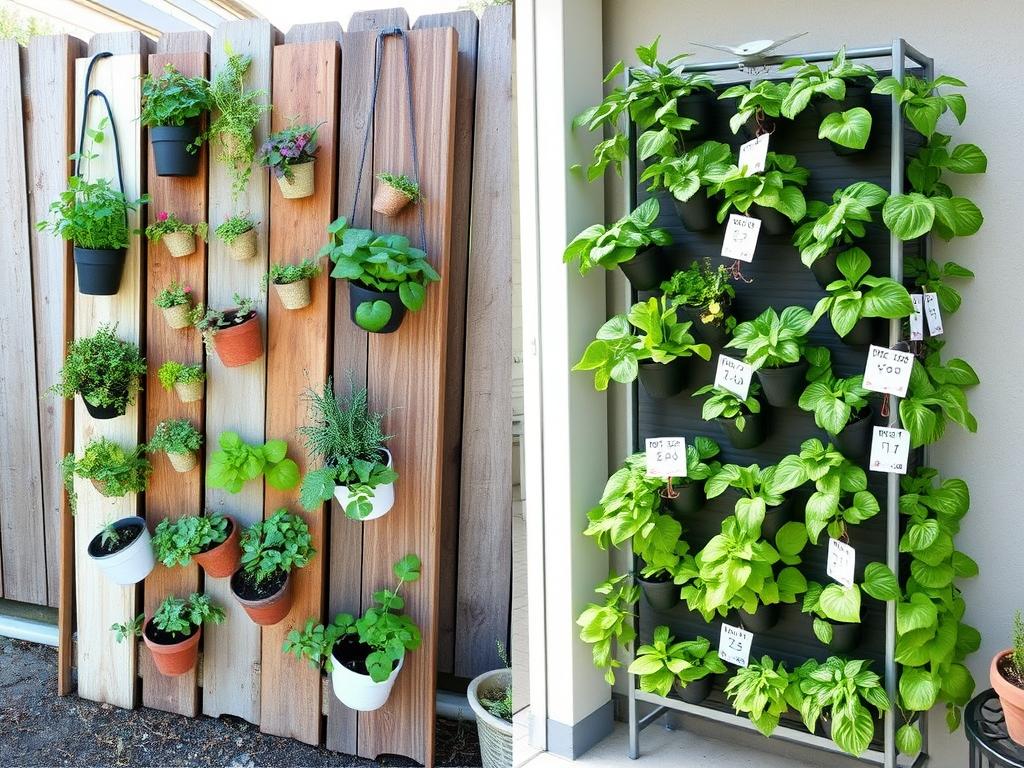
Different vertical gardening structures are better suited to certain types of plants. Matching your plant preferences to the appropriate structure will significantly improve your success rate.
| Structure Type | Ideal Plants | Challenging Plants |
| Tower Systems | Leafy greens (lettuce, spinach, kale), herbs, strawberries, small peppers, compact tomato varieties | Root vegetables, large fruiting plants, vining crops that need trellising |
| Panel/Wall Systems | Shallow-rooted herbs, succulents, small flowering plants, trailing plants, ferns, air plants | Deep-rooted vegetables, heavy fruiting plants, plants that need extensive soil |
| Pallet Systems | Herbs, strawberries, lettuce, compact vegetables, trailing flowers, shallow-rooted plants | Large root vegetables, plants requiring deep soil, very tall plants |
“The most successful vertical gardens match the right plants to the right structure. Consider the root depth, growth habit, and weight of mature plants when selecting your system.”
Step 4: Budget Considerations
Vertical gardening structures range from nearly free DIY solutions to premium commercial systems. Understanding the cost implications will help you make a practical choice that fits your financial situation.
DIY Options
- Repurposed pallet garden: $0-30 (depending on if you need to purchase the pallet)
- PVC pipe tower: $30-50 for materials
- Recycled bottle wall: $10-20 for mounting materials
- Pocket shoe organizer garden: $15-25
- Wooden crate wall: $40-80 depending on number of crates
Commercial Systems
- Basic tower garden: $100-200
- Hydroponic tower system: $300-600
- Modular wall panels: $150-300 for starter kits
- Professional living wall systems: $500-1000+ depending on size
- Self-watering vertical planters: $80-200
Hidden Costs to Consider: Beyond the initial structure, factor in costs for growing medium, plants, irrigation components, fertilizer, and potential replacement parts. For hydroponic systems, include electricity costs for pumps.
Maintenance Tips for Vertical Gardens in Dry Climates
Maintaining a thriving vertical garden in arid conditions requires special attention to water conservation and plant care. These practical strategies will help your vertical garden flourish while minimizing water usage.
Water-Smart Maintenance Practices
Mulching Techniques
Applying mulch to your vertical garden containers significantly reduces evaporation and keeps soil temperatures moderate:
- Use small-particle mulches like coconut coir or fine bark in vertical containers
- Apply a thin layer (½-1 inch) to avoid taking up valuable soil space
- Consider hydrogel crystals mixed into soil for additional water retention
- For exposed containers, use decorative stone mulch that won’t blow away
Watering Strategies
Smart watering practices make all the difference in dry climates:
- Water in early morning or evening to minimize evaporation
- Check soil moisture before watering (top inch should be dry)
- Water deeply but less frequently to encourage deep root growth
- Consider adding water-retaining polymers to potting mix
- Use saucers under containers to catch excess water
Rainwater Harvesting Integration
Even in dry climates, capturing what little rain does fall can significantly reduce your need for municipal water:
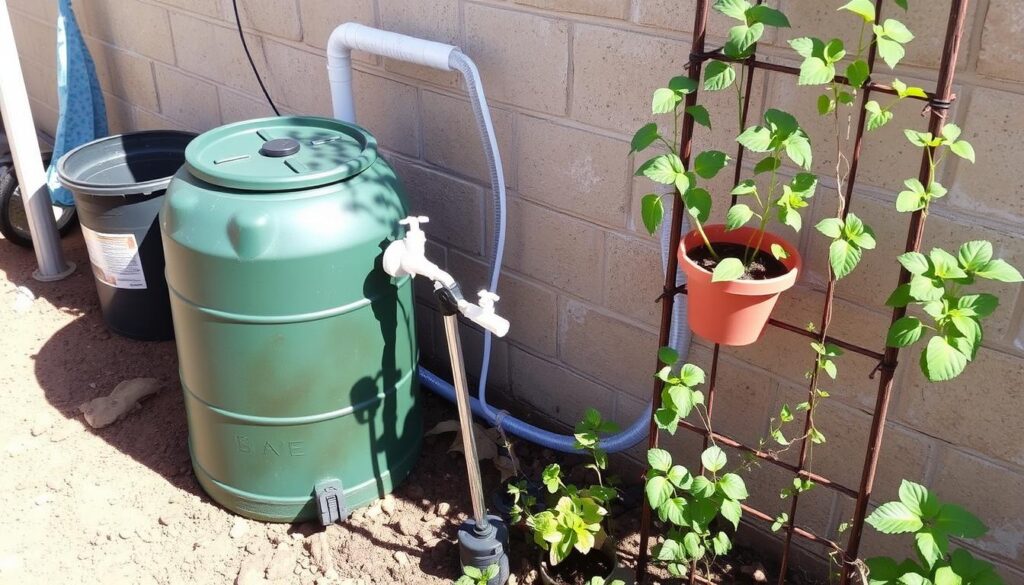
- Simple rain barrel systems can be connected directly to vertical garden irrigation
- Gravity-fed drip systems work well with elevated rain barrels
- First-flush diverters ensure cleaner water reaches your plants
- Mesh screens over collection points prevent debris and mosquito breeding
- Multiple small collection points throughout your garden maximize capture potential
Important: Check local regulations regarding rainwater harvesting, as some areas have restrictions or specific requirements for collection systems.
Seasonal Maintenance Calendar
Follow this seasonal maintenance schedule to keep your vertical garden thriving year-round in dry climates:
| Season | Maintenance Tasks |
| Spring |
|
| Summer |
|
| Fall |
|
| Winter |
|
Master Water-Smart Vertical Gardening
Get our comprehensive guide to maintaining thriving vertical gardens in dry climates with minimal water usage. Includes seasonal care calendars, drought-tolerant plant lists, and DIY irrigation plans.
DIY Vertical Gardening Structure Projects
Creating your own vertical gardening structure can be both economical and rewarding. Here are three beginner-friendly DIY projects that represent each major structure type we’ve discussed.
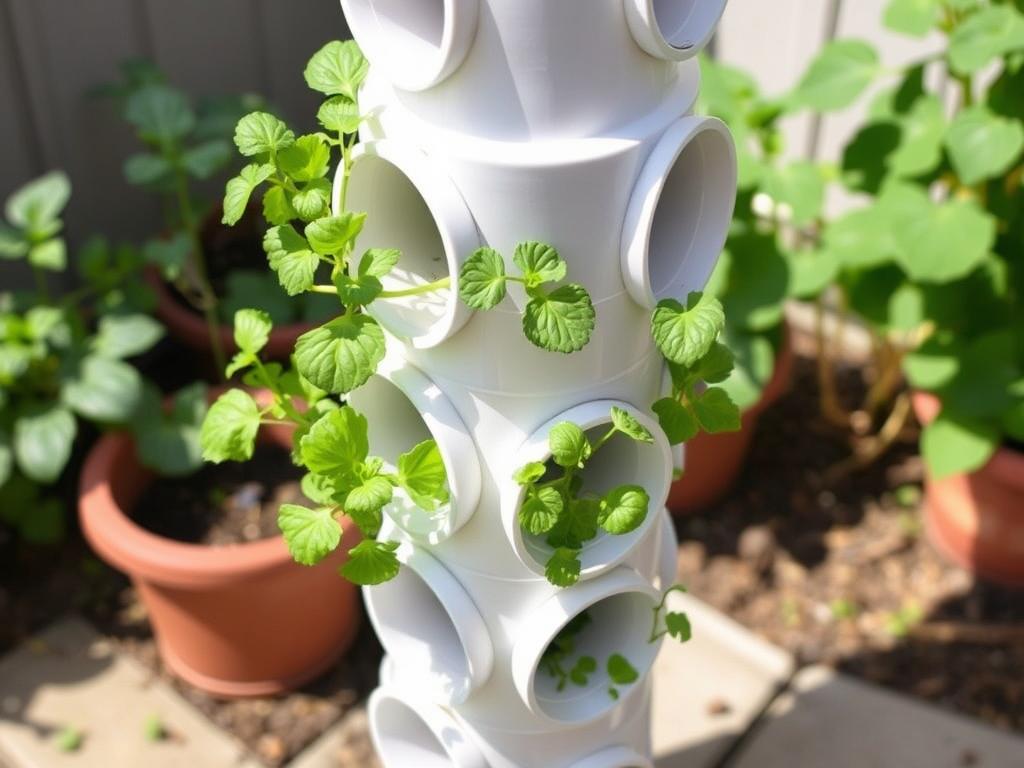
Project 1: Simple PVC Tower Garden
This space-efficient tower system is perfect for growing leafy greens and herbs in a tiny footprint.
Materials Needed
- 4-inch diameter PVC pipe (6 feet long)
- PVC end cap
- 2-inch hole saw or drill bit
- Electric drill
- Sandpaper
- High-quality potting mix
- Small piece of window screen
- Optional: PVC primer and cement
Basic Construction Steps
- Mark planting hole positions in a spiral pattern around the pipe, spacing holes 8 inches apart vertically and offsetting each hole by 90 degrees.
- Drill 2-inch holes at marked positions and sand the edges smooth.
- Attach the end cap to the bottom of the pipe (use PVC cement for permanence).
- Cut a small piece of window screen to cover the inside of the end cap (prevents soil loss).
- Stand the pipe upright in its final position before filling with soil.
- Fill the pipe with moistened potting mix, tamping gently as you go.
- Plant seedlings through the holes, working from bottom to top.
Watering Tips
Water from the top of the tower, allowing moisture to percolate down through the soil column. For more efficient irrigation, insert a perforated pipe down the center of the tower before filling with soil to create an internal watering channel.
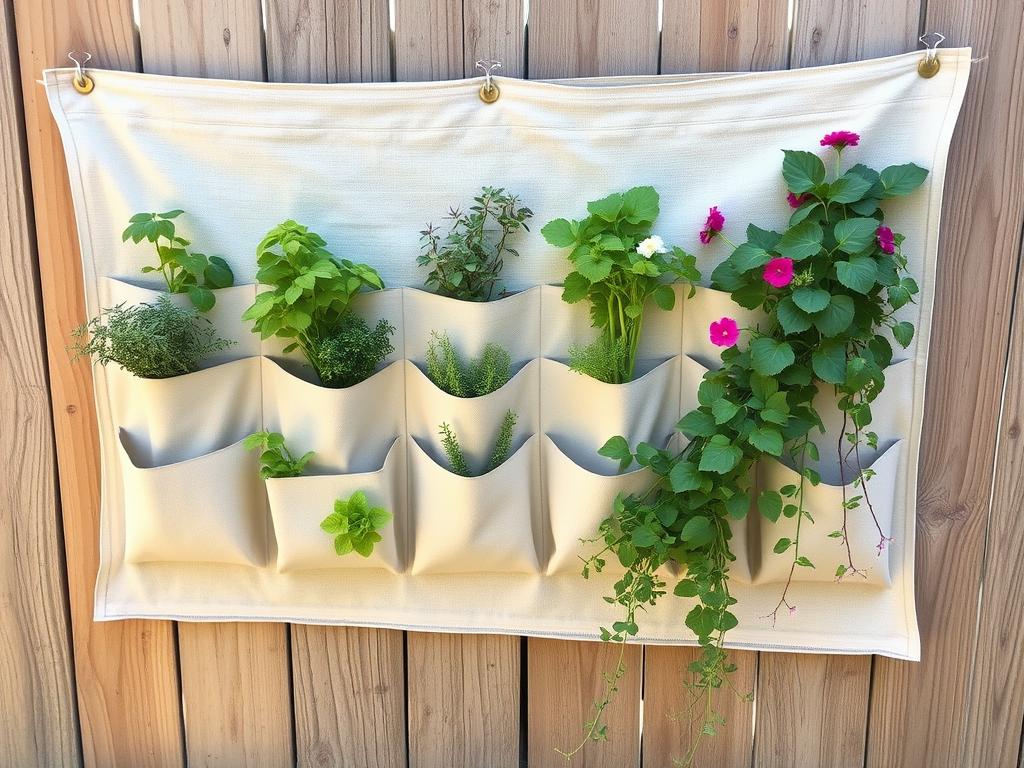
Project 2: Upcycled Fabric Pocket Panel
This wall-mounted panel system repurposes old canvas or heavy fabric into a living wall of plants.
Materials Needed
- Heavy canvas, denim, or landscape fabric (3 x 4 feet)
- Sewing machine or heavy-duty stapler
- Grommets kit or heavy-duty hanging loops
- Waterproof backing material (plastic sheeting or tarp)
- Potting mix with water-retaining additives
- Wall anchors appropriate for your mounting surface
- Optional: drip irrigation tubing and emitters
Basic Construction Steps
- Cut fabric to desired size (typically 3 x 4 feet works well for beginners).
- Cut waterproof backing to the same size and attach to the back of the fabric.
- Fold and sew horizontal rows across the fabric, leaving one end open, creating pockets about 6 inches deep.
- Add vertical stitching to divide each row into individual pockets about 6-8 inches wide.
- Install grommets or sturdy loops along the top edge for hanging.
- Mount securely to wall using appropriate anchors for the wall material and weight.
- Fill pockets with potting mix and plant with appropriate species.
Plant Selection Tips
Choose shallow-rooted plants that won’t outgrow the pockets. Place drought-tolerant plants in the upper rows and those needing more moisture in lower rows. Succulents, small herbs, and trailing flowers work particularly well in this system.
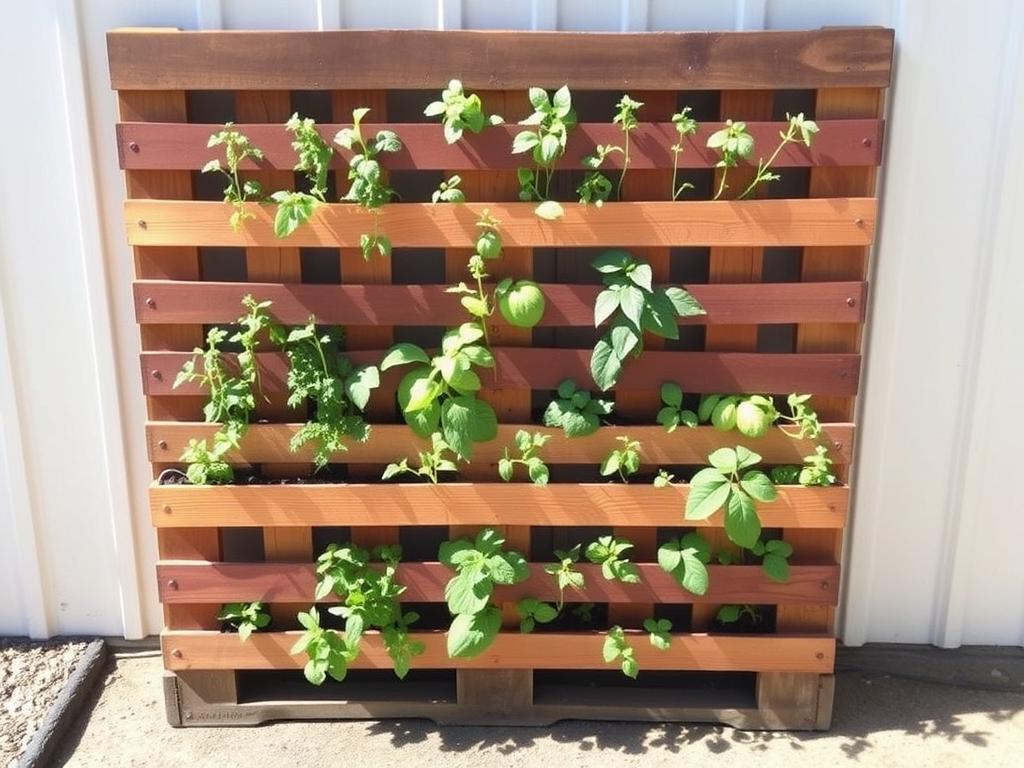
Project 3: Vertical Pallet Garden
This beginner-friendly project transforms a wooden shipping pallet into a productive vertical garden with minimal tools and materials.
Materials Needed
- Heat-treated (HT stamped) wooden pallet in good condition
- Landscape fabric or weed barrier cloth
- Staple gun and staples
- Sandpaper
- Quality potting soil
- Optional: Wood sealer or non-toxic paint
- Optional: Mounting hardware if attaching to wall
Basic Construction Steps
- Inspect the pallet for damage and sand rough edges to prevent splinters.
- If desired, apply non-toxic wood sealer or paint to extend durability.
- Cut landscape fabric to size, allowing extra to wrap around edges.
- Staple fabric to the back, bottom, and sides of the pallet, creating a soil containment system.
- Stand the pallet upright and begin filling with soil from the bottom up.
- Plant through the openings between slats, working from bottom to top.
- Water thoroughly and allow excess to drain before moving to final position.
Safety and Placement Tips
Only use heat-treated (HT stamped) pallets, never those marked MB (methyl bromide) which contain harmful chemicals. For stability, either secure the pallet to a wall or ensure it has a wide enough base to stand securely. Place in final position before planting as it will become very heavy.
Conclusion: Choosing Your Perfect Vertical Gardening Structure
Selecting the ideal vertical gardening structure doesn’t have to be overwhelming. By carefully considering your specific space constraints, climate conditions, plant preferences, and budget, you can identify the system that will bring you the most gardening joy and productivity.
Remember these key takeaways as you make your decision:
- Tower systems excel in maximizing plant density in minimal floor space, making them ideal for balconies and small yards.
- Panel/wall systems transform vertical surfaces into living gardens, perfect for decorative applications and shallow-rooted plants.
- Pallet systems offer budget-friendly solutions that are accessible to beginners and easily customizable.
The most successful vertical gardeners often start small, experiment with different structures, and expand based on their experiences. Don’t be afraid to combine elements from different systems to create a custom solution perfectly tailored to your needs.
With the right vertical gardening structure, even the smallest, driest spaces can become productive oases of greenery, providing fresh food, beauty, and the satisfaction of growing your own plants in harmony with limited resources.
Ready to Start Your Vertical Gardening Journey?
Subscribe to our newsletter for seasonal vertical gardening tips, water-smart techniques, and exclusive DIY project ideas delivered straight to your inbox.
Will is a vertical gardening enthusiast and sustainable cultivation specialist with a passion for helping people grow fresh food in small spaces and dry climates. With years of hands-on experience testing smart irrigation systems, optimizing urban gardens, and exploring eco-friendly solutions, this author shares clear, practical tips to turn any corner into a productive garden. Whether on a sunny balcony or in a compact backyard, Will helps readers save water, maximize space, and enjoy healthy harvests year-round. When not tending to his plants, you’ll find him sipping herbal tea and sketching ideas for new sustainable projects.

