Growing your own fresh herbs, vegetables, and even fruits year-round is no longer limited to those with spacious outdoor gardens. With an indoor vertical garden using LED lighting and hydroponics, you can create a thriving, space-efficient growing system right in your home. This sustainable approach uses up to 95% less water than traditional soil gardening while maximizing yields in minimal space. Whether you’re living in an apartment, dealing with harsh weather conditions, or simply want to enjoy homegrown produce regardless of the season, this comprehensive guide will walk you through everything you need to know to get started.
Why Choose Vertical Hydroponics with LED Lighting?
A space-efficient vertical garden system using hydroponics and LED lighting
Traditional gardening requires ample space, favorable weather conditions, and regular maintenance. Indoor vertical gardens with hydroponics and LED lighting offer compelling advantages that make them increasingly popular for urban dwellers and sustainability enthusiasts alike.
Water Conservation
Hydroponic systems use up to 90-95% less water than conventional soil gardening. This remarkable efficiency comes from recirculating water directly to plant roots rather than losing it to soil absorption and evaporation. In a world increasingly concerned with water conservation, hydroponics represents a sustainable solution for growing food.
Space Efficiency
By growing vertically, you can cultivate 3-10 times more plants in the same floor space as traditional gardening. A 2-square-foot vertical system can grow up to 36 plants simultaneously, making it perfect for apartments, small homes, or underutilized indoor spaces.
Year-Round Growing
With controlled lighting and environmental conditions, you can grow plants regardless of outdoor weather or seasons. This means fresh herbs, leafy greens, and even fruits can be harvested throughout the year, even in regions with harsh winters or extreme climates.
Faster Growth and Higher Yields
Plants grown in hydroponic systems typically grow 30-50% faster than soil-grown counterparts. Without having to search for nutrients in soil, plants can direct their energy toward growth and fruit production, resulting in higher yields and more frequent harvests.
Ready to start planning your indoor garden?
Download our free Plant Selection Guide to discover which plants thrive best in hydroponic systems.
Planning Your Indoor Vertical Garden
Assess Your Space and Budget
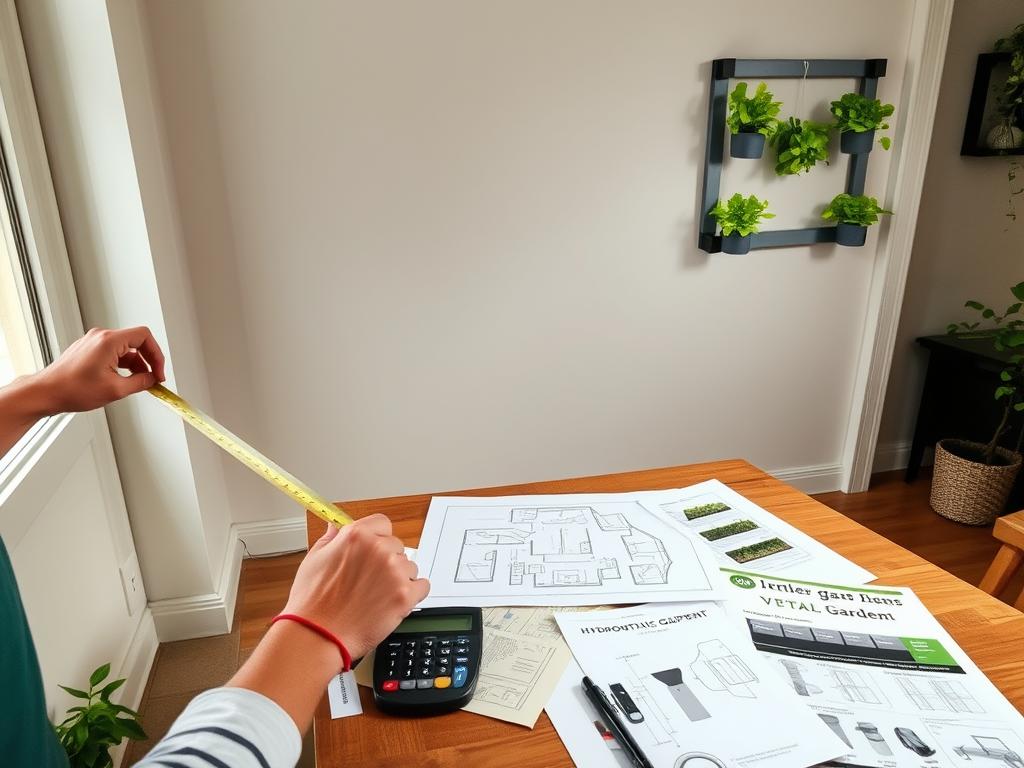
Before purchasing any equipment, carefully evaluate your available space and budget constraints. Consider these key factors:
Space Considerations
- Ceiling height (for tall systems)
- Floor or wall space available
- Proximity to electrical outlets
- Access to water source
- Temperature stability of the location
Budget Planning
- DIY systems: $100-300
- Pre-made small systems: $300-600
- Advanced automated systems: $800-1,500+
- Ongoing costs: nutrients, electricity, seeds
- Potential savings: reduced grocery bills
“Vertical gardens make a vibrant addition to homes and apartments without taking up valuable space. They can produce up to 40 pounds of fresh produce monthly when properly maintained.”
Selecting a Hydroponic System
Several hydroponic methods work well for vertical gardens. Each has distinct advantages depending on your space, experience level, and the types of plants you wish to grow.
| System Type | Best For | Complexity | Water Usage | Maintenance |
| Nutrient Film Technique (NFT) | Leafy greens, herbs | Medium | Very Low | Weekly |
| Drip Systems | Versatile – most plants | Low to Medium | Low | Weekly |
| Deep Water Culture (DWC) | Leafy greens | Low | Medium | Bi-weekly |
| Aeroponics | Fast-growing plants | High | Very Low | Daily to Weekly |
| Ebb and Flow | Versatile – most plants | Medium | Low | Weekly |
For beginners, drip systems or NFT setups offer the best balance of simplicity and effectiveness. These systems are more forgiving of minor fluctuations in water levels or nutrient concentrations while still providing excellent growing conditions.
Choosing LED Grow Lights
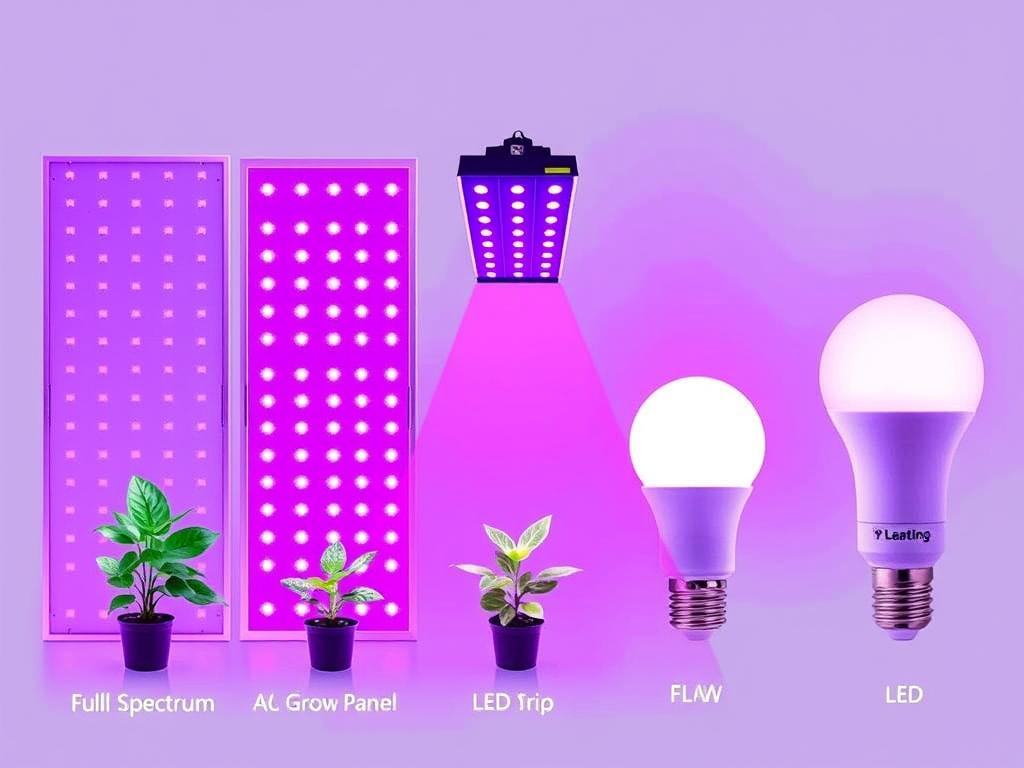
LED lights have revolutionized indoor gardening by providing energy-efficient, customizable lighting that plants need for photosynthesis. When selecting LED grow lights for your vertical garden, consider these factors:
LED Advantages
- Energy efficient (uses 40-60% less electricity than traditional grow lights)
- Runs cooler, reducing risk of plant damage
- Longer lifespan (up to 50,000 hours)
- Customizable light spectrum for different growth stages
- Compact size ideal for vertical setups
LED Considerations
- Higher initial investment
- Quality varies significantly between brands
- Requires proper distance from plants
- May need supplemental heating in cold rooms
- Light intensity decreases over time
Key Specifications to Consider
Wattage: For vertical gardens, aim for 30-50 watts per square foot of growing area. This provides sufficient light intensity without excessive energy consumption.
Light Spectrum: Full-spectrum LEDs provide all wavelengths plants need throughout their lifecycle. Look for lights with both blue spectrum (400-500nm) for vegetative growth and red spectrum (600-700nm) for flowering and fruiting.
Coverage Area: Match the light’s coverage to your growing area. Most manufacturers list the recommended hanging height and coverage area.
Adjustability: Lights with adjustable height and intensity give you flexibility as plants grow and their needs change.
Recommended Daily Light Duration
- Leafy greens and herbs: 12-16 hours
- Fruiting plants (tomatoes, peppers): 14-18 hours
- Flowering plants: 12 hours (to trigger flowering)
- Seedlings: 16-18 hours
Step-by-Step Setup Guide
Building the Structure
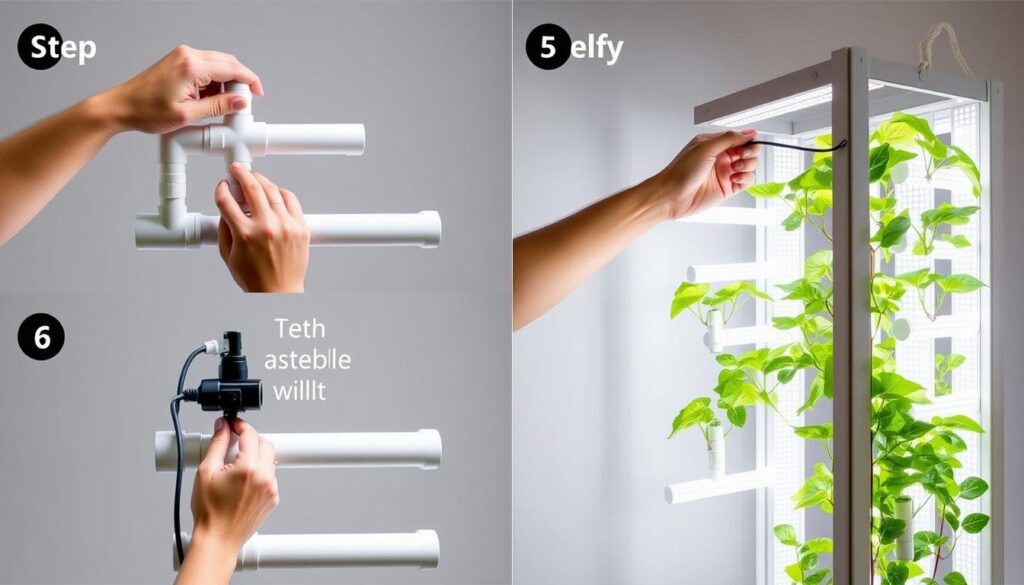
Whether you’re building a DIY system or assembling a pre-made kit, these steps will help you create a functional vertical garden structure:
- Choose your framework: Select materials that can support the weight of your system when filled with water and plants. PVC pipes, metal shelving, or wooden frames can all work well depending on your design.
- Create growing tiers: For vertical efficiency, arrange multiple growing levels with 12-18 inches between each tier to accommodate plant growth and light placement.
- Install water-resistant surfaces: Protect your floors and walls with waterproof mats or trays to catch any potential leaks or spills.
- Set up water reservoir: Position your main water tank at the bottom of the system where it’s easily accessible for maintenance and refilling.
- Install plumbing: Connect irrigation tubing from the reservoir to each growing tier, ensuring proper drainage back to the main reservoir.
DIY Tip: For a simple starter system, repurpose plastic bottles as growing containers. Cut openings for plants, connect them vertically with strong cord, and create a simple drip system using aquarium tubing and a small pump.
Installing Lighting
Proper lighting installation is crucial for plant growth and energy efficiency:
- Position lights above each tier: Mount LED fixtures 12-24 inches above the plants, adjustable as plants grow taller.
- Ensure even coverage: Position lights to provide uniform illumination across the entire growing area without dark spots.
- Install reflective surfaces: Line walls or surfaces around your garden with reflective material (mylar, white paint, or aluminum foil) to maximize light efficiency.
- Set up timers: Connect lights to programmable timers to maintain consistent light cycles without manual intervention.
- Secure all connections: Ensure all electrical components are safely secured and protected from water exposure.
Setting Up the Hydroponic System
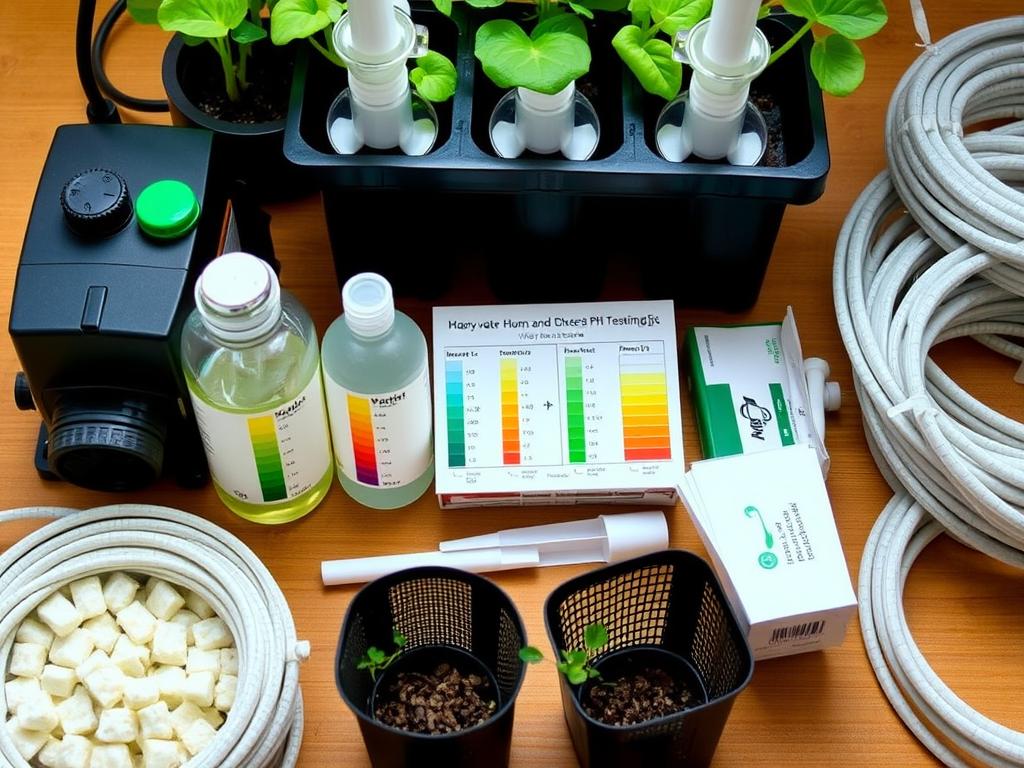
The heart of your vertical garden is the hydroponic system that delivers water and nutrients to your plants:
Water System Setup
- Install a submersible pump in your reservoir tank
- Connect main distribution tubing to the pump
- Run smaller feeder tubes to each growing site
- Install drippers or emitters at each plant location
- Create a return system for water to flow back to the reservoir
Growing Medium Selection
Choose an appropriate medium for your system:
- Rockwool: Excellent water retention, but not biodegradable
- Expanded clay pellets: Reusable, good drainage, pH neutral
- Coconut coir: Sustainable, excellent water retention
- Perlite/Vermiculite: Lightweight, good aeration
Mixing Hydroponic Nutrients
Plants in hydroponic systems rely entirely on the nutrient solution you provide. Creating the right balance is essential for healthy growth:
Basic Nutrient Solution Recipe
For 10 gallons of nutrient solution:
- Fill reservoir with filtered water (ideally at room temperature)
- Add 2-3 tablespoons of hydroponic nutrient concentrate (follow product-specific instructions)
- Add 1 teaspoon of CalMag supplement (calcium and magnesium)
- Mix thoroughly until completely dissolved
- Test and adjust pH to 5.5-6.5 (use pH Up or Down solutions as needed)
Different plants have different nutrient needs: Leafy greens prefer nitrogen-rich solutions, while fruiting plants need more phosphorus and potassium during flowering and fruiting stages. Most commercial hydroponic nutrients come in vegetative and bloom formulations to address these different needs.
Plant Selection and Maintenance
Best Plants for Beginners
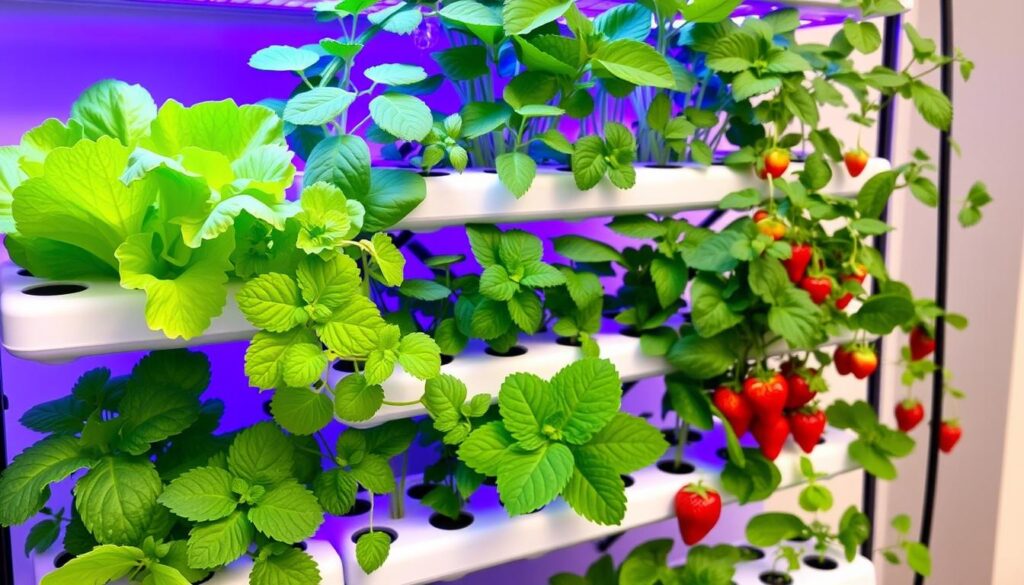
Some plants adapt better to hydroponic systems than others, especially for beginners. Start with these easy-to-grow options:
Leafy Greens
- Lettuce (all varieties)
- Spinach
- Kale
- Swiss Chard
- Arugula
Growth time: 3-5 weeks
Herbs
- Basil
- Mint
- Cilantro
- Parsley
- Chives
Growth time: 3-4 weeks
Fruiting Plants
- Cherry Tomatoes
- Strawberries
- Peppers (compact varieties)
- Cucumbers (bush varieties)
- Beans
Growth time: 8-12 weeks
“Prioritize ways you can upcycle materials, recirculate water, and maximize the natural resources you have on hand.”
Starting Seeds vs. Transplants
Starting from Seeds
Advantages
- Greater variety of plants available
- More economical long-term
- No adaptation period from soil to hydroponics
- Control over entire growth cycle
Challenges
- Longer time to harvest
- Requires separate seedling setup
- Higher failure rate for beginners
- More attention needed during germination
Using Transplants
Advantages
- Faster time to harvest
- Higher success rate
- Easier for beginners
- Immediate visual impact
Challenges
- More expensive initially
- Limited variety available
- Adaptation period from soil to hydroponics
- Potential to introduce pests
Ready to start growing?
Download our free Seed Starting Guide with day-by-day instructions for hydroponic germination.
Daily and Weekly Maintenance Routine
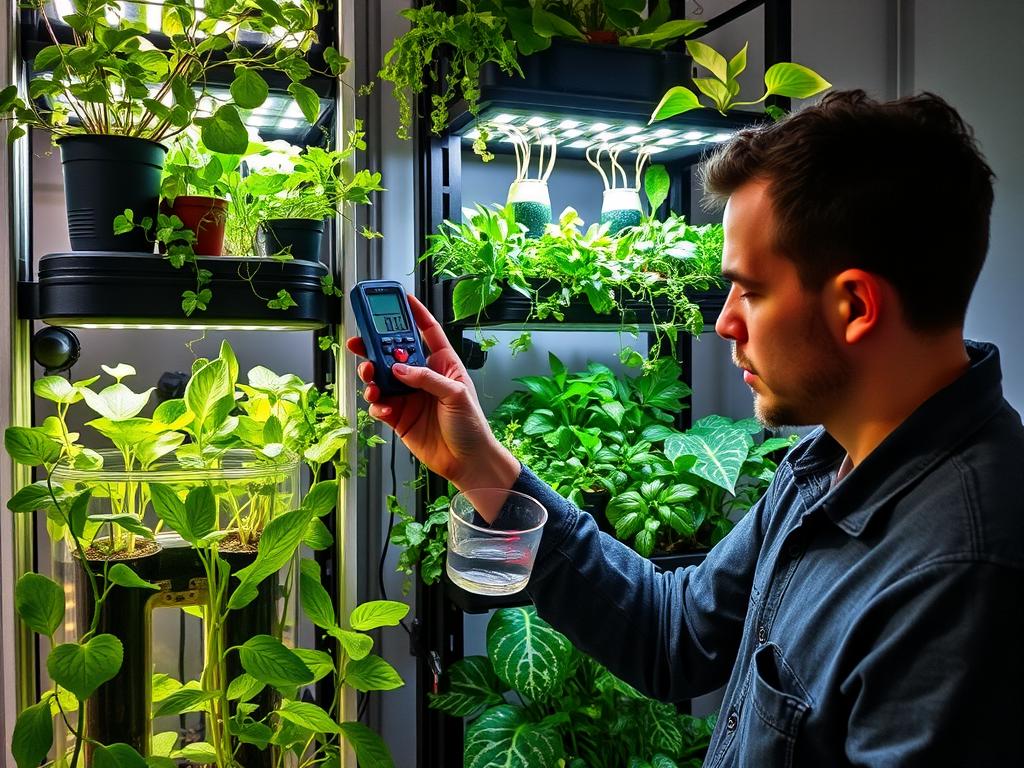
Consistent maintenance is key to a successful hydroponic garden. Establish a routine to keep your system running smoothly:
| Frequency | Task | Description |
| Daily | Check water level | Ensure reservoir has sufficient water; top off as needed |
| Daily | Monitor plants | Look for signs of stress, discoloration, or pests |
| 2-3 times weekly | Check pH levels | Maintain pH between 5.5-6.5 depending on plants |
| Weekly | Check EC/TDS levels | Measure nutrient concentration; adjust as needed |
| Weekly | Prune plants | Remove dead leaves and manage plant size |
| Bi-weekly | Clean filters/pumps | Remove debris to prevent clogs |
| Monthly | Complete water change | Replace nutrient solution entirely |
Troubleshooting Common Issues
Even well-maintained hydroponic gardens can encounter problems. Here’s how to identify and address common issues:
Yellowing Leaves
Possible causes: Nutrient deficiency (especially nitrogen), pH imbalance, or light burn
Solutions:
- Check and adjust nutrient solution concentration
- Verify pH is in appropriate range (5.5-6.5)
- Ensure lights aren’t too close to plants
- Add CalMag supplement if deficiency is suspected
Algae Growth
Possible causes: Light exposure to nutrient solution, warm water temperatures
Solutions:
- Cover reservoir and tubing to block light
- Use opaque or black containers
- Clean system with food-grade hydrogen peroxide (3%)
- Maintain cooler water temperatures (65-75°F)
Stunted Growth
Possible causes: Insufficient light, improper nutrient balance, temperature issues
Solutions:
- Verify light intensity and duration are appropriate
- Check that nutrients are balanced for plant type
- Maintain ambient temperature between 65-80°F
- Ensure proper spacing between plants
Wilting Plants
Possible causes: Pump failure, clogged irrigation, high temperatures
Solutions:
- Check that pump is functioning properly
- Clear any clogs in irrigation lines
- Verify water is circulating to all plants
- Reduce ambient temperature if above 85°F
Pest Infestations
Possible causes: Contaminated equipment, open windows, new plants
Solutions:
- Introduce beneficial insects like ladybugs
- Use neem oil or insecticidal soap (organic options)
- Isolate affected plants immediately
- Maintain good air circulation
Important: Never use standard garden pesticides on hydroponic systems. These chemicals can concentrate in the recirculating water and damage your entire garden. Always choose products specifically labeled as safe for hydroponic use.
Advanced Tips for Optimization
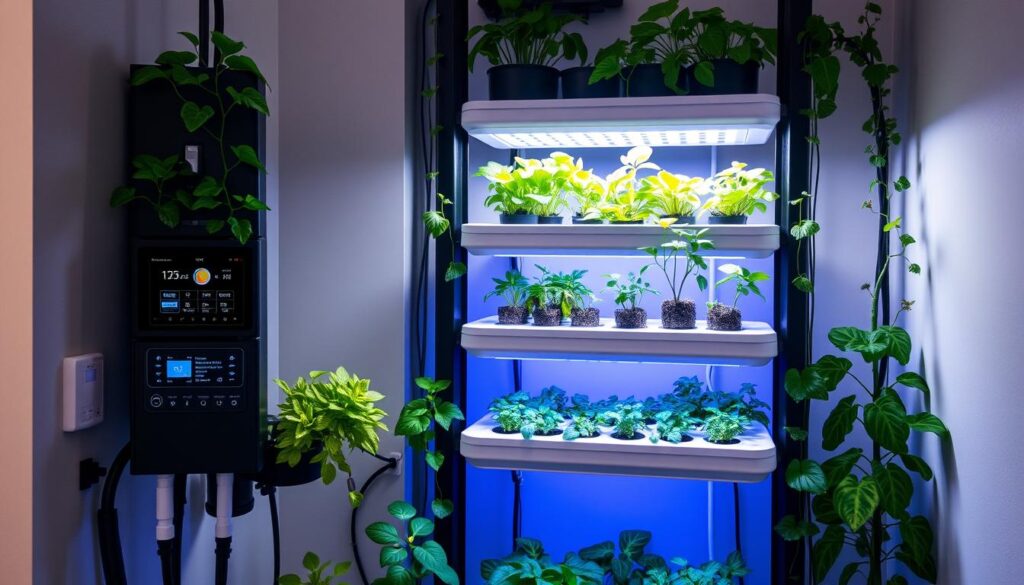
Once you’ve mastered the basics, consider these advanced techniques to maximize your garden’s efficiency and yield:
Automation
Invest in smart controllers to automate:
- Lighting schedules with gradual dimming
- Nutrient dosing systems
- pH adjustment
- Temperature control
- Humidity management
Crop Rotation
Implement strategic planting cycles:
- Stagger plantings for continuous harvests
- Group plants with similar needs
- Rotate plant families to reduce disease risk
- Dedicate sections to different growth stages
Companion Planting
Even in hydroponics, some plants benefit each other:
- Basil alongside tomatoes improves flavor
- Mint deters pests from leafy greens
- Marigolds help protect against root nematodes
- Nasturtiums act as trap crops for aphids
Take your garden to the next level
Download our Advanced Hydroponics Guide with detailed instructions for system optimization.
Conclusion: Growing Success with Your Indoor Vertical Garden
Creating an indoor vertical garden with LED lighting and hydroponics opens up a world of growing possibilities regardless of your living situation or local climate. While the initial setup requires some investment of time and resources, the rewards of fresh, nutritious produce year-round make it well worth the effort.
Remember that gardening is a journey of continuous learning. Start small, observe closely, and expand your system as you gain confidence and experience. Each harvest will bring not only fresh food but also valuable insights that will help you refine your approach.
With the space-saving efficiency of vertical design, the water conservation of hydroponics, and the energy efficiency of LED lighting, your indoor garden represents a sustainable approach to food production that aligns with modern environmental concerns while connecting you more deeply to the food you eat.
“The greatest service which can be rendered any country is to add a useful plant to its culture.” – Thomas Jefferson
Ready to start your indoor vertical garden?
Download our complete beginner’s guide with shopping lists, setup instructions, and maintenance schedules.
Will is a vertical gardening enthusiast and sustainable cultivation specialist with a passion for helping people grow fresh food in small spaces and dry climates. With years of hands-on experience testing smart irrigation systems, optimizing urban gardens, and exploring eco-friendly solutions, this author shares clear, practical tips to turn any corner into a productive garden. Whether on a sunny balcony or in a compact backyard, Will helps readers save water, maximize space, and enjoy healthy harvests year-round. When not tending to his plants, you’ll find him sipping herbal tea and sketching ideas for new sustainable projects.

