Growing herbs in vertical wall planters is a game-changer for anyone with limited space who dreams of having fresh herbs at their fingertips. Whether you have a small balcony, a tiny patio, or just a blank wall that needs some life, vertical herb gardens offer a practical and beautiful solution. Not only do they maximize your growing area, but they also create an eye-catching living wall that enhances any space. In this comprehensive guide, we’ll walk through everything you need to know to create and maintain a thriving vertical herb garden that provides fresh flavors year-round.
Benefits of Growing Herbs in Vertical Wall Planters
Vertical herb gardens aren’t just beautiful—they’re incredibly practical for modern living. By growing upward instead of outward, you can transform even the smallest spaces into productive herb gardens. Here’s why vertical herb planters make so much sense:
- Space optimization for small areas like balconies, patios, or kitchen walls
- Easy access to fresh herbs while cooking
- Improved air circulation around plants, reducing disease problems
- Better visibility of all your herbs at once
- Protection from ground-dwelling pests and animals
- Attractive living wall decoration that enhances your space
- Water efficiency with proper setup and drainage systems
A well-designed vertical herb garden brings life to kitchen walls while providing easy access to fresh herbs
Choosing the Right Vertical Wall Planters
The foundation of a successful vertical herb garden starts with selecting the right planters. Your choice will impact not only the aesthetics but also the health of your herbs and ease of maintenance.
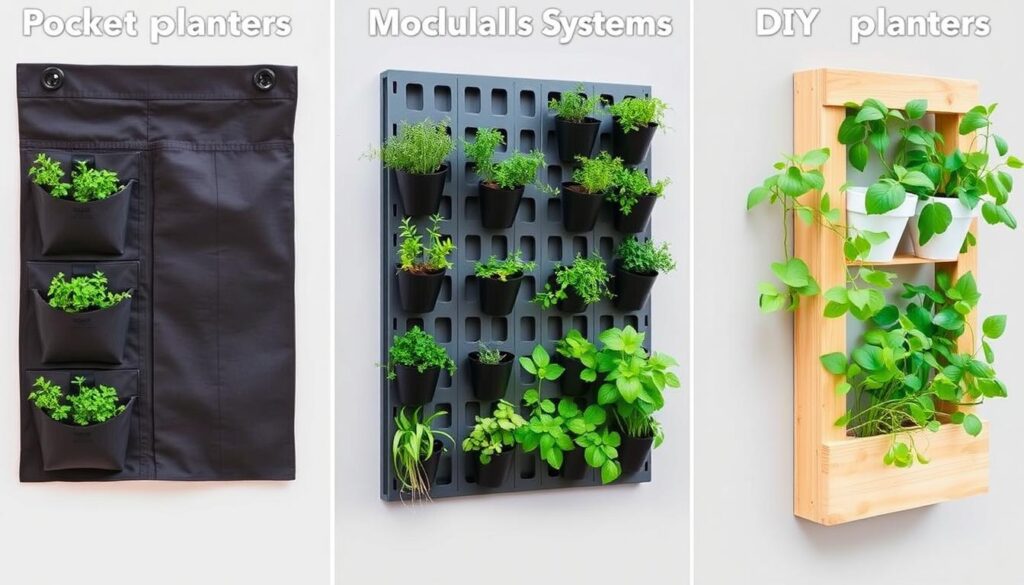
Various vertical planter options: fabric pockets, modular systems, and DIY wooden planters
Types of Vertical Planters
Pocket Planters
Fabric pocket planters are lightweight, affordable, and easy to install. They work well for smaller herbs and can cover large wall areas. Look for ones with waterproof backing to protect your wall.
Modular Systems
Plastic or metal modular systems offer flexibility to expand your garden over time. These typically include built-in irrigation systems and are ideal for both indoor and outdoor use.
DIY Wood Planters
Wooden planters, often made from pallets or fence boards, offer a rustic look and can be customized to your space. They require more setup but provide deeper soil capacity for larger herbs.
Critical Features for Success
Essential Planter Features
- Proper drainage holes to prevent root rot
- Sufficient depth (at least 6″ for most herbs)
- Secure mounting system that can support weight when wet
- Weather-resistant materials for outdoor use
- Accessible for easy watering and harvesting
Features to Avoid
- Planters without drainage (leads to root rot)
- Too-shallow containers (restricts root growth)
- Dark-colored planters in full sun (overheating)
- Flimsy mounting systems (safety hazard)
- Materials that degrade quickly outdoors
Ready to Start Your Vertical Herb Garden?
Download our free printable planter comparison chart to help you select the perfect vertical planters for your space and needs.
Best Herbs for Vertical Wall Planters
Not all herbs are created equal when it comes to vertical gardening. Some thrive in the unique conditions of wall planters, while others struggle. Here are the top performers for vertical herb gardens:
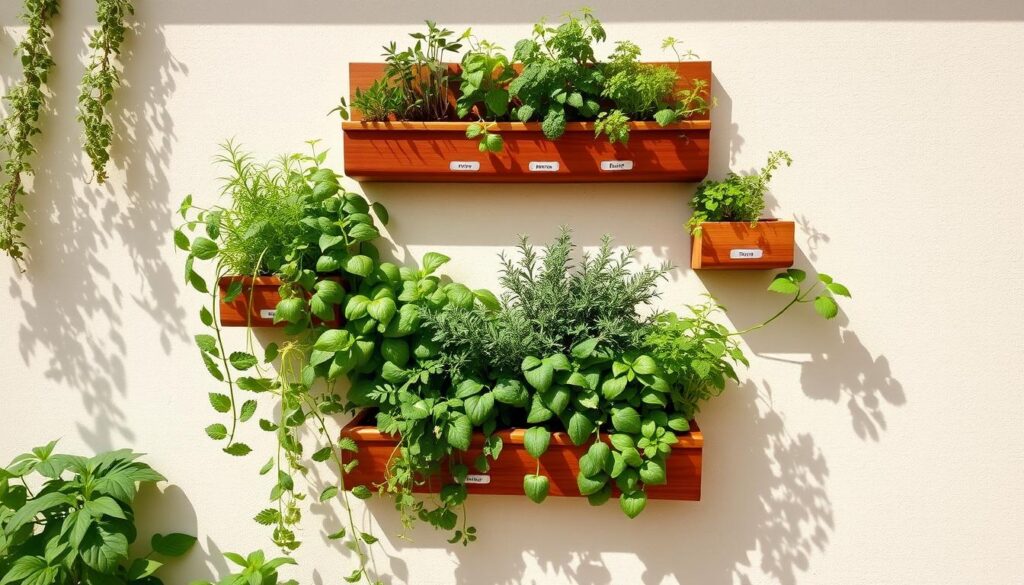
A well-established vertical herb garden with various herbs thriving in wall-mounted planters
| Herb | Sunlight Needs | Water Needs | Planter Depth | Special Notes |
| Rosemary | Full sun (6+ hours) | Low (drought-tolerant) | 8-12 inches | Excellent for hot, sunny walls |
| Thyme | Full sun (6+ hours) | Low (drought-tolerant) | 6-8 inches | Many varieties to choose from |
| Oregano | Full sun (6+ hours) | Low (drought-tolerant) | 6-8 inches | Spreads quickly, trim regularly |
| Mint | Partial sun (4-6 hours) | Medium | 6-8 inches | Plant alone – aggressive spreader |
| Basil | Full sun (6+ hours) | Medium-high | 6-8 inches | Annual, replant each spring |
| Chives | Partial to full sun | Medium | 6 inches | Cut often to encourage growth |
| Sage | Full sun (6+ hours) | Low (drought-tolerant) | 8-10 inches | Grows into woody shrub over time |
| Parsley | Partial sun (4-6 hours) | Medium | 8-10 inches | Biennial, replace every 2 years |
Herbs to Avoid in Vertical Planters
These herbs typically struggle in vertical planters:
- Dill – Grows too tall and can become top-heavy
- Cilantro – Bolts quickly in warm conditions common on walls
- Tarragon – Requires deep soil and consistent moisture
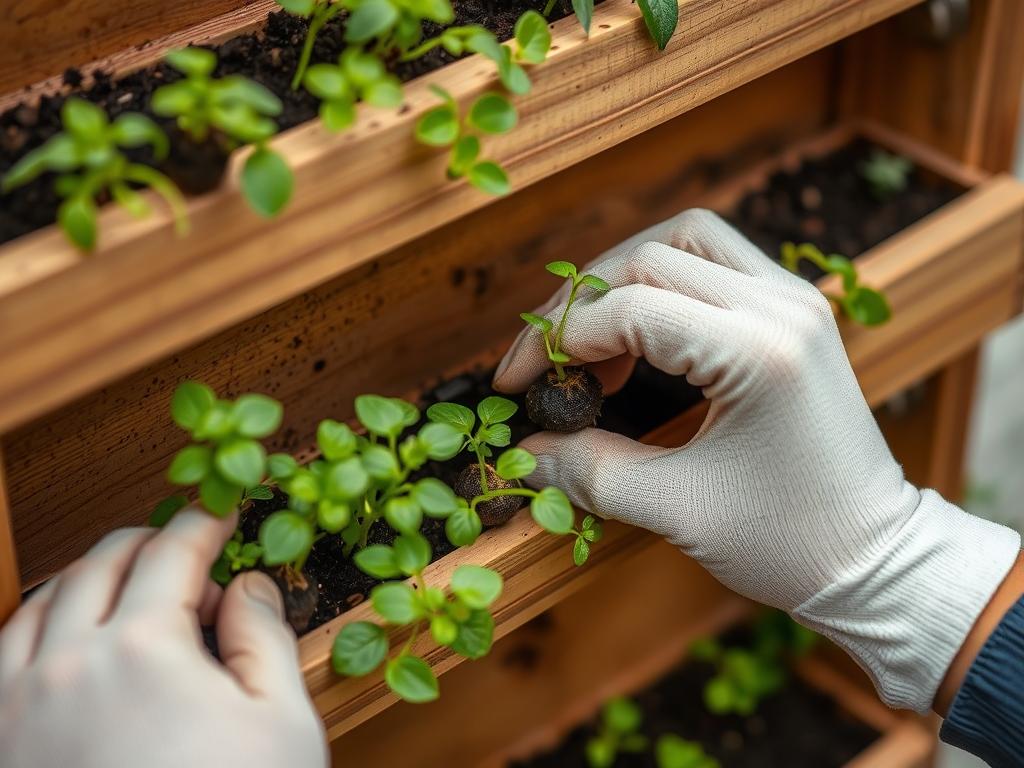
Planting herb seedlings in vertical planters requires careful handling of root systems
Setting Up Your Vertical Herb Garden
Now that you’ve selected your planters and herbs, it’s time to set up your vertical garden. Follow these steps for the best results:
- Your chosen vertical planters
- Mounting hardware (screws, brackets, etc.)
- Drill and level (for wall mounting)
- High-quality potting soil
- Herb plants or seeds
- Small rocks or broken pottery for drainage
- Watering can with narrow spout
- Organic herb fertilizer (optional)
Materials Needed
Step-by-Step Installation Process
- Choose the location – Find a spot with appropriate sunlight for your chosen herbs (usually 4-6 hours minimum)
- Prepare the wall – Ensure the wall can support the weight of planters when filled with wet soil
- Mount the planters – Use appropriate hardware and ensure they’re level
- Add drainage material – Place small rocks or broken pottery at the bottom of each planter
- Fill with soil – Use high-quality potting mix, leaving 1″ space at the top
- Plant your herbs – Space appropriately based on mature size
- Water thoroughly – Until water drains from the bottom
- Label your herbs – Use waterproof markers or plant tags
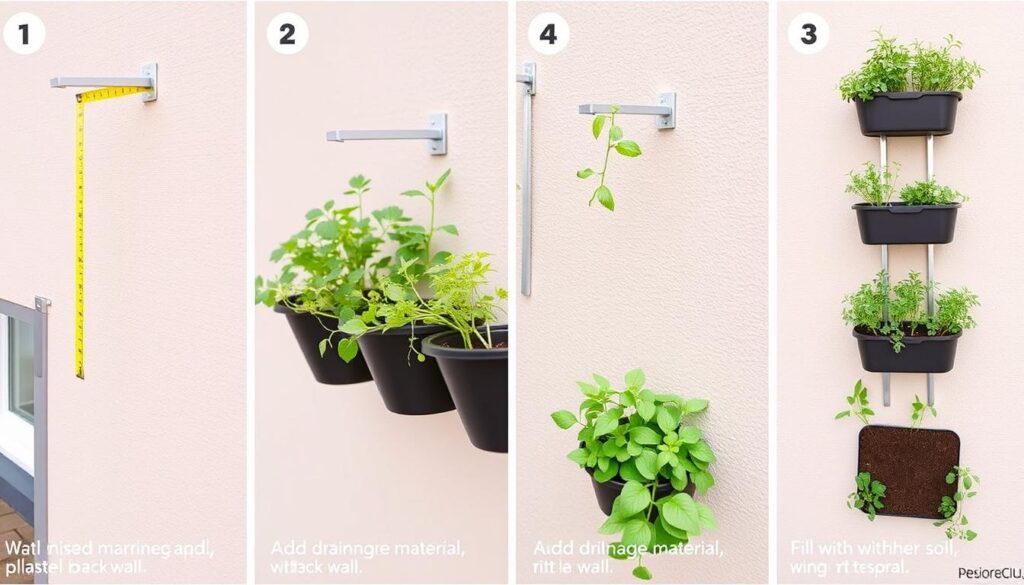
The installation process from wall preparation to planting your herbs
Pro Tip: Planting Arrangement
Place herbs with similar water needs in the same row or section. Put drought-tolerant herbs like rosemary and thyme at the top (where soil dries faster) and moisture-loving herbs like mint and basil at the bottom (where water naturally flows).
Watering Your Vertical Herb Garden
Proper watering is perhaps the most critical aspect of maintaining a vertical herb garden. The vertical orientation creates unique watering challenges that require special attention.
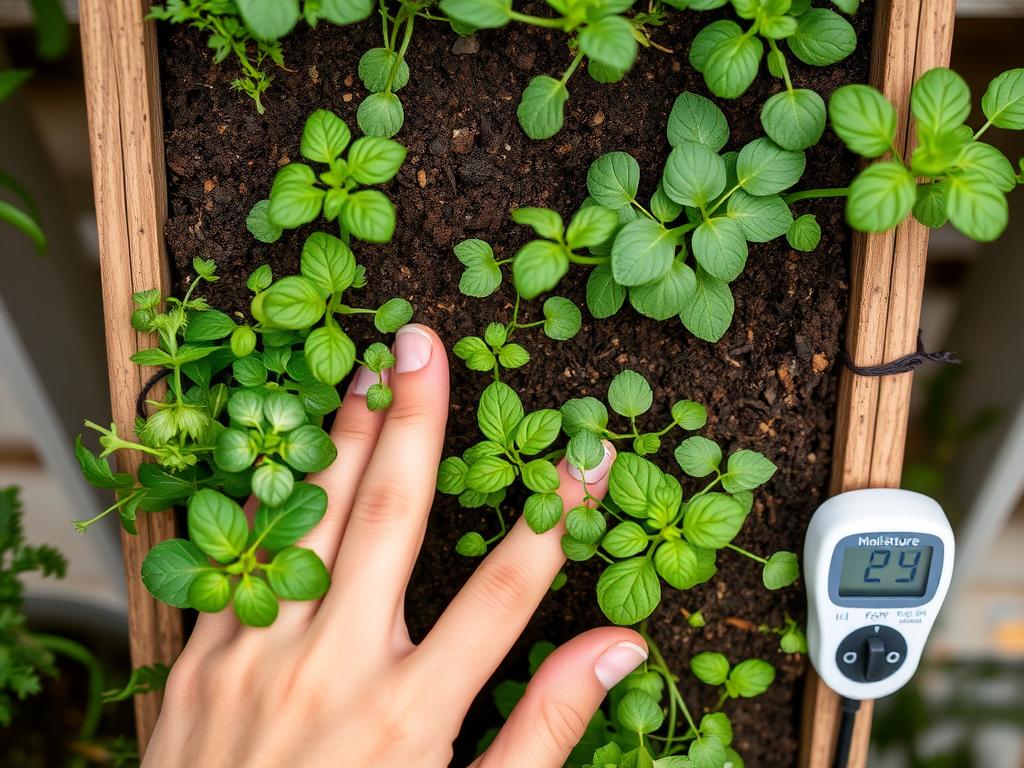
Checking soil moisture is essential for proper watering of vertical herb gardens
Watering Techniques
Hand Watering
The most common method for small vertical gardens:
- Use a watering can with a narrow spout for precision
- Water slowly to allow absorption and prevent runoff
- Focus water at the base of plants, not on foliage
- Check that water reaches the bottom of each planter
Drip Irrigation
Ideal for larger installations or busy gardeners:
- Install micro-drip emitters at each planter
- Connect to a timer for consistent watering
- Adjust flow rate based on season and weather
- Check system regularly for clogs or leaks
How to Check Soil Moisture
Vertical planters can dry out quickly, especially at the top. Learn to check moisture properly:
- Insert your finger 1-2 inches into the soil
- If it feels dry at that depth, it’s time to water
- Check multiple planters – they may dry at different rates
- For more accuracy, use a moisture meter
Seasonal Watering Adjustments
Spring/Fall: Water 2-3 times per week
Summer: Water daily in hot weather
Winter: Reduce to once weekly for outdoor planters
Indoor planters: Check twice weekly year-round
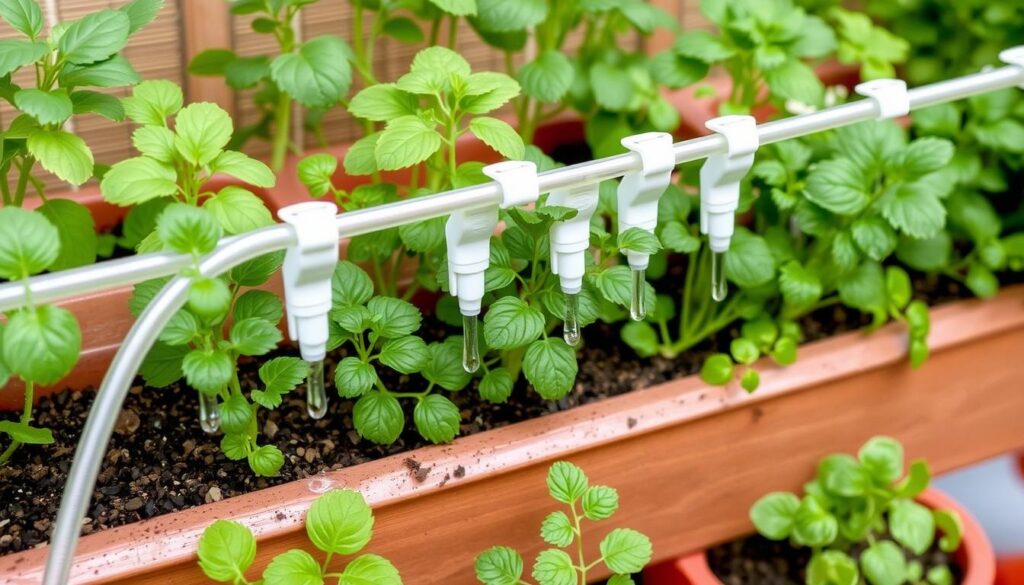
A drip irrigation system provides consistent, efficient watering for vertical herb gardens
Maintaining Your Vertical Herb Garden
Regular maintenance keeps your vertical herb garden productive and attractive. With the right care routine, your herbs will thrive for seasons to come.
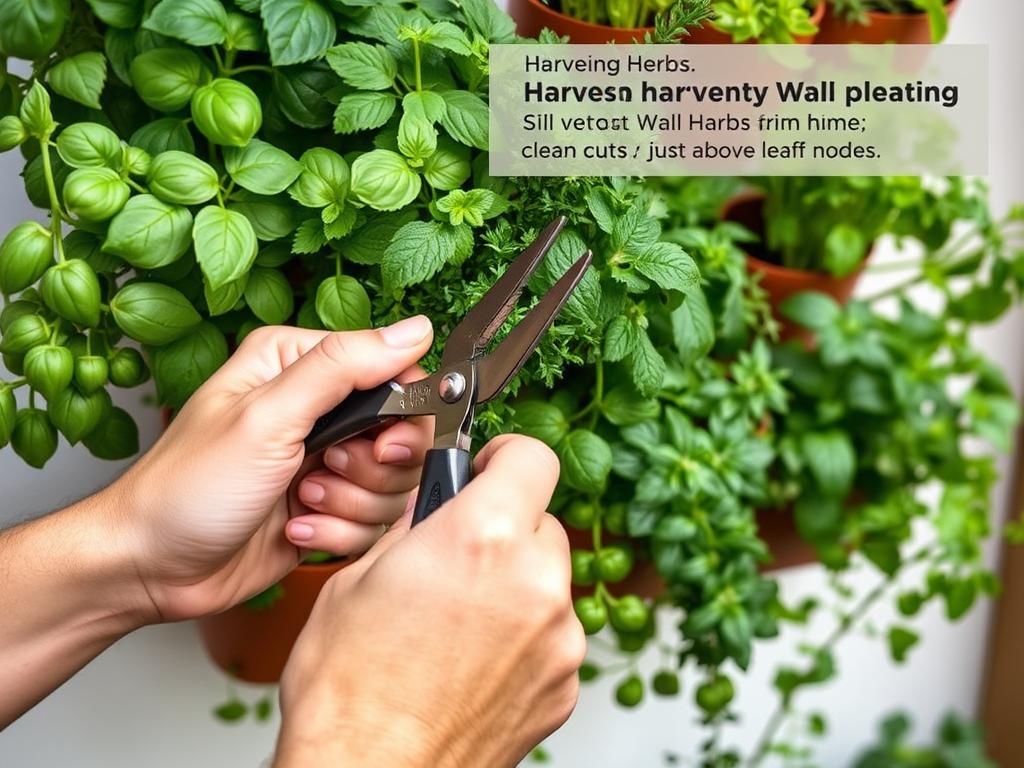
Regular pruning and harvesting promotes bushier, more productive herb growth
Seasonal Maintenance Tasks
| Season | Tasks |
| Spring |
|
| Summer |
|
| Fall |
|
| Winter |
|
Troubleshooting Common Problems
Yellowing Leaves
Possible causes: Overwatering, nutrient deficiency, or insufficient light
Solutions: Check soil moisture and adjust watering schedule. Apply diluted organic fertilizer if nutrient-deficient. Relocate planter if light is insufficient.
Leggy, Sparse Growth
Possible causes: Insufficient light or lack of pruning
Solutions: Move to a sunnier location if possible. Regularly pinch back growing tips to encourage bushier growth.
Pest Infestations
Common pests: Aphids, spider mites, whiteflies
Solutions: Spray with insecticidal soap or neem oil. Introduce beneficial insects like ladybugs. Isolate affected plants to prevent spread.
Root Rot
Possible causes: Poor drainage, overwatering
Solutions: Ensure planters have adequate drainage holes. Allow soil to dry between waterings. In severe cases, remove plant, trim affected roots, and replant in fresh soil.

A well-maintained vertical herb garden provides fresh herbs and visual appeal
Harvesting and Using Your Herbs
One of the greatest joys of growing herbs is harvesting and using them in your cooking. Proper harvesting techniques not only provide you with fresh herbs but also promote healthier, more productive plants.
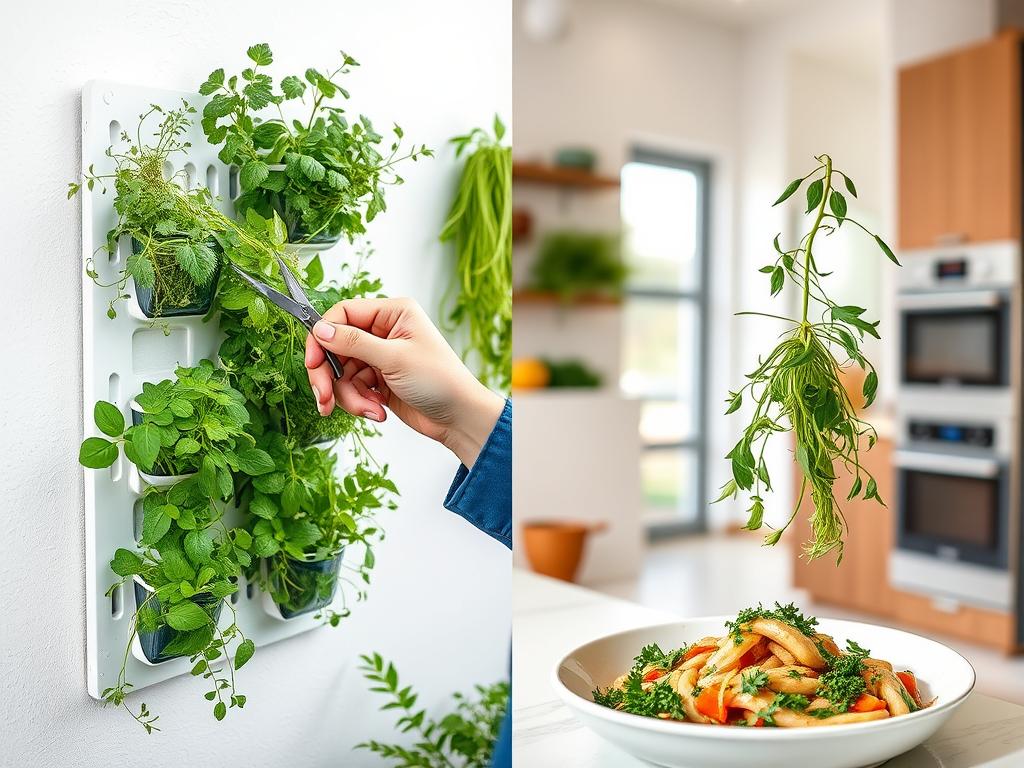
From garden to kitchen: harvesting fresh herbs enhances your culinary creations
Harvesting Tips for Common Herbs
Basil
Harvest from the top down, cutting stems just above a leaf node. This encourages bushier growth. Never take more than 1/3 of the plant at once.
Mint
Cut stems back to just above a leaf node. Mint responds well to aggressive harvesting, so don’t be shy about cutting it back regularly.
Rosemary
Cut young, tender stems for the best flavor. Avoid cutting into woody stems unless you’re pruning for shape.
Thyme
Harvest by cutting stems with sharp scissors. You can take up to 1/3 of the plant at a time during the growing season.
Parsley
Cut outer stems at the base of the plant, leaving inner stems to continue growing. This encourages new growth from the center.
Chives
Cut leaves about 2 inches from the base. They’ll regrow quickly. Harvest from different sections of the plant each time.
Best Times to Harvest
For the most flavorful herbs, harvest in the morning after the dew has dried but before the day heats up. This is when the essential oils are most concentrated in the leaves.
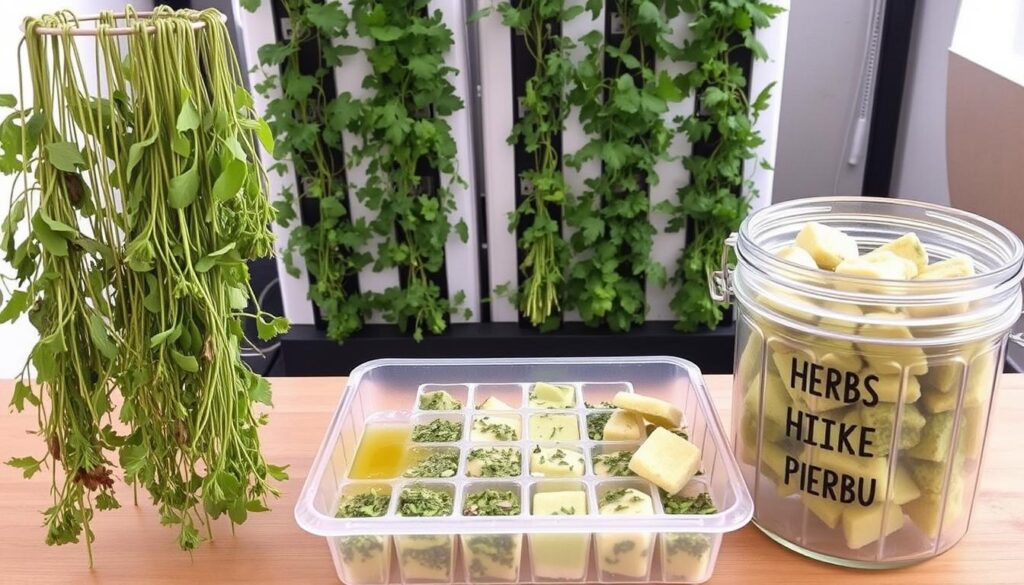
Preserving your herb harvest extends enjoyment beyond the growing season
Start Your Vertical Herb Garden Today
Growing herbs in vertical wall planters is a rewarding way to bring fresh flavors and greenery into your life, regardless of how much space you have. With the right planters, proper plant selection, and consistent care, you can enjoy a bountiful herb harvest year-round.
Remember that gardening is a journey of continuous learning. Don’t be discouraged by initial challenges—each season brings new insights and improvements. Start small with a few of your favorite herbs, and expand your vertical garden as you gain confidence and experience.
Want More Vertical Gardening Tips?
Subscribe to our newsletter for seasonal gardening advice, herb care tips, and creative ways to use your harvest.
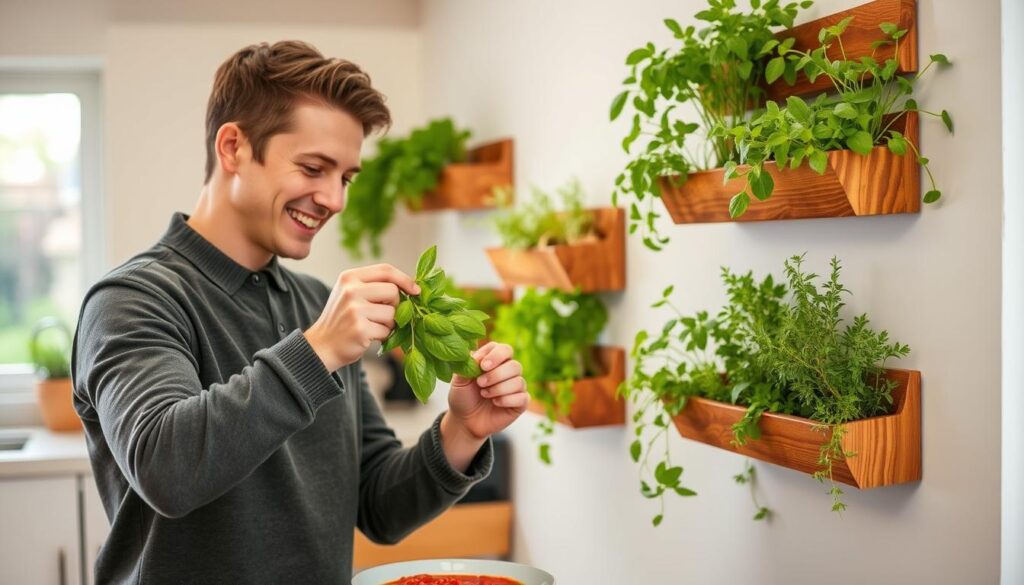
The ultimate reward: enjoying fresh herbs from your own vertical garden
Will is a vertical gardening enthusiast and sustainable cultivation specialist with a passion for helping people grow fresh food in small spaces and dry climates. With years of hands-on experience testing smart irrigation systems, optimizing urban gardens, and exploring eco-friendly solutions, this author shares clear, practical tips to turn any corner into a productive garden. Whether on a sunny balcony or in a compact backyard, Will helps readers save water, maximize space, and enjoy healthy harvests year-round. When not tending to his plants, you’ll find him sipping herbal tea and sketching ideas for new sustainable projects.

