Looking for a creative way to grow plants when space is limited? A vertical garden using recycled materials offers the perfect solution. This eco-friendly approach not only helps reduce waste but also transforms ordinary items into beautiful living walls. Whether you have a small apartment balcony or just want to add greenery to a blank wall, this guide will walk you through creating your own sustainable vertical garden that’s both functional and visually appealing.
Benefits of Creating a Vertical Garden with Recycled Materials
Before diving into the construction process, let’s explore why vertical gardens using recycled materials have become so popular:
Space Efficiency
Vertical gardens make use of wall space rather than floor space, making them perfect for small apartments, balconies, or limited garden areas. You can grow a surprising number of plants in a compact vertical arrangement.
Environmental Impact
By repurposing items that would otherwise end up in landfills, you’re contributing to waste reduction. Plastic bottles, wooden pallets, and old containers gain new life as growing spaces for plants.
Cost Savings
Commercial vertical garden systems can be expensive. Creating your own using recycled materials significantly reduces costs while allowing for customization to fit your specific space and needs.
Aesthetic Appeal
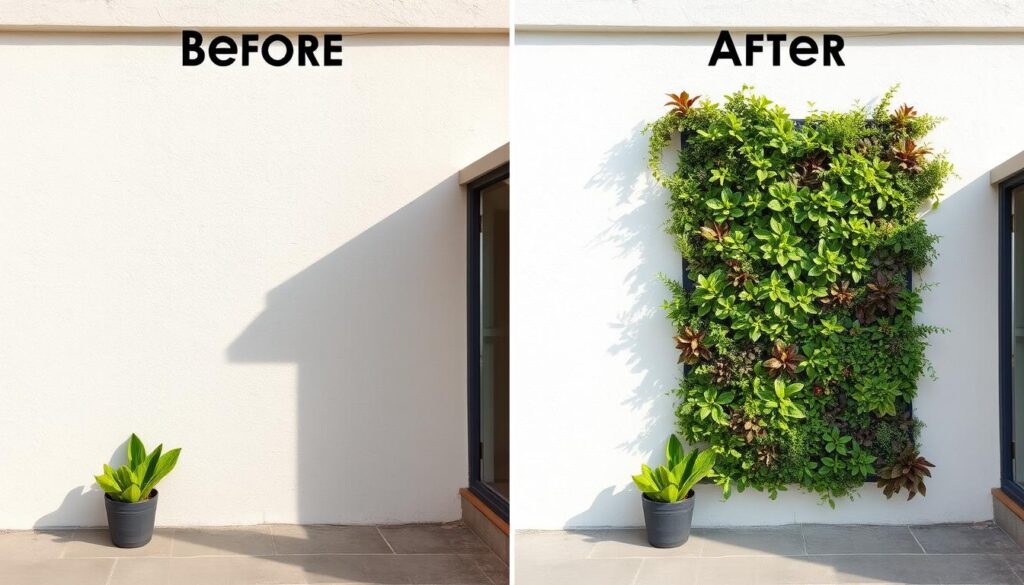
A well-designed vertical garden transforms blank walls into living art. The contrast of greenery against walls creates visual interest and can become a focal point in any space.
Materials You’ll Need
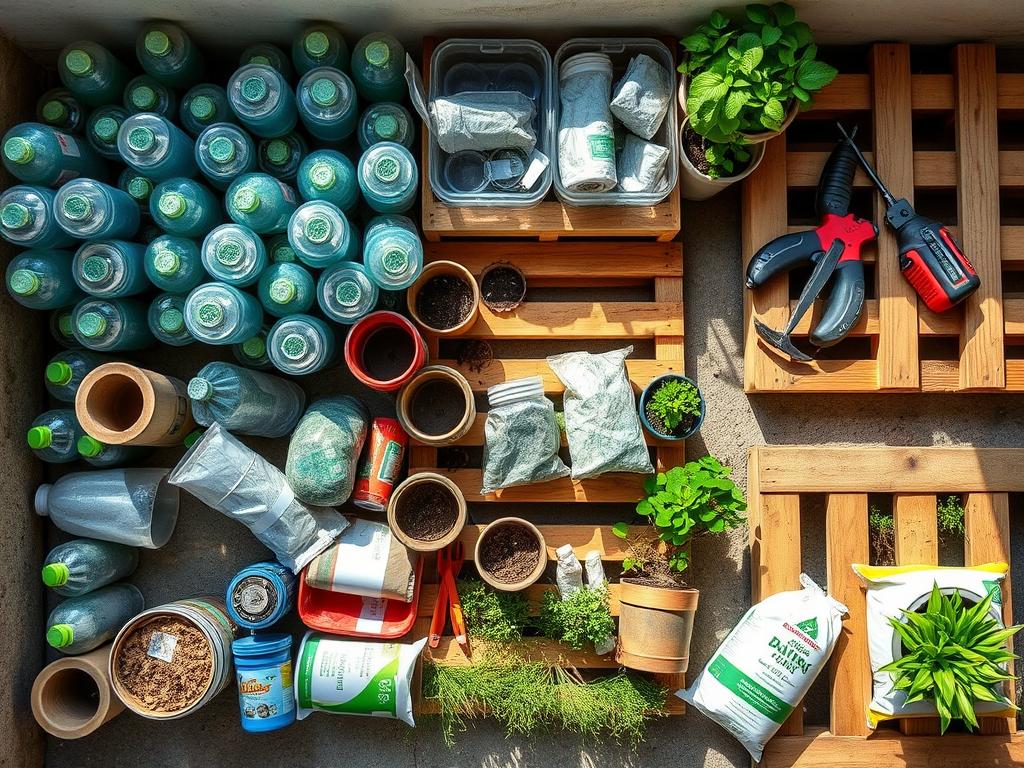
One of the best aspects of creating a vertical garden with recycled materials is flexibility. You can use what you have available, but here are some common materials that work well:
Recycled Containers
- Plastic bottles (water or soda bottles work great)
- Plastic food containers (berry containers, cake containers)
- Milk jugs or cartons
- Old gutters or pipes
- Wooden pallets
- Shoe organizers or fabric pockets
Tools and Additional Materials
- Scissors or utility knife
- Drill (for drainage holes)
- Hammer and nails
- Twine or strong string
- Zip ties
- Command strips (for indoor use)
- Potting mix
- Small rocks or pebbles (for drainage)
Preparing Your Materials
Before assembling your vertical garden, you’ll need to prepare your recycled containers properly. This step is crucial for plant health and the longevity of your garden.
Cleaning Your Containers
Thoroughly wash all recycled containers with mild soap and water to remove any residues. For containers that held food, ensure they’re completely clean to prevent mold or bacteria growth that could harm your plants.
Creating Drainage Holes
Proper drainage is essential for plant health. Use a drill or sharp object to create several small holes in the bottom of each container. For plastic bottles, 4-6 holes about 1/4 inch in diameter work well.
“I didn’t want to be going out and buying lots of stuff. And so I tried to come up with a concept that used repurposed materials.”
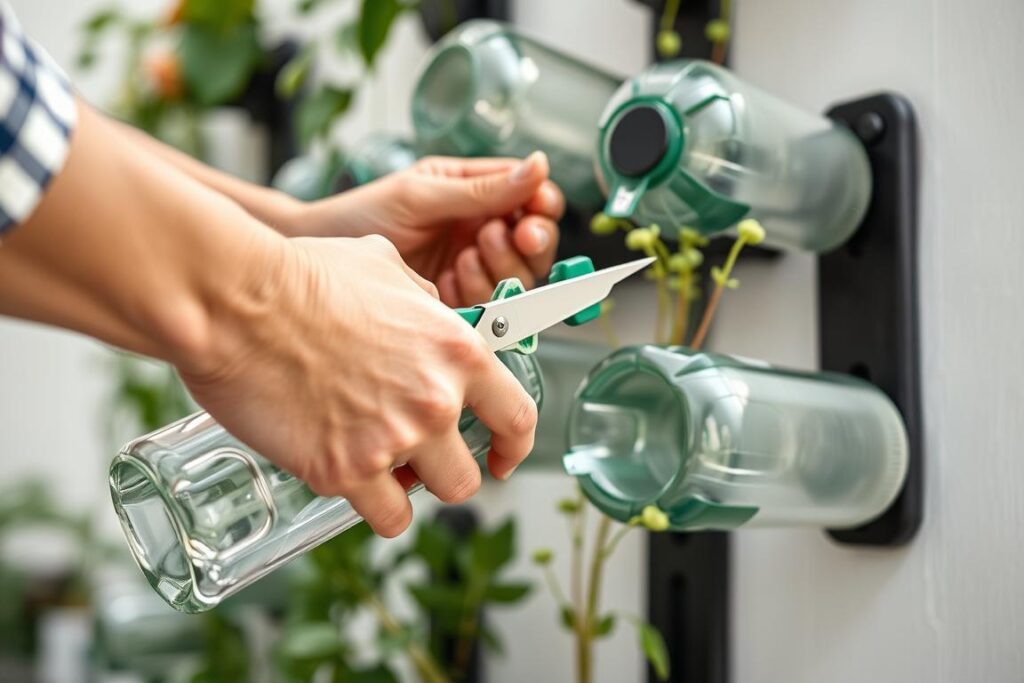
Cutting and Shaping Containers
For plastic bottles, cut them under the handle at an angle of about 30 degrees. This creates a larger opening while maintaining depth for soil. For milk jugs, you can cut off the top portion or cut a large rectangular opening in one side.
Assembling Your Vertical Garden
Now comes the fun part – putting everything together! There are several approaches depending on which recycled materials you’re using.
Plastic Bottle Vertical Garden
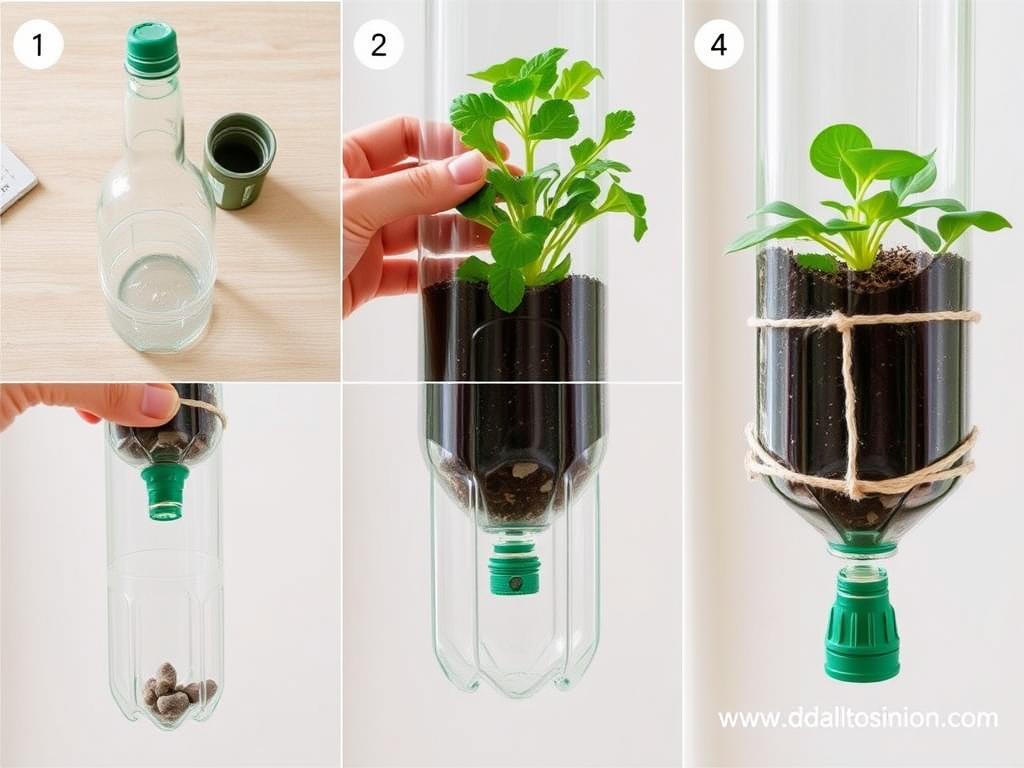
- Add a layer of small rocks or pebbles at the bottom of each bottle for drainage.
- Fill each bottle about 2/3 full with potting mix.
- Create mounting holes: Drill two small holes on the back side of each bottle for hanging.
- Thread twine or string through the holes, creating a loop for hanging.
- Arrange your bottles in a pattern that works for your space.
Pallet Vertical Garden
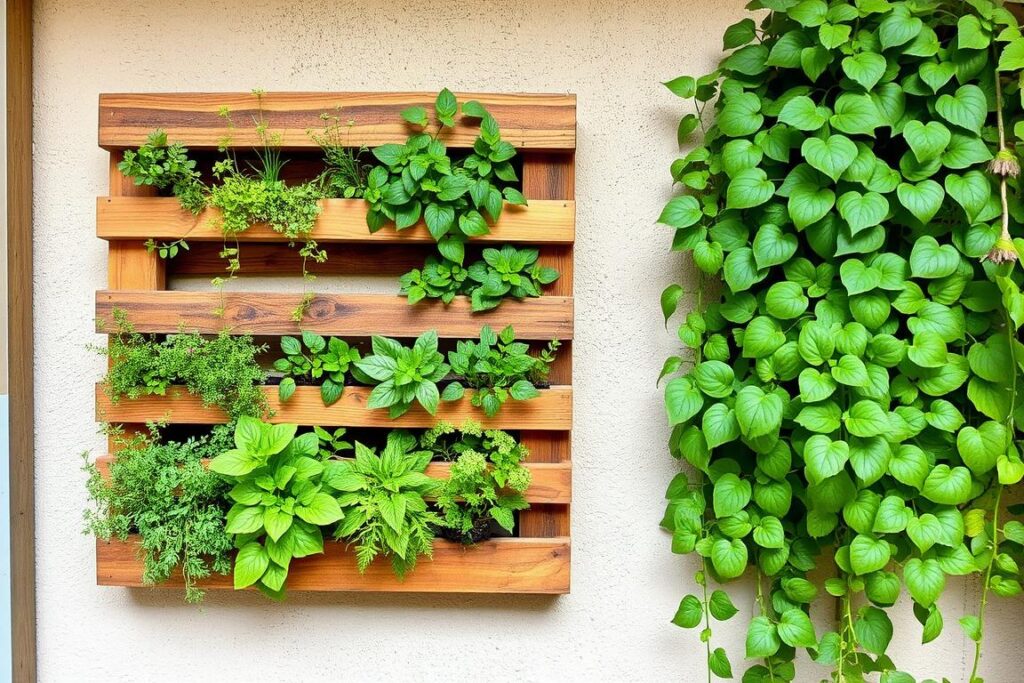
Wooden pallets make excellent vertical gardens and require minimal modification:
- Sand any rough edges on the pallet to prevent splinters.
- Staple landscape fabric to the back and bottom of the pallet to create pockets for soil.
- Lay the pallet flat and fill the spaces between slats with potting mix.
- Plant seedlings or small plants between the slats.
- Keep the pallet horizontal for 1-2 weeks to allow plants to establish.
- Carefully move to vertical position and mount on a wall or fence.
Planting Your Vertical Garden
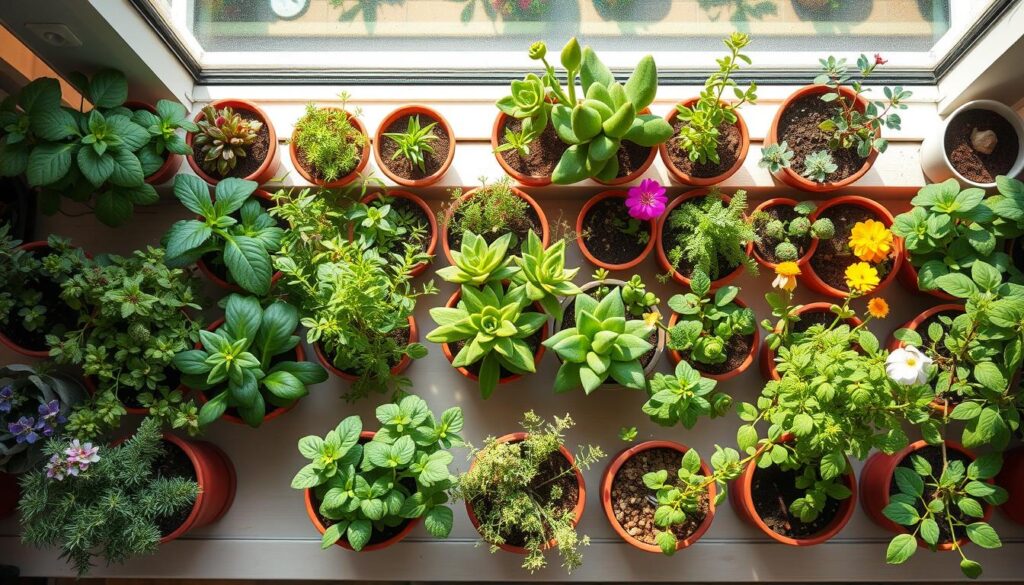
Choosing the right plants for your vertical garden is crucial for success. Consider light conditions, water needs, and the size of your containers.
Best Plants for Recycled Vertical Gardens
Herbs
- Basil
- Mint
- Parsley
- Thyme
- Oregano
Vegetables
- Lettuce
- Spinach
- Cherry tomatoes
- Strawberries
- Radishes
Ornamental Plants
- Succulents
- Pothos
- Spider plants
- Ferns
- Ivy
Flowers
- Marigolds
- Petunias
- Pansies
- Impatiens
- Alyssum
Planting Process
- Add a layer of rocks at the bottom of each container for drainage.
- Fill containers about 2/3 full with potting mix.
- Gently remove plants from their nursery containers.
- Create a small hole in the soil and place the plant inside.
- Add more soil around the plant, leaving about 1 inch of space at the top.
- Water thoroughly but gently to help plants establish.
Tip: When selecting plants, consider their mature size. Some plants may quickly outgrow small containers, while others will thrive in confined spaces.
Mounting Your Vertical Garden
Once your containers are planted, it’s time to mount them on your chosen wall or fence. The mounting method depends on your location and the surface you’re working with.
Indoor Mounting Options
- Command strips: Great for lightweight containers on smooth walls. Follow package instructions and wait 24 hours before hanging plants.
- Wall anchors and hooks: For heavier setups, use proper wall anchors that can support the weight of your containers with wet soil.
- Tension rods: Can be used in windows or doorways to hang lightweight containers.
Outdoor Mounting Options
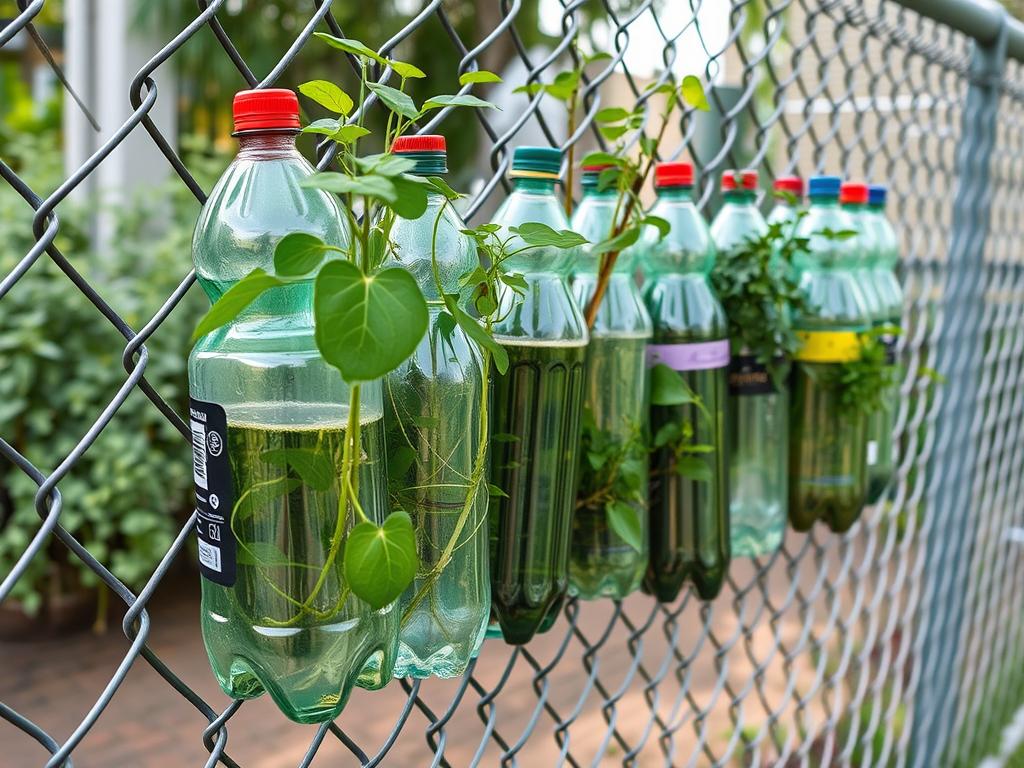
- Fence mounting: Use zip ties to secure containers to chain-link fences or wooden fence posts.
- Masonry walls: Use masonry drill bits and appropriate anchors. Ensure you have at least three anchor points for each section.
- Freestanding structure: Create an A-frame or trellis structure if wall mounting isn’t an option.
Safety First: Always check for electrical wires or plumbing before drilling into walls. Use a stud finder and voltage detector to avoid hazards.
Caring for Your Recycled Vertical Garden
Maintaining your vertical garden is essential for its long-term success. Vertical gardens may require more frequent attention than traditional gardens due to their unique growing conditions.
Watering
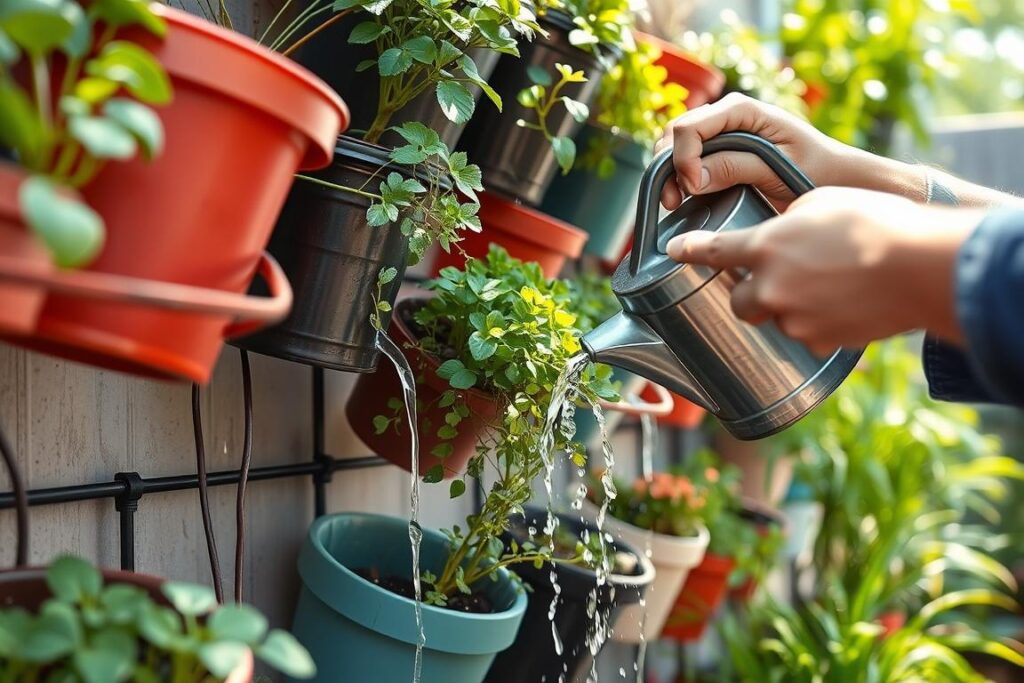
Vertical gardens typically dry out faster than traditional gardens. Check soil moisture every 1-2 days by touching the soil surface. If it feels dry, it’s time to water. Consider these watering tips:
- Water until you see drainage from the bottom holes.
- Morning watering is best to reduce evaporation.
- Consider installing a simple drip irrigation system for consistent moisture.
- Use a spray bottle for delicate seedlings.
Fertilizing
Plants in containers need regular fertilizing as nutrients leach out with watering:
- Use a balanced, water-soluble fertilizer every 2-4 weeks during growing season.
- Reduce fertilizing in winter months when plant growth slows.
- Consider organic options like compost tea for edible plants.
Seasonal Care
Adjust your care routine with the seasons:
- Spring: Prune back overgrown plants and replace any that didn’t survive winter.
- Summer: Increase watering frequency during hot periods.
- Fall: Reduce fertilizing and prepare tender plants for cooler weather.
- Winter: Move frost-sensitive plants indoors or provide protection.
Creative Ideas for Your Vertical Garden
Once you’ve mastered the basics, consider these creative approaches to make your vertical garden truly unique:
Theme Gardens
Create a garden with a specific theme:
- Herb kitchen garden with culinary herbs
- Pollinator garden with flowers that attract bees and butterflies
- Succulent display with various textures and colors
Artistic Arrangements
Turn your vertical garden into living art:
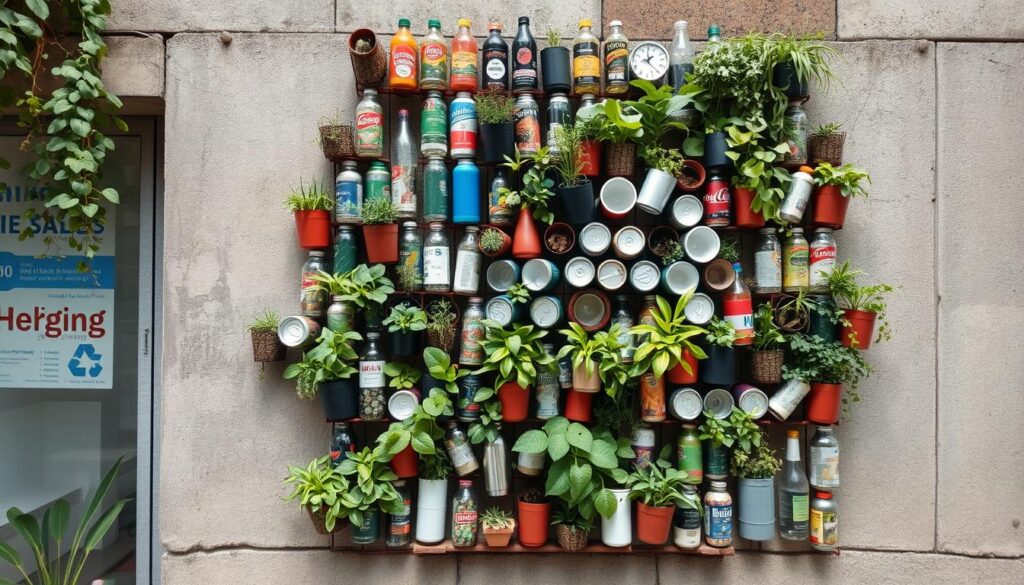
- Arrange containers to create patterns or images
- Use containers of different colors for visual interest
- Combine plants with varying textures and heights
Functional Gardens
Make your garden serve multiple purposes:
- Privacy screen with trailing plants
- Shade creation for hot areas
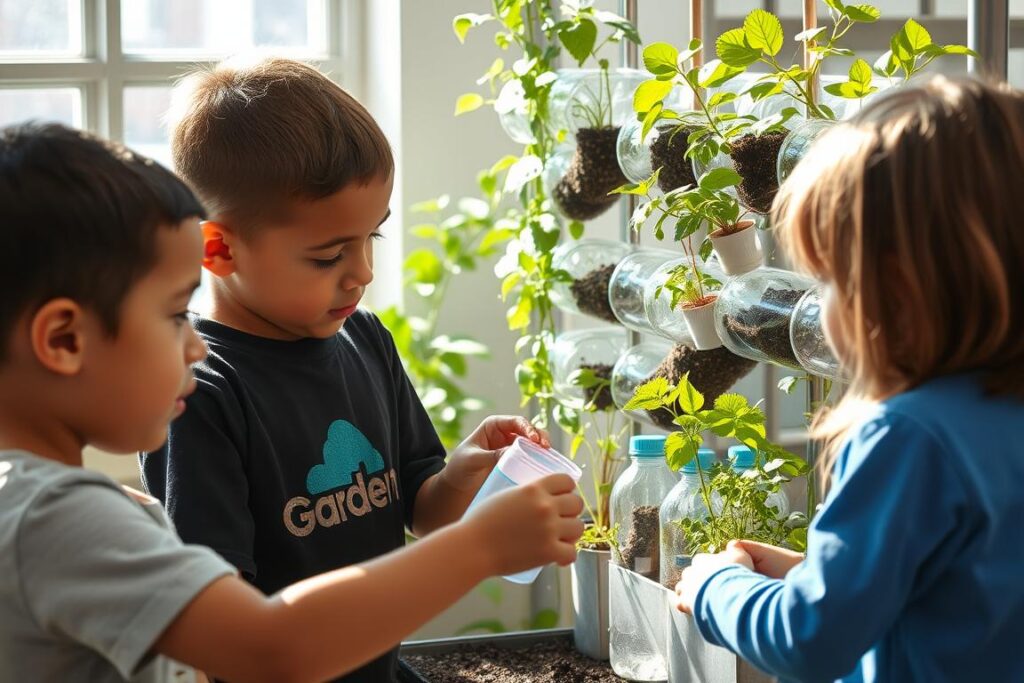
- Educational garden with labeled plants for children
Start Your Recycled Vertical Garden Today
Creating a vertical garden using recycled materials is a rewarding project that combines creativity, sustainability, and the joy of growing plants. Whether you have a tiny apartment balcony or a blank fence that needs beautifying, vertical gardens offer a solution that’s kind to both your wallet and the environment.
Remember that your first vertical garden doesn’t need to be perfect. Start small, experiment with different containers and plants, and expand as you gain confidence. The beauty of using recycled materials is that you can easily modify your design without significant investment.
Want More Gardening Tips?
Sign up for our newsletter to receive seasonal gardening advice, sustainable living tips, and creative DIY projects delivered straight to your inbox.
“The best time to start a garden was yesterday. The second best time is today.”
Will is a vertical gardening enthusiast and sustainable cultivation specialist with a passion for helping people grow fresh food in small spaces and dry climates. With years of hands-on experience testing smart irrigation systems, optimizing urban gardens, and exploring eco-friendly solutions, this author shares clear, practical tips to turn any corner into a productive garden. Whether on a sunny balcony or in a compact backyard, Will helps readers save water, maximize space, and enjoy healthy harvests year-round. When not tending to his plants, you’ll find him sipping herbal tea and sketching ideas for new sustainable projects.

