Gardening in drought-prone regions presents unique challenges. Water scarcity, excessive heat, and dry soil conditions can make growing healthy plants seem impossible. But what if you could create a gardening system that uses water efficiently while keeping your plants thriving? Self-watering containers offer an innovative solution for growing fresh food even in the driest climates.
This comprehensive guide will walk you through building your own affordable, water-efficient container using readily available materials. By the end, you’ll have a sustainable gardening solution that conserves water while providing consistent moisture to your plants—perfect for drought-prone areas.
Why Self-Watering Containers Work
Self-watering containers work on a simple yet ingenious principle: capillary action. Instead of watering from the top down (which leads to evaporation and runoff), these containers deliver water directly to plant roots from a reservoir below. This bottom-up approach ensures plants receive consistent moisture exactly where they need it.
Benefits for Dry Climates
Advantages of Self-Watering Containers
- Reduced water waste through minimal evaporation
- Consistent moisture levels for healthier plants
- Less frequent watering (often 1-2 times per week)
- Prevention of drought stress on plants
- Ability to leave plants unattended for longer periods
- Protection from extreme heat conditions
In traditional pots, water often runs straight through or evaporates quickly in hot weather. Self-watering containers create a microclimate that maintains optimal soil moisture, reducing water consumption by up to 50% compared to conventional containers.
Ideal Plants for Self-Watering Containers
While most plants can thrive in self-watering containers, some are particularly well-suited for drought-prone regions:
Vegetables
- Tomatoes
- Peppers
- Eggplants
- Leafy greens
- Bush beans
Herbs
- Rosemary
- Thyme
- Sage
- Basil
- Oregano
Ready to start your water-efficient garden?
Download our free printable materials checklist to make gathering supplies easier.
Materials & Tools
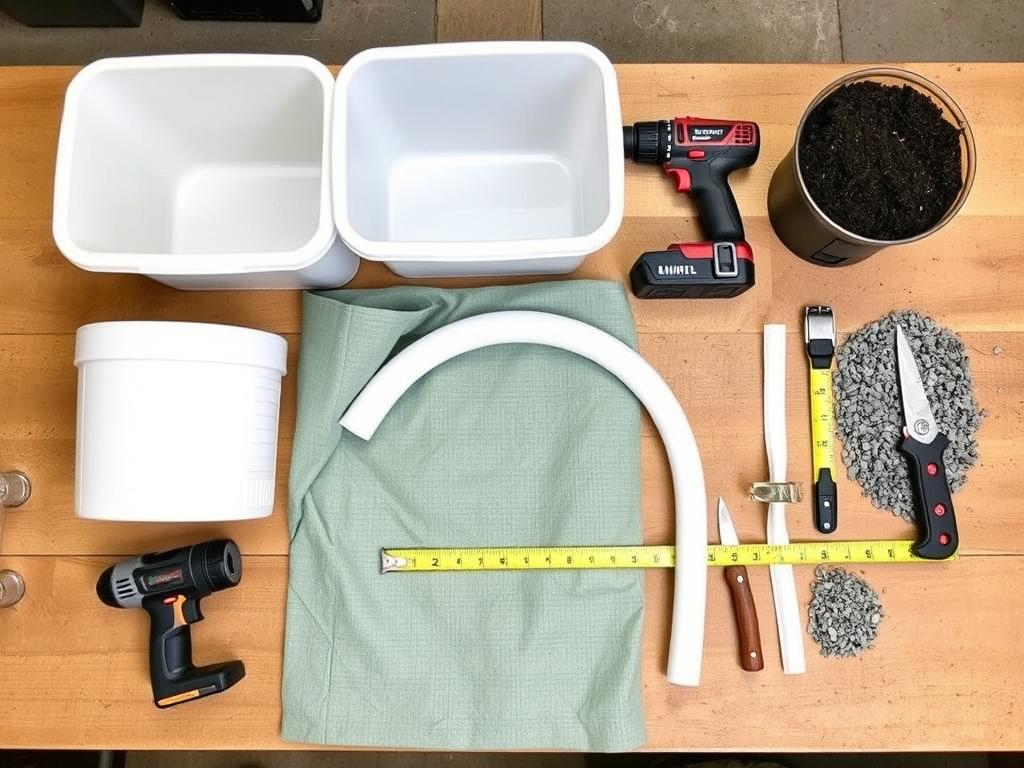
Building your own self-watering container is surprisingly simple and affordable. Most materials can be found at local hardware stores or repurposed from items you may already have.
Required Materials
- Two plastic storage containers (one for the reservoir, one for soil)
- 1-inch diameter PVC pipe (about 12 inches long)
- Landscape fabric or weed barrier cloth
- Potting mix (preferably with compost mixed in)
- Perlite or vermiculite (for improved drainage)
- Gravel or small stones (for drainage layer)
Required Tools
- Drill with 1/4-inch and 1-inch drill bits
- Utility knife or scissors
- Measuring tape
- Marker
- Sandpaper (to smooth rough edges)
Budget-Friendly Alternatives
Don’t have all the materials? Here are some cost-effective substitutions:
| Standard Material | Budget Alternative | Notes |
| Plastic storage containers | 5-gallon buckets | Ensure they’re food-safe (HDPE #2 plastic) |
| PVC pipe | Plastic bottle with bottom cut off | Use a 1-liter or larger bottle |
| Landscape fabric | Old cotton t-shirt | Avoid synthetic fabrics |
| Perlite/vermiculite | Coconut coir | Helps retain moisture while allowing drainage |
Step-by-Step Assembly Guide
Preparing the Container
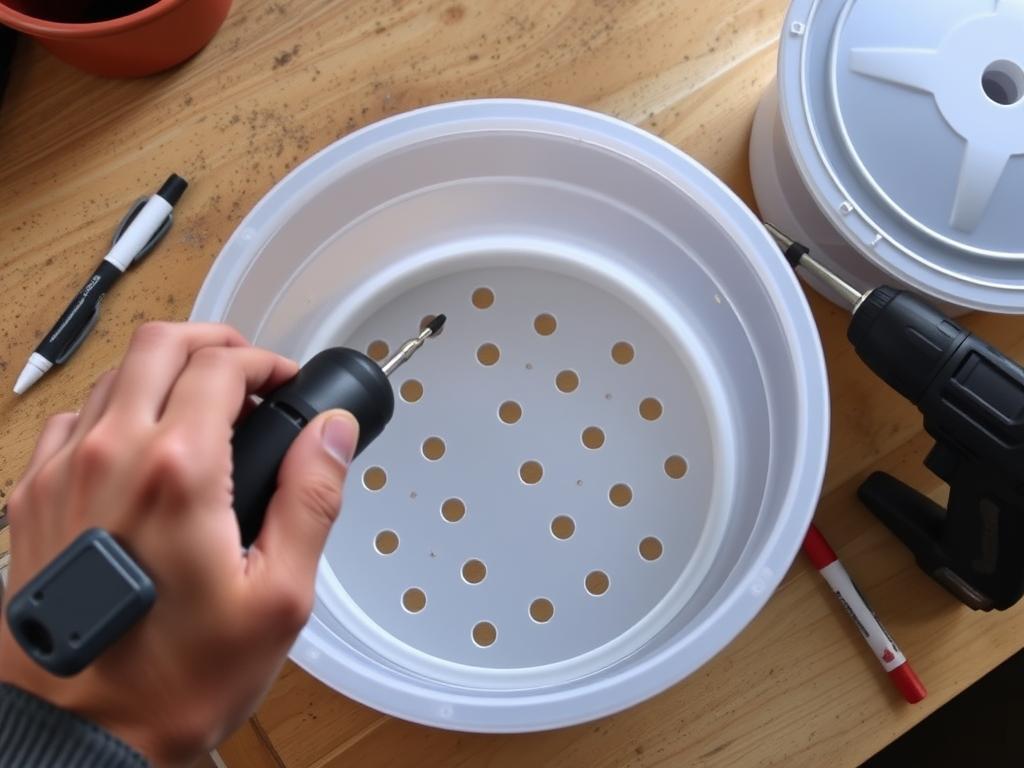
- Prepare the reservoir container: Take one plastic container and drill 1/4-inch drainage holes around the upper edge, about 2-3 inches from the top. These will serve as overflow holes to prevent waterlogging.
- Create the fill tube opening: Drill a 1-inch hole in one corner of the container lid for the PVC watering tube.
- Prepare the growing container: Take the second container and drill multiple 1/4-inch drainage holes across the entire bottom. These holes allow water to move up from the reservoir to your plants.
Safety Tip: Always wear safety glasses when drilling plastic containers. Plastic can crack or send small pieces flying if the drill slips.
Building the Wicking System

- Cut the landscape fabric: Cut a piece large enough to cover the entire bottom of the growing container with about 6 inches of excess on all sides.
- Install the wicking material: Line the growing container with the landscape fabric, allowing the excess to hang down through the drainage holes. This fabric will draw water up from the reservoir to the soil.
- Prepare the fill tube: Cut the PVC pipe to a length that will reach from the top of the assembled container to the bottom of the reservoir. Sand any rough edges.
- Install the fill tube: Insert the PVC pipe through the hole in the lid, ensuring it reaches the bottom of the reservoir container.
“The wicking system is the heart of your self-watering container. Take time to ensure it’s properly installed, as it’s responsible for delivering water to your plants’ roots.”
Soil Setup
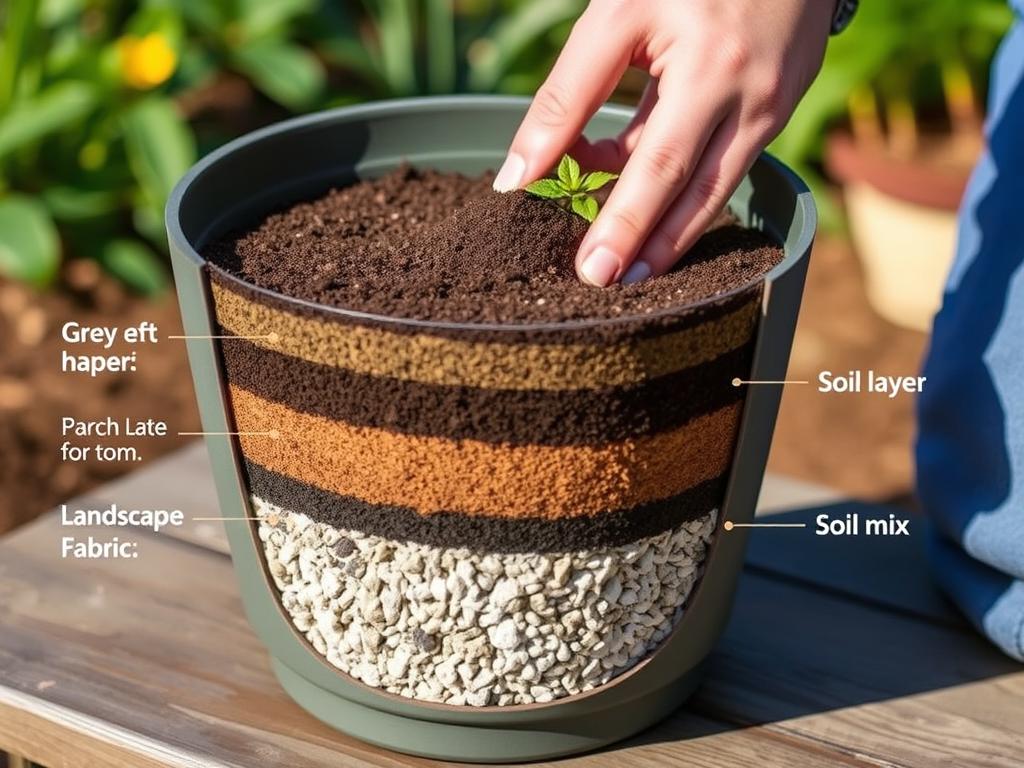
- Add the drainage layer: Place a 1-inch layer of gravel or small stones at the bottom of the growing container, on top of the landscape fabric. This prevents soil from clogging the wicking material.
- Prepare the soil mix: Combine potting soil with compost and perlite or vermiculite in a ratio of approximately 60% potting soil, 30% compost, and 10% perlite.
- Add the soil: Fill the growing container with your soil mix, leaving about 1 inch of space at the top for watering and mulch.
- Assemble the container: Place the growing container inside the reservoir container. The landscape fabric should hang down into the reservoir.
- Add water: Pour water through the fill tube until it reaches just below the drainage holes in the reservoir container.
Want to learn more about water-efficient gardening?
Subscribe to our newsletter for seasonal tips on drought-tolerant gardening.
Maintenance Tips

Proper maintenance ensures your self-watering container functions efficiently and your plants thrive, even in drought conditions. Here are essential tips for keeping your system working optimally:
Water Reservoir Management
- Check water levels regularly: In hot, dry conditions, check the reservoir every 2-3 days by inserting your finger into the fill tube.
- Refill before completely empty: Don’t let the reservoir dry out completely. Refill when the water level drops to about 1/4 full.
- Adjust for seasons: During peak summer heat, you may need to fill more frequently. In cooler months, check weekly.
- Monitor after rain: If your containers are outdoors, check water levels after heavy rain to prevent overflow and waterlogging.
Water Quality Tip: If possible, use rainwater or filtered water in your self-watering containers. Tap water can contain chlorine and minerals that may build up in the reservoir over time.
Preventing Root Rot and Other Issues
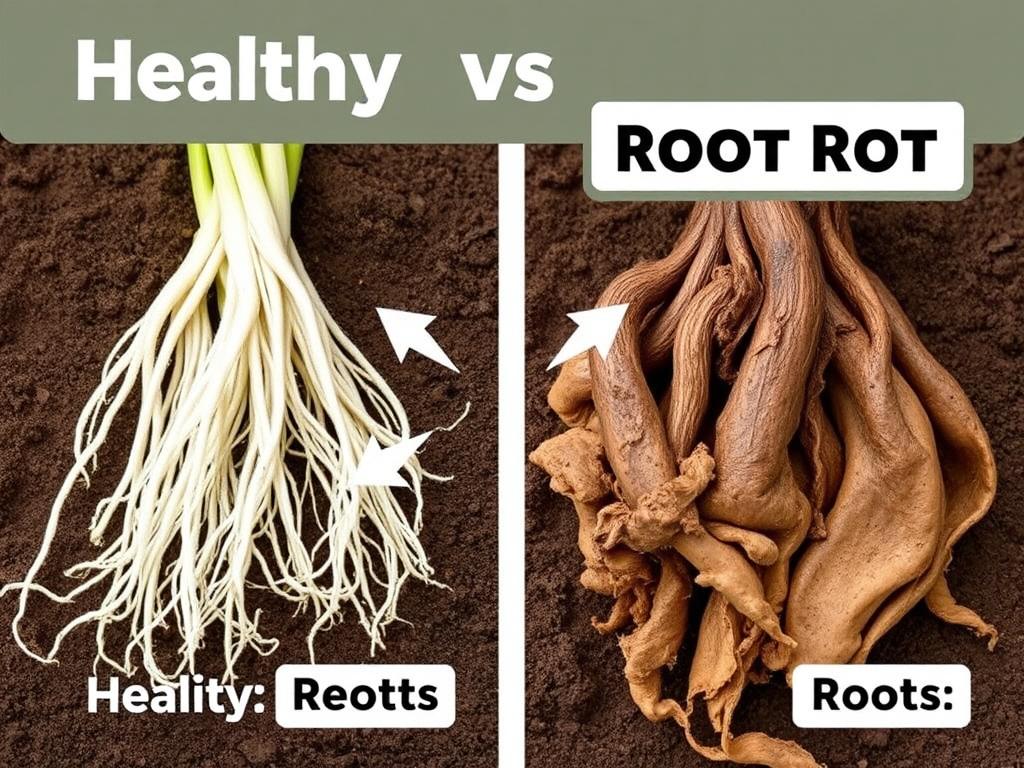
- Don’t overwater: The beauty of self-watering containers is their self-regulation. Resist the urge to water from the top unless plants show signs of drought stress.
- Clean the reservoir seasonally: Every 3-4 months, empty and rinse the reservoir to prevent algae growth and mineral buildup.
- Monitor plant health: Yellowing leaves or wilting despite adequate water can indicate root problems. Check the drainage system if this occurs.
- Adjust for plant types: Some plants (like succulents) prefer drier conditions. For these, allow the reservoir to empty more completely between fillings.
Seasonal Adjustments
Your self-watering container will need different care throughout the year, especially in drought-prone regions:
| Season | Maintenance Task | Frequency |
| Summer | Check water levels | Every 2-3 days |
| Summer | Add shade cloth during extreme heat | When temperatures exceed 95°F |
| Fall | Clean reservoir | Once before winter |
| Winter | Empty reservoir in freezing climates | Before first freeze |
| Spring | Replace soil and check wicking material | Annually |
Water-Smart Gardening Practices
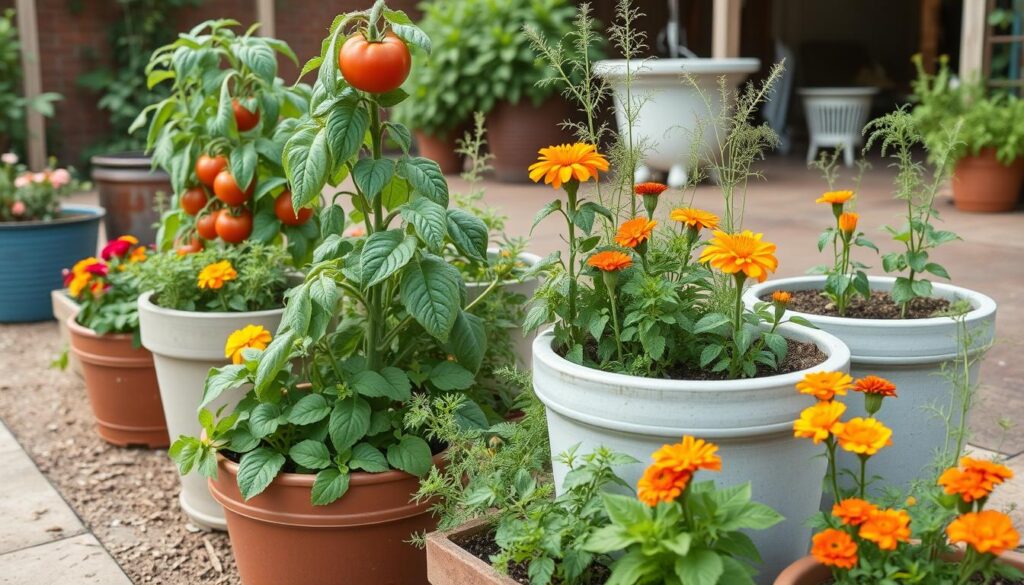
Maximize the efficiency of your self-watering containers by implementing these additional water-smart gardening practices:
Companion Planting to Reduce Evaporation
Strategic plant combinations can create microclimates that reduce water loss and protect soil from direct sun:
Tall + Short Combinations
- Tomatoes + Basil
- Peppers + Chives
- Eggplant + Thyme
Taller plants provide shade for shorter, more delicate herbs, reducing evaporation and creating a beneficial microclimate.
Mutually Beneficial Pairings
- Beans + Rosemary
- Lettuce + Onions
- Carrots + Sage
These combinations not only conserve water but also deter pests naturally, reducing the need for additional interventions.
Mulching Techniques for Arid Climates
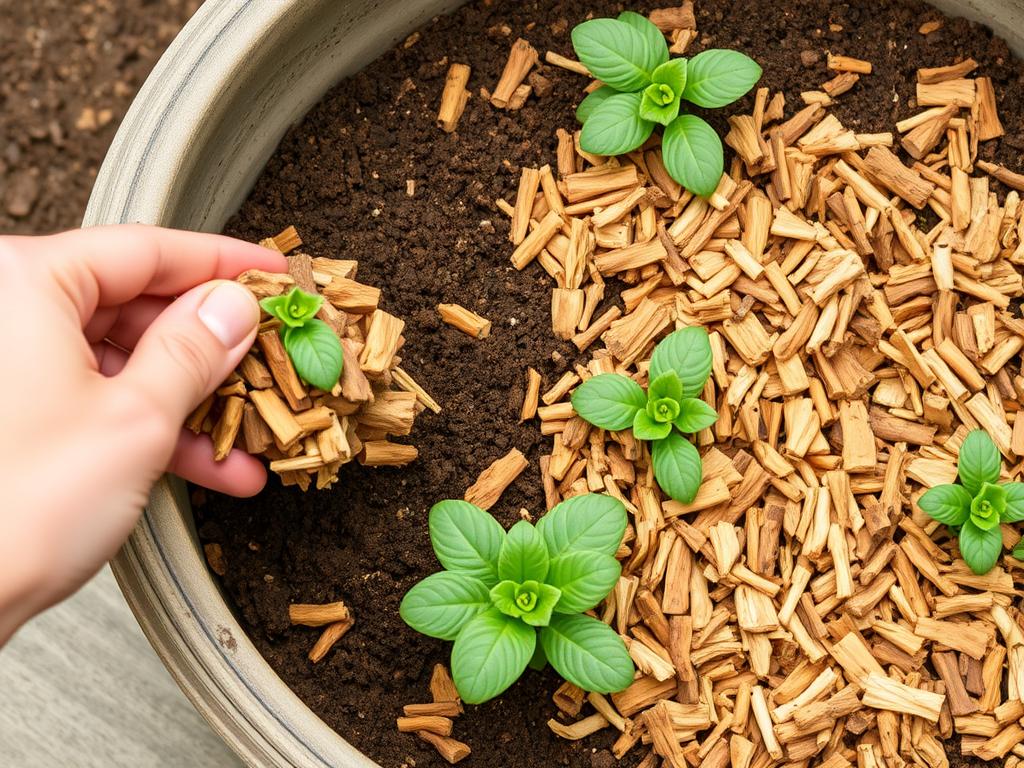
Adding a layer of mulch to your self-watering containers further reduces water loss and regulates soil temperature:
- Organic mulch options: Straw, shredded leaves, coconut coir, or wood chips (1-2 inches thick)
- Inorganic mulch options: Pebbles, gravel, or recycled glass mulch (1 inch thick)
- Application technique: Keep mulch 1 inch away from plant stems to prevent rot and fungal issues
- Renewal schedule: Replace organic mulch every 2-3 months as it decomposes
Caution: In very humid conditions, thick organic mulch can retain too much moisture. If you notice signs of mold or fungus, reduce mulch thickness or switch to inorganic options.
Additional Water Conservation Strategies
- Position strategically: Place containers where they receive morning sun but afternoon shade in extremely hot climates
- Group containers: Clustering pots creates a humid microclimate that reduces water loss
- Use windbreaks: Shield containers from drying winds with barriers or by placing them against walls
- Collect rainwater: Set up a simple rain barrel system to capture free water for your containers
Ready to expand your drought-resistant garden?
Explore our guide to the best drought-tolerant plants for self-watering containers.
Conclusion: Thriving Gardens in Drought Conditions
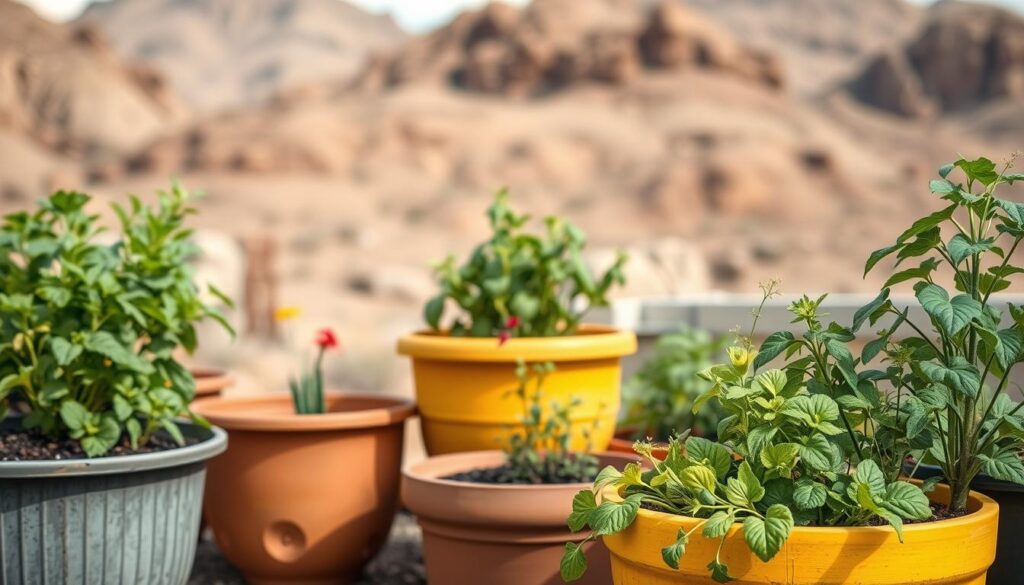
Building your own self-watering container for drought-prone areas is more than just a weekend project—it’s a sustainable solution that allows you to grow fresh food while conserving precious water resources. These ingenious systems work with nature rather than against it, delivering moisture directly to plant roots where it’s needed most.
By following the steps in this guide, you’ve created a microenvironment that shields plants from the harsh realities of drought conditions. Your self-watering container will provide consistent moisture, reduce watering frequency, and help your plants thrive even during water restrictions or heat waves.
Remember that successful drought gardening is about adaptation and observation. Monitor your plants, make seasonal adjustments, and continue to implement water-smart practices. With time, you’ll develop an intuitive understanding of your container garden’s needs and how to meet them efficiently.
Whether you’re growing vegetables for your table, herbs for your kitchen, or flowers for beauty, your self-watering container offers a sustainable way to garden in even the most challenging dry conditions. Happy gardening!
Share Your Self-Watering Container Success!
We’d love to see your completed projects and hear about your experience. Join our community of drought-resistant gardeners.
Frequently Asked Questions
How often do I need to refill my self-watering container?
In drought-prone areas during summer, check the reservoir every 2-3 days. In cooler weather, weekly checks are usually sufficient. The frequency depends on plant type, container size, and weather conditions. A good rule of thumb is to refill when the reservoir is about 1/4 full.
Can I use self-watering containers for all types of plants?
Most vegetables, herbs, and flowering plants thrive in self-watering containers. However, plants that prefer dry conditions (like cacti, succulents, and some Mediterranean herbs) may not be ideal candidates as they can suffer from too much consistent moisture. For these plants, allow the reservoir to empty more completely between fillings.
How do I prevent mosquitoes from breeding in my water reservoir?
Add a few drops of food-grade vegetable oil to the water reservoir to create a thin film on the surface that prevents mosquitoes from laying eggs. Alternatively, you can add a small piece of mosquito dunk (Bacillus thuringiensis) to the reservoir, which is safe for plants but kills mosquito larvae.
Do self-watering containers work in winter?
In regions where temperatures drop below freezing, you’ll need to modify your approach. Water expands when frozen and can damage your container. For winter use, either move containers to a protected area or empty the reservoir before freezing temperatures arrive. Some gardeners disconnect the wicking system and use the containers as regular planters during winter.
How long will a self-watering container last?
With proper maintenance, your DIY self-watering container should last 3-5 years. The plastic containers may eventually degrade from UV exposure if kept outdoors. The wicking material might need replacement every 1-2 years. Inspect all components annually and replace as needed to maintain optimal function.
Will is a vertical gardening enthusiast and sustainable cultivation specialist with a passion for helping people grow fresh food in small spaces and dry climates. With years of hands-on experience testing smart irrigation systems, optimizing urban gardens, and exploring eco-friendly solutions, this author shares clear, practical tips to turn any corner into a productive garden. Whether on a sunny balcony or in a compact backyard, Will helps readers save water, maximize space, and enjoy healthy harvests year-round. When not tending to his plants, you’ll find him sipping herbal tea and sketching ideas for new sustainable projects.

