Creating a vertical garden from a wooden pallet is one of the most rewarding and practical DIY projects for any gardener facing space or water limitations. This sustainable approach transforms a discarded item into a thriving garden that grows upward instead of outward. Perfect for urban dwellers, drought-prone regions, or anyone looking to maximize their growing space while minimizing water usage.
Vertical pallet gardens offer multiple benefits: they’re inexpensive to create, they make efficient use of limited space, they can improve the appearance of bland walls or fences, and when properly designed, they’re remarkably water-efficient. In this comprehensive guide, you’ll learn everything from selecting the right pallet to maintaining your vertical garden for years of abundant harvests.
Preparation: Materials and Safety
Before diving into construction, proper preparation ensures your pallet garden will be safe, stable, and long-lasting. Let’s gather everything you’ll need and address important safety considerations.
Materials Checklist
Pallet Safety Tips
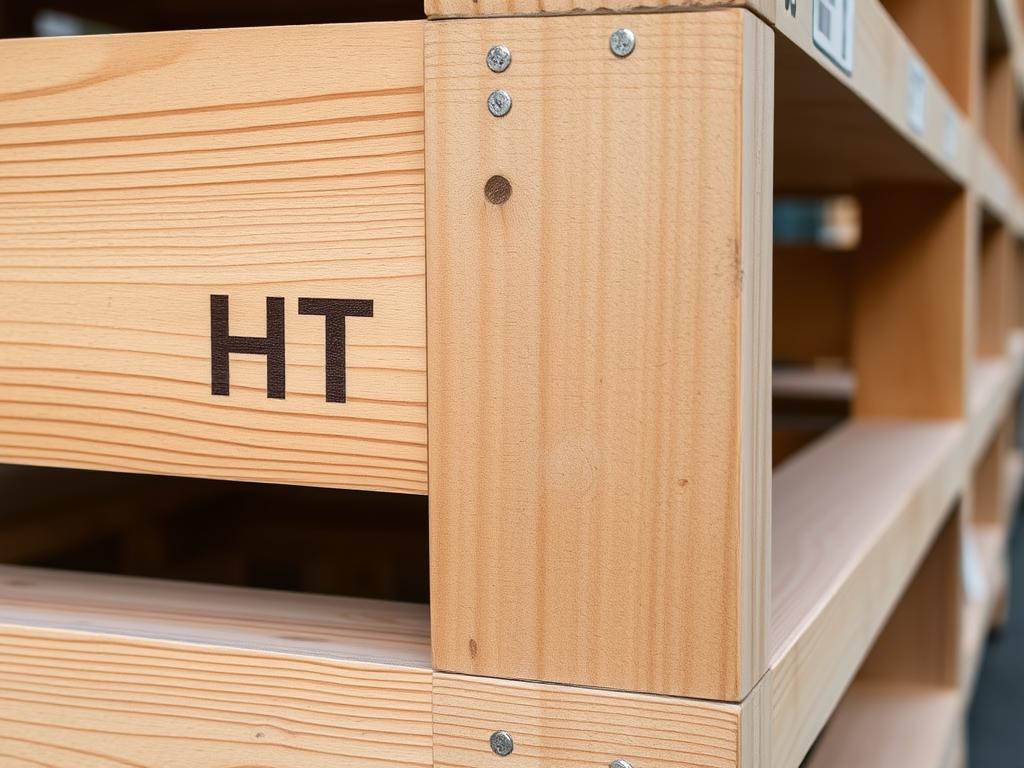
Not all pallets are created equal, and some can contain harmful chemicals that you don’t want near your food plants. Here’s how to choose a safe pallet:
Get Weekly Water-Smart Gardening Tips
Join our community of sustainable gardeners and receive regular updates on water conservation techniques, seasonal planting guides, and maintenance tips for your vertical garden.
Step-by-Step Construction
Now that you have all your materials ready, let’s build your vertical pallet garden. This process takes about 2-3 hours plus drying time, but the results will last for years.
Step 1: Clean and Prepare the Pallet
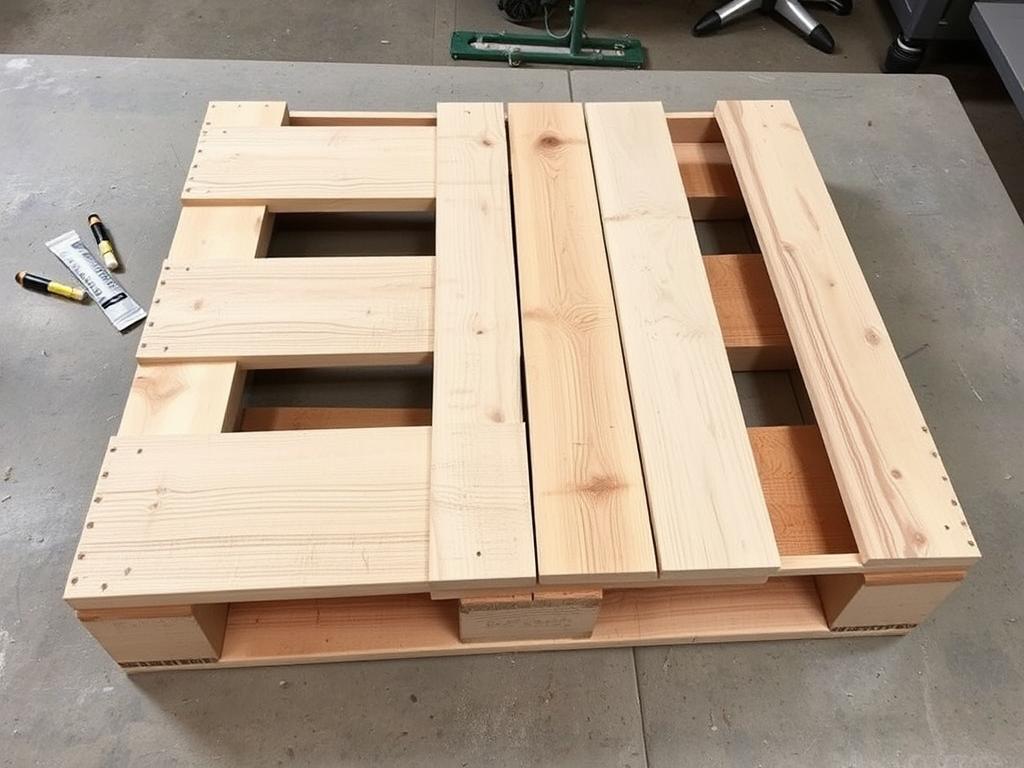
Start by thoroughly cleaning your pallet to remove dirt, debris, and any loose splinters. Check for and remove any protruding nails or staples that could cause injury. Sand rough edges if necessary.
Position your pallet so that the side with the widest openings is facing up. This will be the back of your garden, which will eventually face the wall. The side with narrower slats will be the front where your plants will grow.
Step 2: Install the Backing
Lay your pallet on a flat surface with the back (wider openings) facing up. Cut your landscape fabric large enough to cover the entire back and bottom of the pallet, plus about 4 inches of overhang on all sides.
Next, cut your waterproof barrier to the same size. This critical layer prevents moisture from damaging the wall your pallet will hang against. Place this layer on top of the landscape fabric.
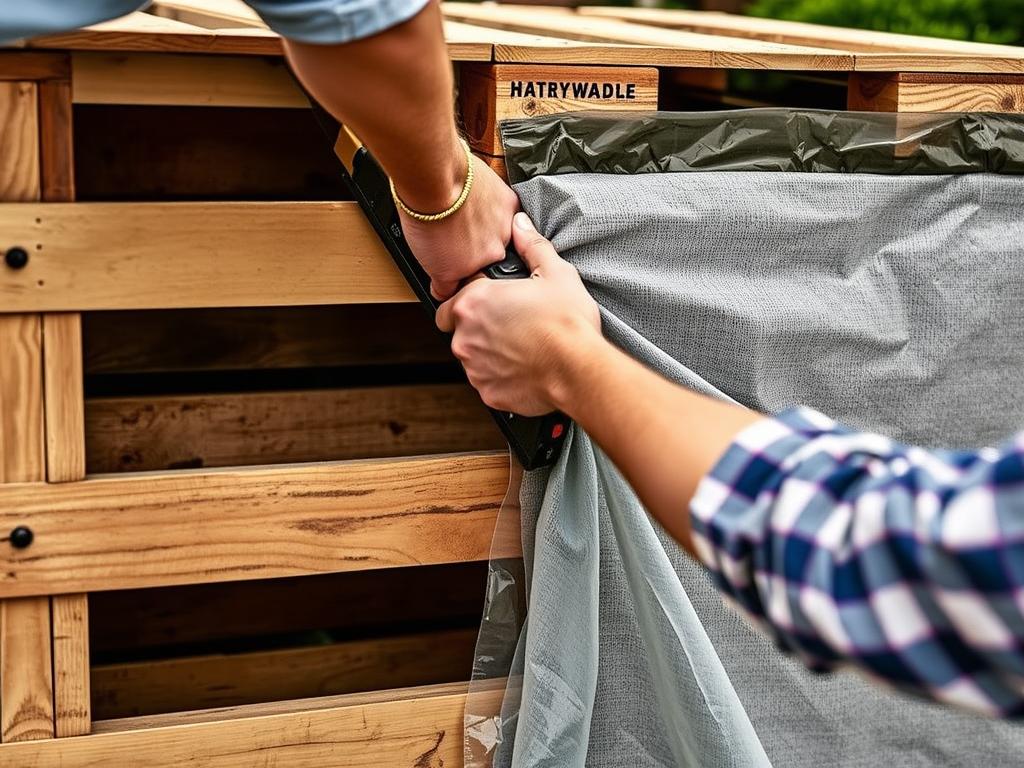
Starting at one edge, pull the fabric and barrier taut and secure them to the pallet using your staple gun. Work your way around the entire pallet, making sure there are no gaps or loose areas where soil could escape. Pay special attention to the corners and edges.
If you’re using plywood backing for extra stability, cut it to size and attach it over the fabric and barrier using screws or nails. This creates a solid back that helps retain soil and provides additional structural support.
Step 3: Create Soil Barriers
To prevent soil from falling out between the front slats, you’ll need to create barriers within the pallet. There are two approaches:
Method 1: Fabric Pockets
Cut strips of landscape fabric and staple them inside the pallet to create pockets between the front slats. These pockets will hold the soil and plants while allowing water to drain properly.
Method 2: Complete Fill
For a simpler approach, you can completely fill the pallet with soil. This requires more soil but creates a more uniform growing medium throughout the entire structure.
Step 4: Add Soil
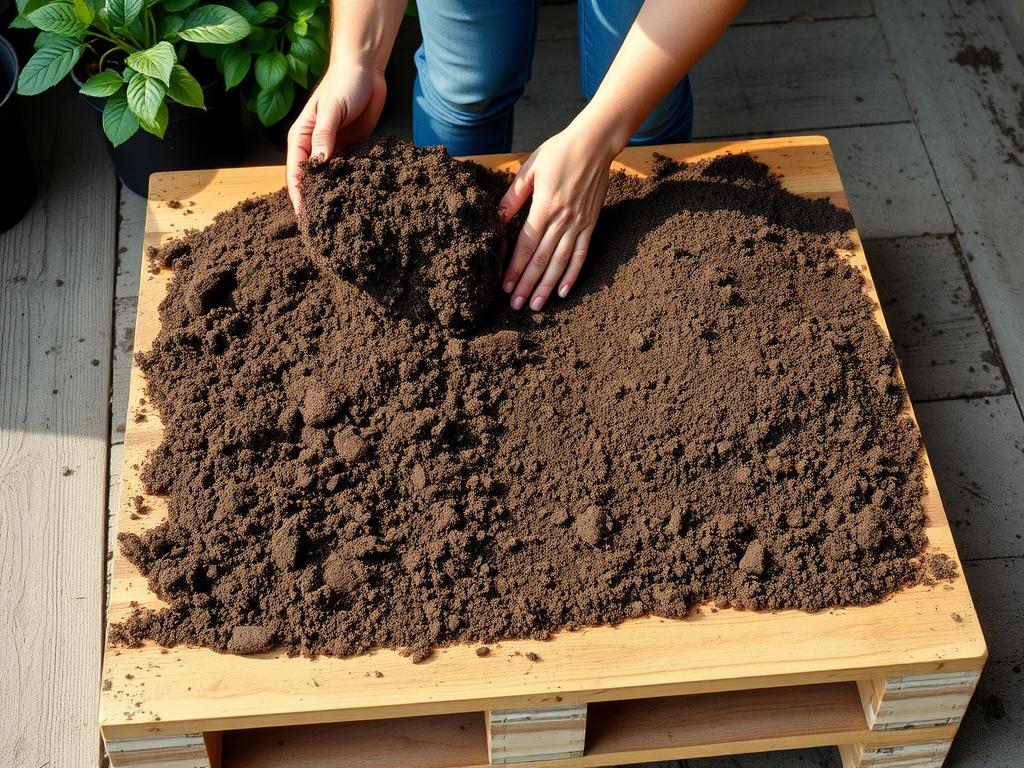
With your pallet still lying flat (back side up), begin filling it with high-quality potting soil. A good potting mix designed for containers is essential – garden soil is too heavy and won’t drain properly in a vertical structure.
For water conservation, consider mixing in water-retaining crystals or coconut coir to help maintain moisture levels. Fill the pallet completely, gently tamping down the soil as you go to eliminate air pockets. The soil will settle over time, so add a bit extra.
Step 5: Create a Watering System (Optional)
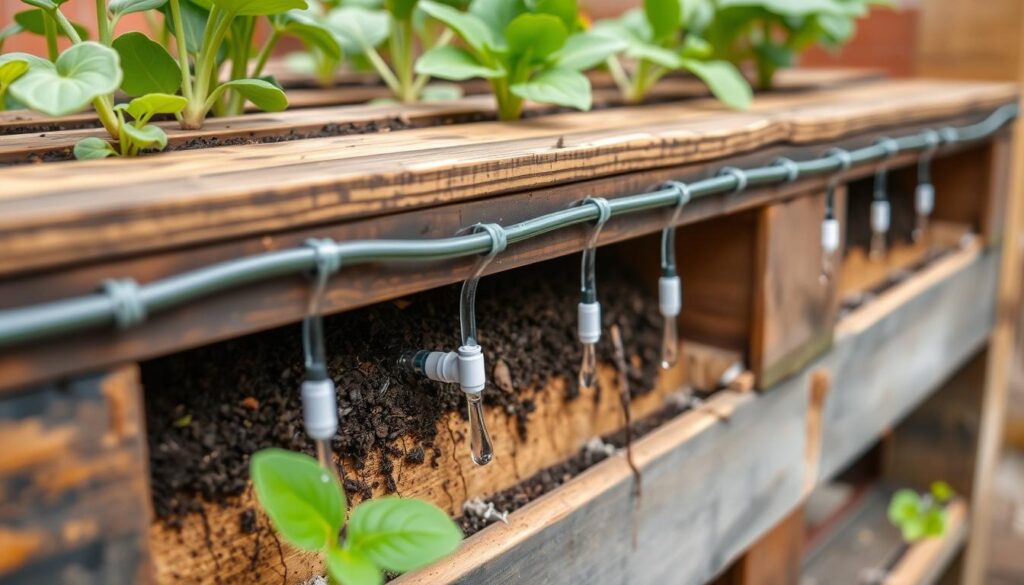
For maximum water efficiency, consider installing a simple irrigation system before standing your pallet up. A soaker hose or drip irrigation line placed near the top of the pallet will allow water to trickle down through all plants with minimal waste.
To install, simply snake the soaker hose or drip line across the top section of your soil-filled pallet, making sure it’s buried about 1-2 inches below the surface. Leave one end accessible for connecting to your water source.
Step 6: Position and Secure Your Pallet
Once your pallet is filled with soil, it’s time to position it. You have two main options:
Wall Mounting
For a true vertical garden, secure your pallet to a sturdy wall using L-brackets at each corner. Make sure the wall can support the considerable weight of the soil-filled pallet, especially when wet. Use appropriate anchors for your wall type.
Angled Placement
For an easier approach, especially for beginners, place your pallet at a 45-degree angle against a wall or fence. This reduces stress on the structure and makes planting easier, though it takes up slightly more ground space.
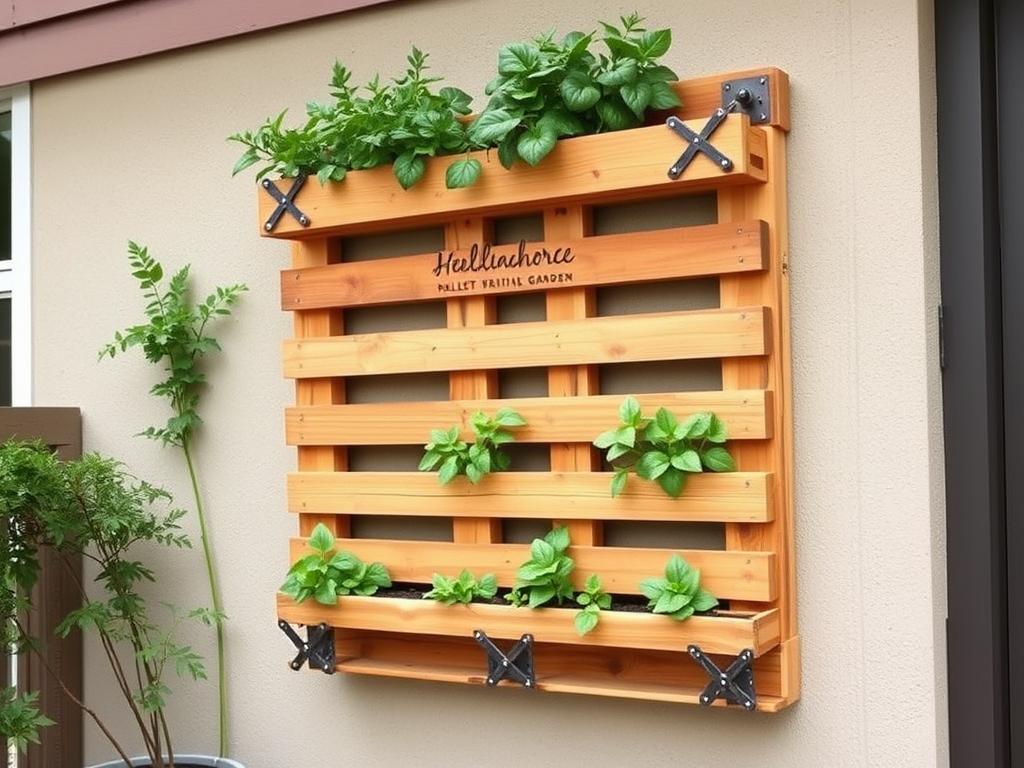
For either method, it’s best to position your pallet before planting to avoid disturbing the plants. If you’re using the angled approach, you can gradually increase the angle as plants establish themselves.
Planting Your Vertical Garden
With your pallet positioned, it’s time for the most rewarding part – adding plants! The planting approach depends on whether you’ve created fabric pockets or completely filled your pallet.
Planting Method
For Fabric Pocket Method
Cut small X-shaped slits in the fabric pockets using a utility knife. Make these just large enough to insert your plants. Gently push the root ball of each plant through the slit and into the soil behind. Firm the soil around the roots to eliminate air pockets.
For Complete Fill Method
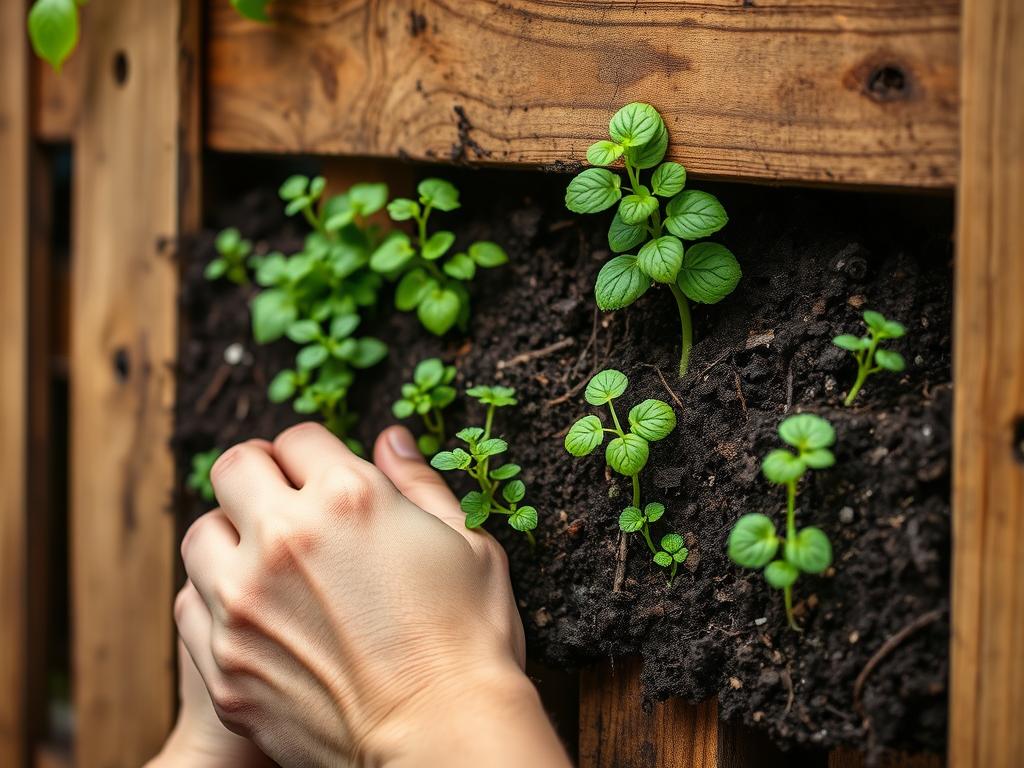
Create planting holes between the slats by pushing soil aside with your fingers or a small trowel. Insert plants so their root balls are well-seated in the soil, then firm soil around them. For the top row, plant as you would in a regular container.
Water-Smart Plant Recommendations
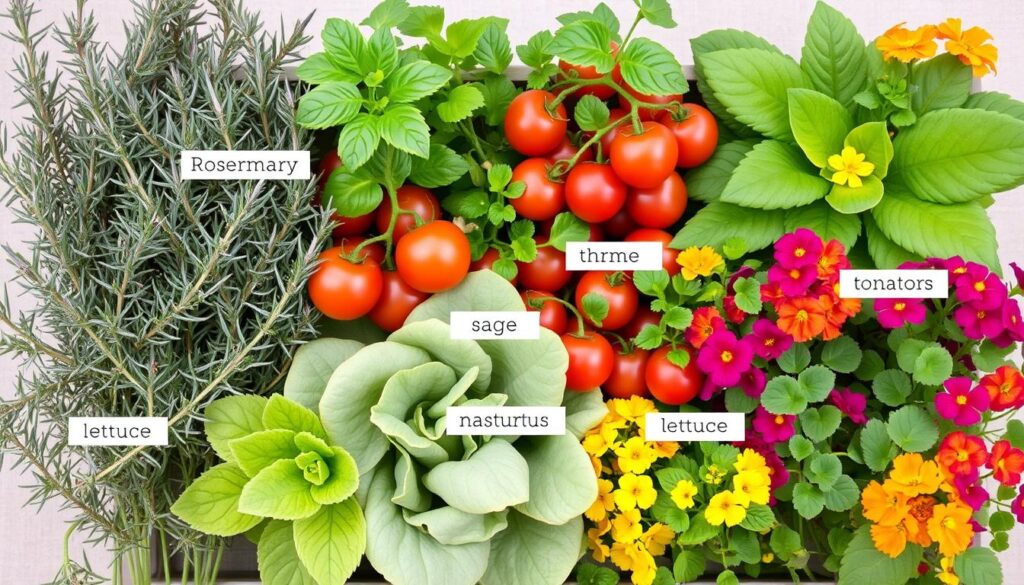
For a truly water-efficient vertical garden, plant selection is crucial. Here are some excellent drought-tolerant options that thrive in vertical settings:
Herbs
Vegetables
Edible Flowers
Planting Layout Strategy
Strategic plant placement maximizes both water efficiency and harvest success:
After planting, water thoroughly to help settle the soil around the roots. You may need to add more soil as it settles. For the first few days, check frequently to ensure plants are secure and add soil as needed.
Download Our Free Planting Guide
Get our detailed planting calendar and companion planting chart specifically designed for vertical pallet gardens in water-restricted areas.
Water-Smart Irrigation Techniques
Efficient watering is essential for vertical gardens, especially in dry climates. Here are proven techniques to minimize water usage while keeping your plants healthy.
Irrigation Options
Manual Watering
The simplest approach is hand-watering with a watering can or hose. Focus water at the top of the pallet and allow it to trickle down through all layers. Water slowly to prevent runoff and ensure deep penetration.
Drip Irrigation
A drip system delivers water directly to plant roots with minimal waste. Install drip emitters near each plant or run drip lines across each row. Connect to a timer for consistent, automated watering.
DIY Soaker System
Create an economical system using a plastic hose with small holes drilled along its length. Weave this through the top of your pallet and connect to your water source when needed.
Water Conservation Tips
Pro Tip: Newly planted vertical gardens require more frequent watering until plants establish their root systems. After 2-3 weeks, you can gradually reduce watering frequency as roots develop and plants adapt to their environment.
Maintenance and Troubleshooting
With proper care, your pallet vertical garden can thrive for years. Here’s how to maintain it and solve common problems.
Seasonal Maintenance
| Season | Maintenance Tasks | Special Considerations |
| Spring | Refresh soil, add slow-release fertilizer, replace any winter-damaged plants | Check for winter damage to the pallet structure |
| Summer | Monitor water needs closely, harvest regularly, prune as needed | May need more frequent watering during heat waves |
| Fall | Plant cool-season crops, check structure stability | Prepare for winter with cold-hardy plants |
| Winter | Reduce watering, protect from severe weather | Consider moving portable pallets to sheltered locations |
Common Problems and Solutions
Plants wilting despite regular watering
This often indicates water isn’t reaching the roots effectively. Check for water channeling away from root zones or compacted soil. Aerate the soil gently with a thin stick and consider adding a wetting agent to help water penetrate evenly.
Soil washing out between slats
Reinforce areas where soil is escaping with additional landscape fabric patches. For a quick fix, stuff small pieces of coconut coir or sphagnum moss into gaps to hold soil while allowing water drainage.
Uneven plant growth
This usually results from uneven water or light distribution. Rotate your pallet if possible or adjust your watering technique to ensure all plants receive adequate resources. Consider relocating plants that aren’t thriving to more suitable positions.
Pallet wood deteriorating
Wood naturally breaks down over time with exposure to moisture. Extend your pallet’s life by applying a food-safe wood sealer to external surfaces before planting. When significant deterioration occurs, transfer plants to a new pallet garden.
Fertilizing Tips
Vertical gardens in confined spaces need regular nutrient replenishment:
Important: Avoid over-fertilizing, which can lead to nutrient runoff and environmental contamination. Always follow package directions and err on the side of less rather than more.
Harvesting and Enjoying Your Garden
The reward for your efforts comes when you begin harvesting fresh produce from your vertical garden. Here’s how to maximize your yields while maintaining plant health.
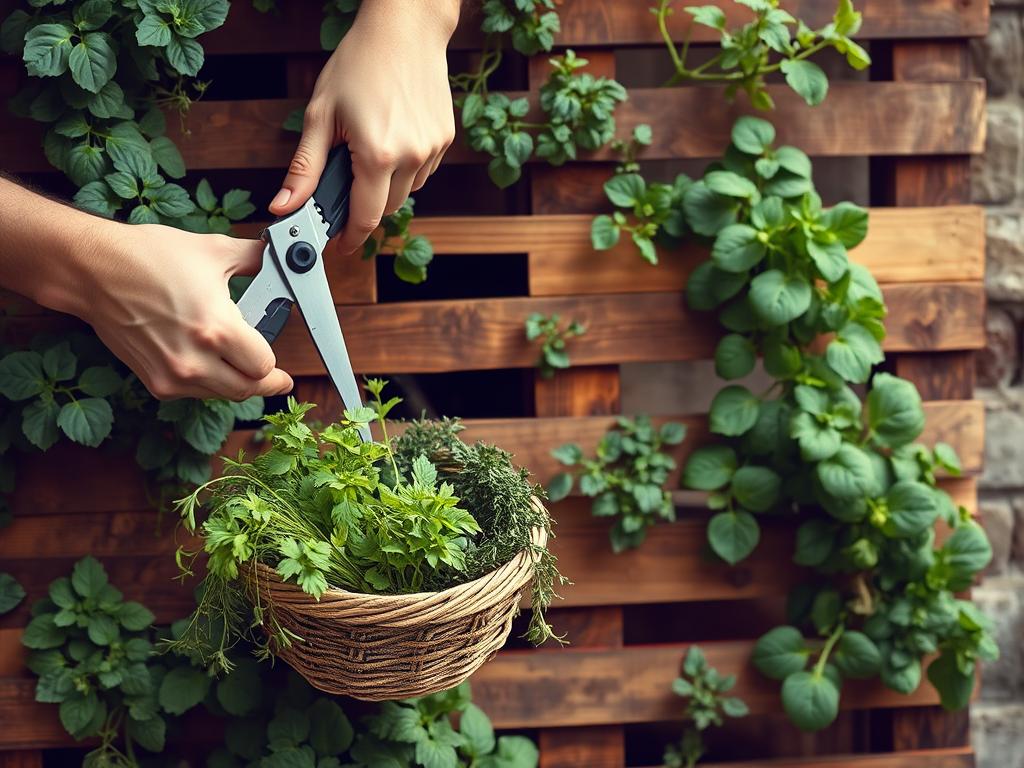
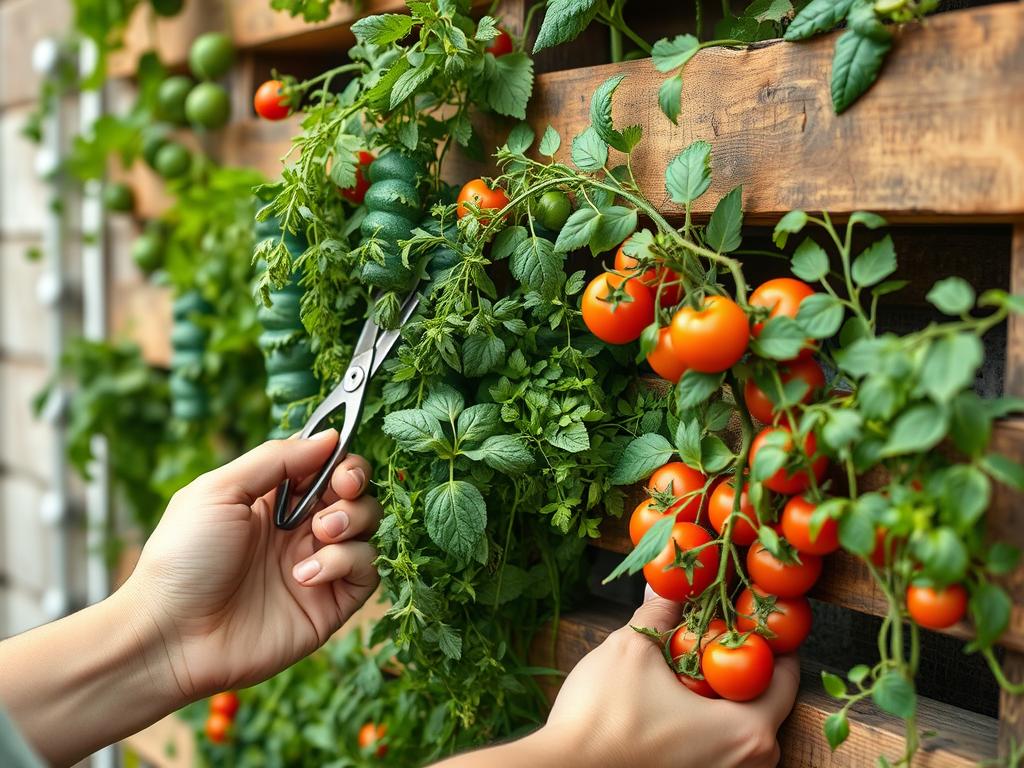
Harvesting Best Practices
Extending Your Growing Season
Maximize your harvest by extending your growing season:
“The beauty of a vertical pallet garden is that it transforms a small space into a productive ecosystem that can provide fresh food year-round with minimal water usage.”
Conclusion: Growing Up, Not Out
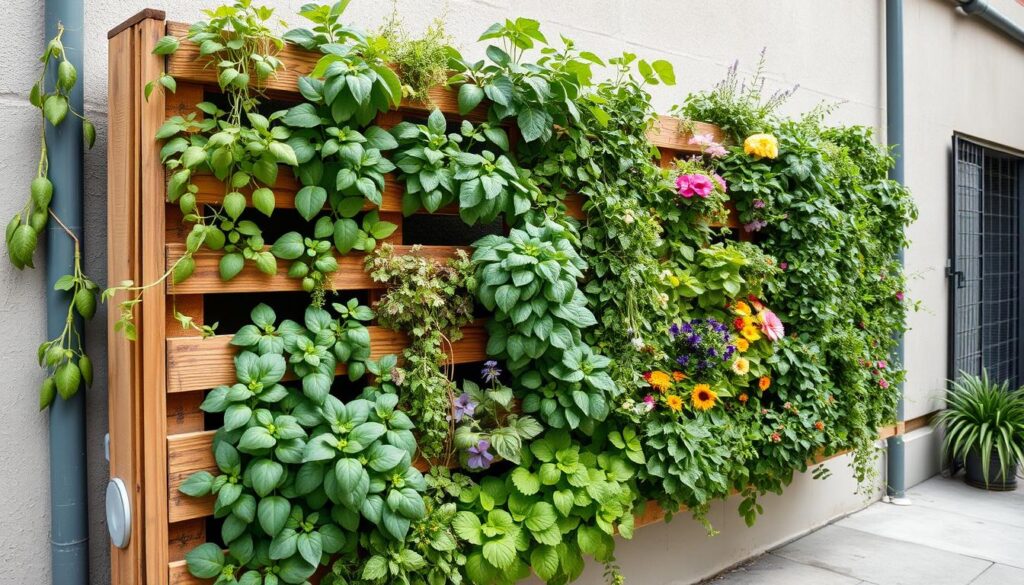
Your pallet vertical garden represents a perfect blend of sustainability, practicality, and beauty. By growing upward instead of outward, you’ve created an efficient system that conserves water, saves space, and produces fresh food right where you need it.
Remember that your vertical garden will evolve over time. Some plants will thrive while others may struggle. This is part of the learning process, and each season will bring new insights and improvements. Don’t be afraid to experiment with different plants, watering techniques, and arrangements to discover what works best in your specific environment.
By implementing the water-smart techniques outlined in this guide, you’re not just growing plants – you’re participating in a more sustainable approach to food production that respects our planet’s limited resources. Your vertical garden stands as a living example of how innovative thinking can transform challenges into opportunities.
Join Our Water-Smart Gardening Community
Get exclusive access to seasonal planting guides, water conservation techniques, and connect with fellow vertical gardeners in your area.
Will is a vertical gardening enthusiast and sustainable cultivation specialist with a passion for helping people grow fresh food in small spaces and dry climates. With years of hands-on experience testing smart irrigation systems, optimizing urban gardens, and exploring eco-friendly solutions, this author shares clear, practical tips to turn any corner into a productive garden. Whether on a sunny balcony or in a compact backyard, Will helps readers save water, maximize space, and enjoy healthy harvests year-round. When not tending to his plants, you’ll find him sipping herbal tea and sketching ideas for new sustainable projects.

