Starting seeds at home is a rewarding way to kickstart your garden while saving money. By creating your own seed starting trays from recycled paper or cardboard, you’re not only being kind to your wallet but also to the environment. This guide will walk you through several easy methods to transform everyday household items into perfect homes for your seedlings, especially beneficial for those gardening in small spaces or dry climates.
Benefits of DIY Seed Starting Trays
Before diving into the how-to, let’s explore why making your own seed starting trays is worth the effort:
- Cost-effective alternative to store-bought trays
- Reduces household waste through creative reuse
- Many options can be planted directly in the ground, reducing transplant shock
- Customizable to fit your specific space constraints
- Perfect for vertical gardening setups in limited spaces
Water Conservation Tip: Biodegradable seed starting trays made from paper or cardboard help retain moisture better than plastic alternatives, making them ideal for gardeners in dry climates. They create a microenvironment that reduces water evaporation while allowing excess moisture to escape.
When choosing materials for your DIY seed trays, focus on items that are biodegradable and free from harmful chemicals. This ensures your seedlings get a healthy start and makes transplanting easier when the time comes.
Materials and Tools You’ll Need
Basic Supplies
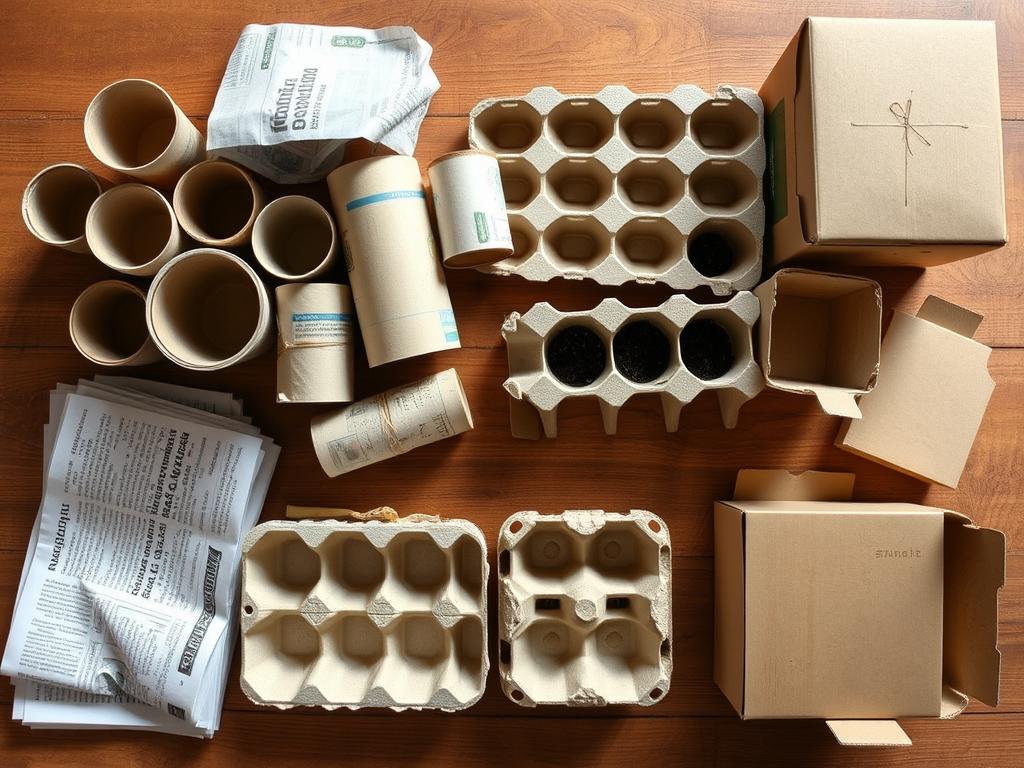
- Recycled paper (newspaper, printer paper, paper bags)
- Cardboard (toilet paper rolls, egg cartons, cereal boxes)
- Water
- Seed starting mix (not garden soil)
- Seeds of your choice
- Waterproof container or tray to hold your seed pots
Optional Tools
- Blender (for paper pulp method)
- Scissors or craft knife
- Small hand trowel
- Spray bottle for watering
- Small jar or can (for shaping newspaper pots)
- Wooden pot maker (if you plan to make many newspaper pots)
Choosing the Right Recycled Materials
Not all paper and cardboard are created equal when it comes to seed starting. Here are some guidelines:
DO USE: Plain newspaper with soy-based ink, toilet paper rolls, egg cartons (paper, not foam), paper cups, cereal boxes, paper grocery bags.
AVOID: Glossy magazine paper, plastic-coated cardboard, heavily dyed paper, or anything with chemical treatments.
Method 1: Newspaper Seed Starting Pots
Newspaper pots are among the most popular DIY seed starters because they’re easy to make and can be planted directly in the ground.

Step-by-Step Instructions
- Cut newspaper into strips about 5-6 inches wide and 10-12 inches long.
- Wrap the strip around a small jar or can, leaving about 2 inches extending beyond the bottom.
- Fold the excess paper at the bottom inward, creating the base of your pot.
- Slide the pot off the jar or can, maintaining its shape.
- Fill with seed starting mix, plant your seeds, and water gently.
Advantages
- Completely biodegradable
- Can be planted directly in the ground
- Very inexpensive
- Easy to make in batches
Limitations
- Can become flimsy when wet
- Not suitable for bottom watering
- May break down before transplanting time if kept too wet
Pro Tip: Place your newspaper pots in a waterproof tray or container to keep them stable and catch excess water. For vertical gardening setups, these pots can be arranged in tiered shelving to maximize space.
Method 2: Toilet Paper Roll Seed Starters
Toilet paper rolls make excellent biodegradable seed starters, especially for plants that benefit from deeper root runs like beans and peas.
How to Make Them
- Collect empty toilet paper rolls.
- Cut four 1/2-inch slits at one end, equally spaced around the roll.
- Fold these flaps inward like closing a box to create the bottom.
- Stand the rolls upright in a waterproof container.
- Fill with seed starting mix and plant your seeds.
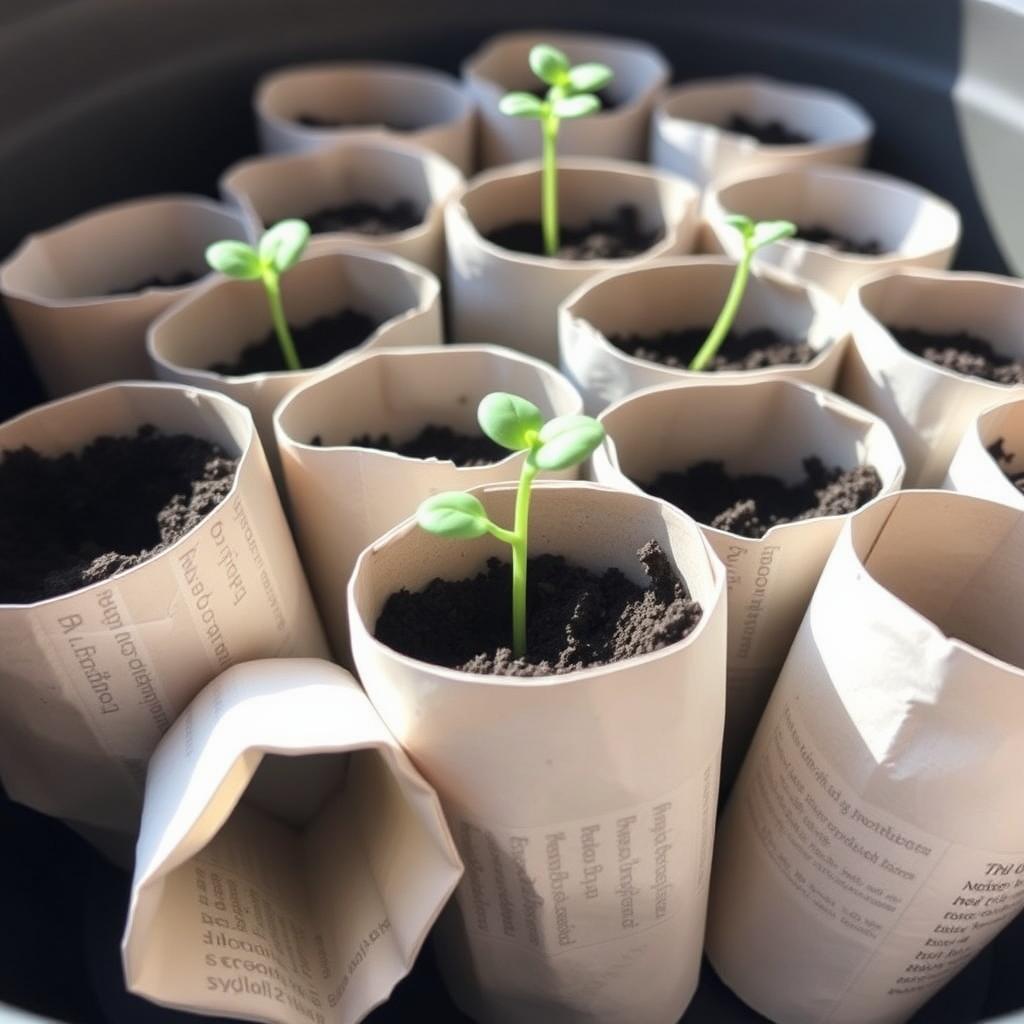
When planting toilet paper roll pots in the garden, make sure to plant the entire container and ensure the lip is below soil level. If left exposed, the cardboard can wick moisture away from the roots.
These cardboard tubes are particularly useful for plants that don’t like their roots disturbed during transplanting. The cardboard breaks down naturally in the soil, allowing roots to expand outward.
Method 3: Egg Carton Seed Starters
Paper egg cartons provide ready-made compartments perfect for starting small seeds.

Instructions
- Take a paper egg carton (not foam or plastic).
- Score the bottom of each cell with a knife to create drainage.
- Fill each compartment with seed starting mix.
- Plant 1-2 seeds in each cell, following proper depth guidelines.
- Mist gently with water to avoid displacing seeds.
- Place in a warm location with adequate light.
When it’s time to plant, you can either separate the individual cells and plant them directly in the garden, or gently remove the seedlings for transplanting. The paper carton will decompose in the soil over time.
Space-Saving Tip: For vertical gardening setups, egg carton seedlings work well on narrow shelves or windowsills. Once seedlings develop their first true leaves, transplant them to larger containers or your vertical garden system.
Method 4: Paper Pulp Seed Starting Trays
This method allows you to create custom-sized seed starting containers from recycled paper pulp.
Materials Needed
- Shredded paper (newspaper, office paper, paper bags)
- Water
- Blender
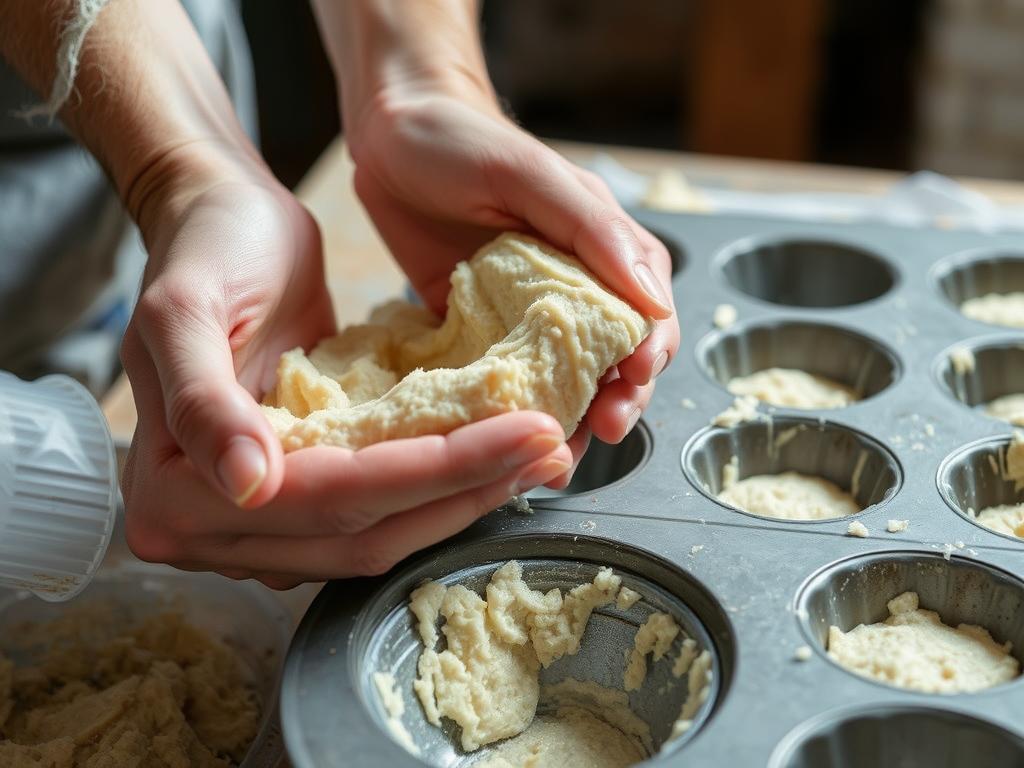
- Molds (muffin tins, small bowls, etc.)
- Optional: small amount of flour as a binder
Step-by-Step Process
- Tear or shred paper into small pieces.
- Soak paper in warm water for several hours or overnight.
- Blend the soaked paper into a pulp (similar to thick oatmeal consistency).
- Optional: Add 1 tablespoon of flour per cup of pulp as a binder.
- Press the pulp into your chosen molds, creating a wall thickness of about 1/4 inch.
- Allow to dry completely in a warm location (1-3 days depending on climate).
- Once dry, carefully remove from molds.
- Fill with seed starting mix and plant your seeds.
These custom paper pulp containers are fully biodegradable and can be planted directly in the garden. They’re especially useful for creating trays that fit perfectly in your vertical gardening setup.
Water Conservation Tip: In dry climates, add a tablespoon of coconut coir to your paper pulp mixture. This helps the finished pots retain moisture more effectively, reducing how often you need to water your seedlings.
Other Creative Recycled Seed Starting Options

Yogurt Containers
Clean yogurt cups make excellent reusable seed starters. Simply punch drainage holes in the bottom using a heated nail. These sturdy containers can be used year after year.
Cardboard Box Trays
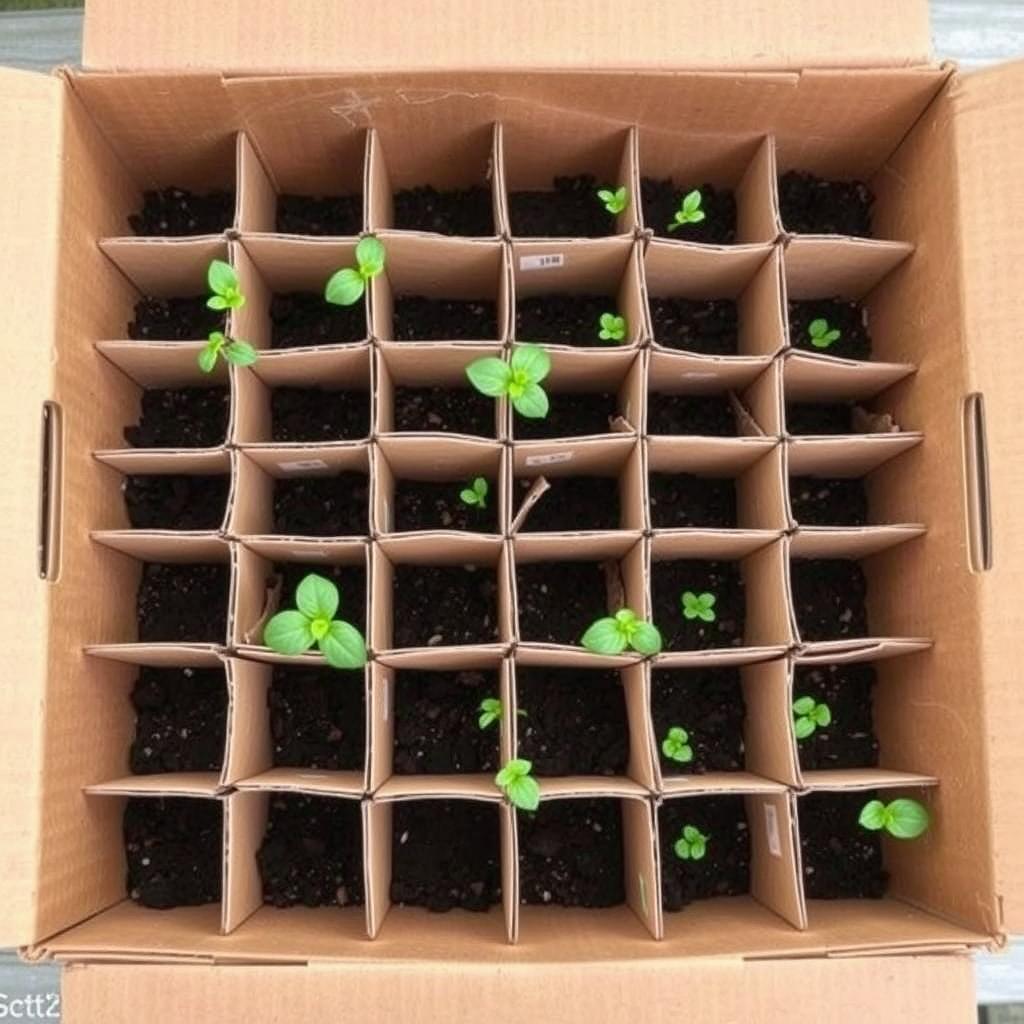
Shallow cardboard boxes can be transformed into seed starting trays by adding cardboard dividers to create individual cells. Line with newspaper to prevent leaking.
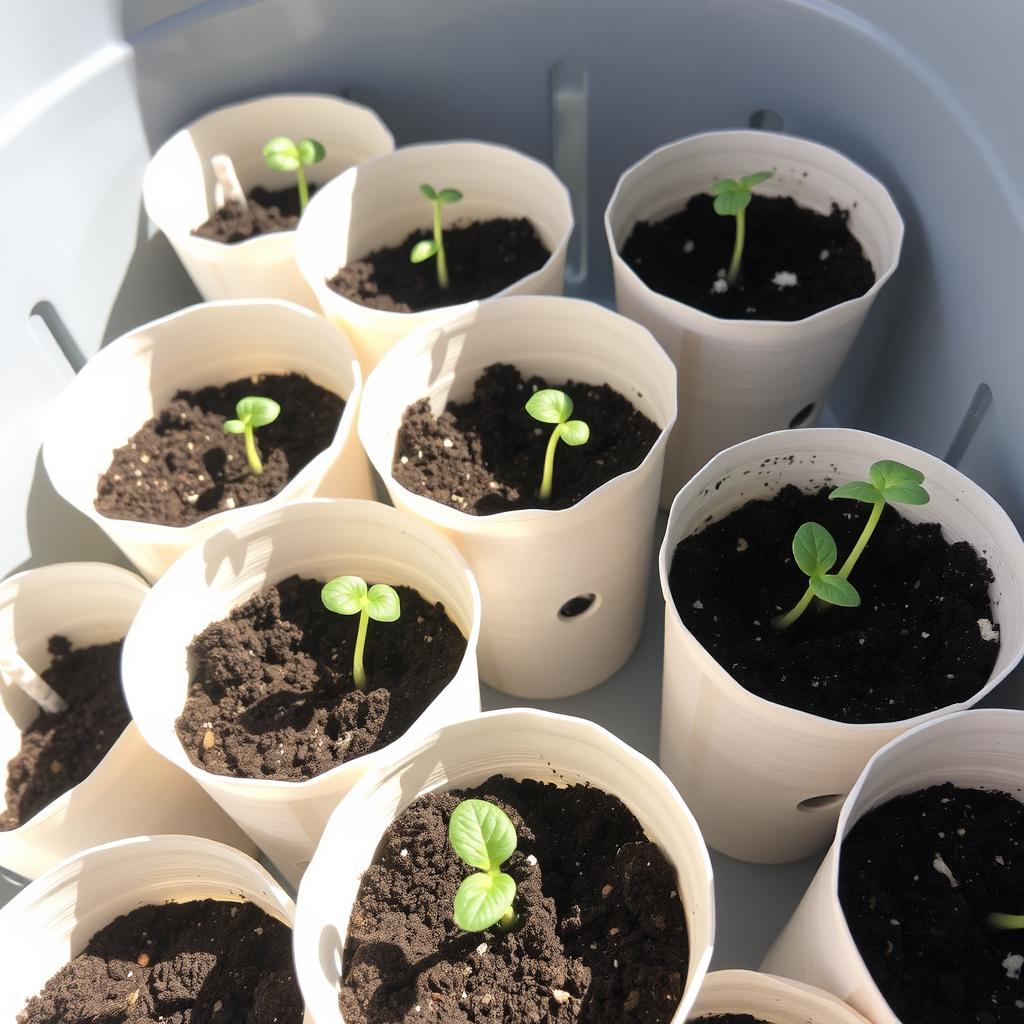
Paper Cups
Paper coffee cups or dixie cups work well for starting larger seeds. Punch drainage holes in the bottom and plant directly in the garden when ready.
The best seed starting containers are those you already have on hand. Before buying anything new, look around your home for items headed to the recycling bin that could have a second life nurturing your seedlings.
Planting and Care Tips for DIY Seed Trays
Proper Drainage
All seed starting containers need drainage holes in the bottom to prevent waterlogging, which can lead to damping off disease. For paper-based containers, small holes or slits work well. For cardboard, you can poke holes with a pencil or skewer.
The Right Growing Medium
Use a lightweight seed starting mix rather than garden soil. Seed starting mix is sterile, drains well, and provides the right environment for germination. For even better results in dry climates, mix in a small amount of vermiculite to help retain moisture.
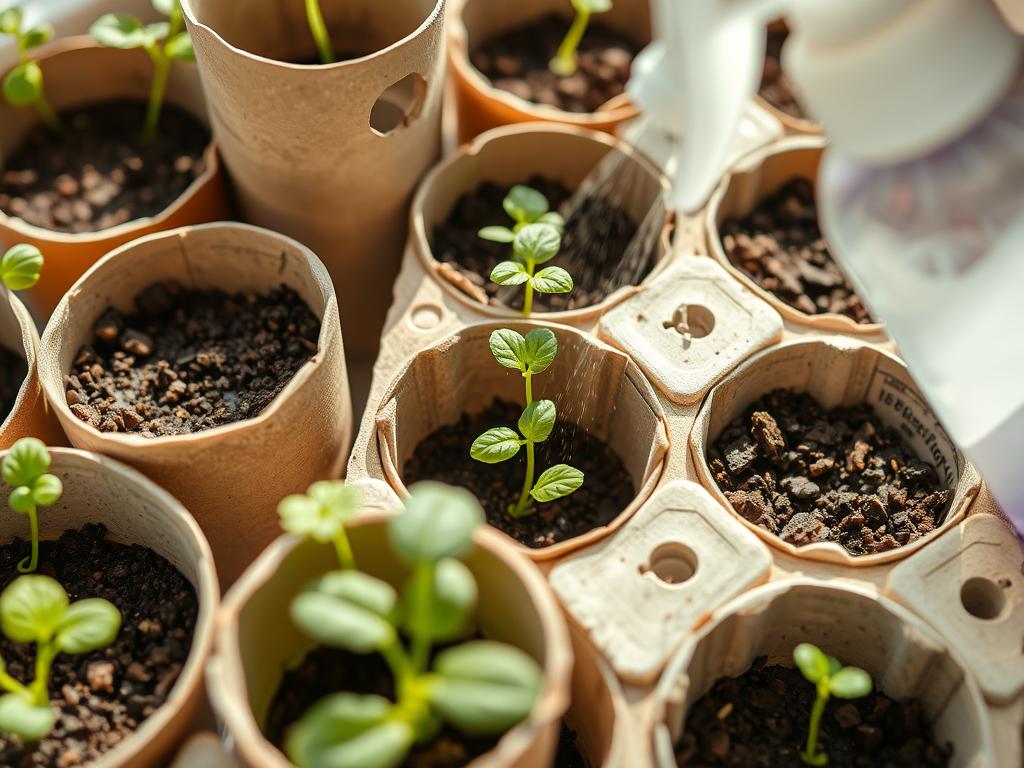
Watering Techniques
Bottom watering is ideal for most DIY seed starters. Place your containers in a shallow tray with water and let them absorb moisture from below. This prevents disturbing delicate seeds and seedlings. For paper-based containers that might get too soggy with bottom watering, use a spray bottle for gentle top watering.
Transplanting Tip: When it’s time to move seedlings to the garden, plant biodegradable containers directly in the soil. For paper pots, tear or cut away any portion that would remain above the soil line to prevent wicking moisture away from the roots.
Using DIY Seed Trays in Vertical Gardens
DIY seed starting trays are particularly valuable for vertical gardening enthusiasts with limited space.

Space-Maximizing Strategies
- Use shallow trays on narrow shelves or windowsills
- Create tiered setups with recycled containers of different heights
- Hang lightweight paper pot seedlings in vertical arrangements
- Use wall pockets made from recycled materials to hold seed starting containers
Water-Smart Vertical Gardening
In dry climates, vertical gardening with DIY seed trays requires careful water management:
- Group plants with similar water needs together
- Use saucers under containers to catch excess water
- Consider adding a small amount of water-retaining polymer to your seed starting mix
- Place more drought-tolerant seedlings at the top of your vertical setup (where it’s typically drier)
Troubleshooting Common Issues
How do I prevent mold on my paper seed starters?
Mold can be a common issue with paper-based seed starters. To prevent it:
- Ensure good air circulation around your seedlings
- Avoid overwatering – let the top of the soil dry slightly between waterings
- Consider adding a small amount of cinnamon to your seed starting mix (it has natural anti-fungal properties)
- Remove any moldy containers immediately to prevent spread
My DIY seed trays are falling apart before transplanting time. What can I do?
If your paper or cardboard containers are breaking down too quickly:
- Use slightly thicker paper or double-layer your newspaper when making pots
- Place fragile containers inside a more sturdy outer container for support
- Consider transplanting to the garden a bit earlier than planned
- For paper pulp containers, add a bit more flour as a binder when making them
How do I know when to transplant seedlings from my DIY containers?
Seedlings are generally ready for transplanting when:
- They have developed their first set of true leaves (not the initial seed leaves)
- The root system has developed but isn’t extensively circling the container
- The seedling is about 2-3 inches tall (varies by plant type)
- Outdoor conditions are appropriate for the plant variety
Always harden off seedlings by gradually introducing them to outdoor conditions over 7-10 days before transplanting.

Conclusion: Sustainable Seed Starting for Every Garden
Creating your own seed starting trays from recycled paper or cardboard is a rewarding way to begin your gardening journey while reducing waste and saving money. These DIY solutions are particularly valuable for vertical gardening enthusiasts and those in dry climates, where space and water conservation are priorities.
By repurposing materials you already have at home, you’re not only giving new life to items that might otherwise end up in landfills but also creating the perfect environment for your seedlings to thrive. Whether you choose newspaper pots, toilet paper rolls, egg cartons, or paper pulp trays, these biodegradable options offer advantages that even store-bought plastic containers can’t match.
Remember that successful seed starting is about experimentation. Try different methods to discover what works best for your specific plants, space constraints, and climate conditions. With a little creativity and the techniques shared in this guide, you’ll be well on your way to a thriving, sustainable garden.
Get More Sustainable Gardening Tips
Join our newsletter for weekly tips on vertical gardening, water conservation, and eco-friendly growing practices perfect for small spaces and dry climates.
Will is a vertical gardening enthusiast and sustainable cultivation specialist with a passion for helping people grow fresh food in small spaces and dry climates. With years of hands-on experience testing smart irrigation systems, optimizing urban gardens, and exploring eco-friendly solutions, this author shares clear, practical tips to turn any corner into a productive garden. Whether on a sunny balcony or in a compact backyard, Will helps readers save water, maximize space, and enjoy healthy harvests year-round. When not tending to his plants, you’ll find him sipping herbal tea and sketching ideas for new sustainable projects.

