Preserving the bounty from your garden is one of the most rewarding aspects of growing your own food. Among the various preservation methods, dehydration stands out for its simplicity and effectiveness. Building your own inexpensive solar dehydrator allows you to harness free energy from the sun while creating a sustainable way to store fruits, vegetables, and herbs for months to come. This guide will walk you through creating an efficient solar dehydrator using readily available materials, perfect for gardeners looking to reduce food waste and extend their harvest.
Why Choose Solar Dehydration?
A simple solar dehydrator can preserve your harvest without electricity
Solar dehydration offers numerous advantages over electric dehydrators and other preservation methods. By using the sun’s energy, you eliminate electricity costs while reducing your carbon footprint. Solar dehydrators work particularly well in dry, sunny regions where they can reach optimal drying temperatures of 120-140°F naturally.
Advantages of Solar Dehydration
- Zero energy costs after initial construction
- Environmentally friendly with no carbon emissions
- Preserves more nutrients than some other methods
- Can be built from inexpensive or recycled materials
- No ongoing maintenance costs
- Perfect for off-grid living situations
Limitations to Consider
- Weather-dependent performance
- Slower drying times than electric models
- Requires monitoring for optimal results
- Less effective in humid climates
- Seasonal limitations in some regions
Solar dehydrators work best with thinly sliced fruits like apples, pears, and berries; vegetables such as tomatoes, zucchini, and peppers; and herbs of all kinds. The key to successful solar dehydration is consistent airflow combined with adequate heat, which is exactly what our design achieves through passive solar principles.
Ready to Start Preserving?
Get our free detailed solar dehydrator plans with measurements and step-by-step instructions.
Materials Needed for Your Inexpensive Solar Dehydrator
One of the best aspects of this solar dehydrator design is that it can be built using readily available materials from your local hardware store or even recycled items you might already have. The total cost typically ranges from $30-$90 depending on how many materials you need to purchase versus what you can repurpose.
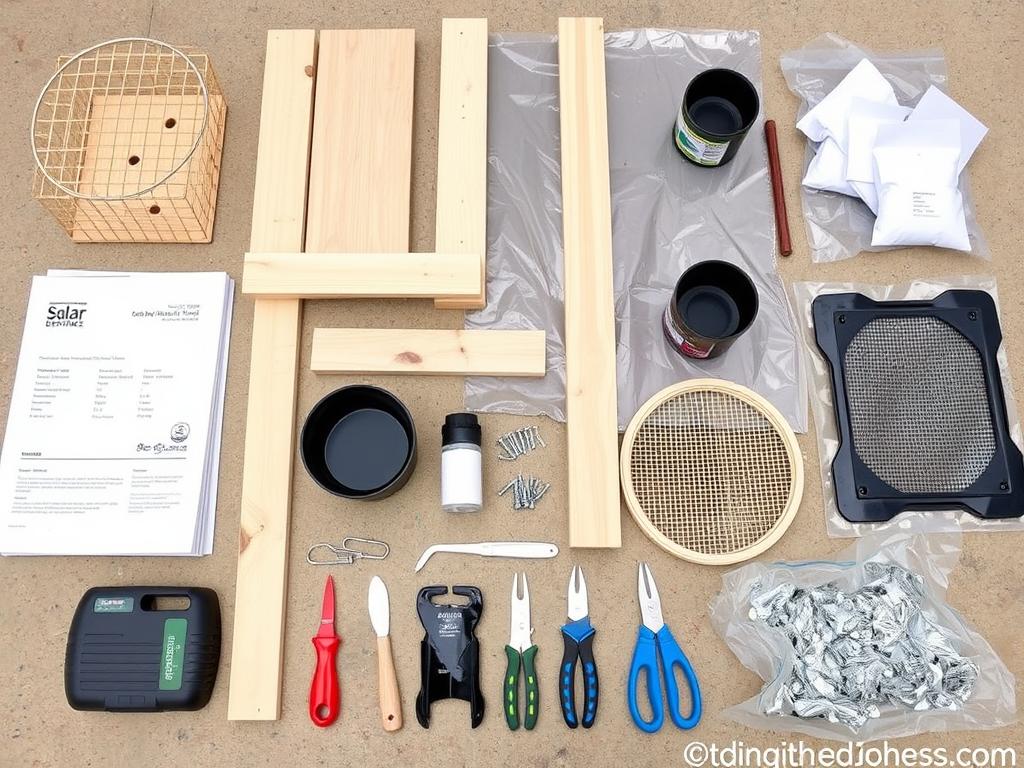
Basic materials needed for your solar dehydrator project
Essential Materials
- One 4’×8′ sheet of exterior-grade plywood (¼” or ½” thickness)
- 2″×2″ lumber for frame (approximately 20-24 feet total)
- Clear plastic sheeting (greenhouse-grade or UV-resistant polyethylene)
- Food-grade mesh screening for drying trays
- Black paint (non-toxic, high-temperature)
- Aluminum foil (heavy-duty)
- Hinges (2-4 depending on design)
- Screws, nails, and wood glue
- Weatherstripping for sealing
Tools Required
- Saw (circular or hand saw)
- Drill with bits
- Measuring tape and square
- Pencil for marking
- Staple gun
- Scissors or utility knife
- Paintbrush
- Sandpaper
Alternative and Recycled Materials
To make your solar dehydrator even more inexpensive, consider these alternatives:
| Standard Material | Budget-Friendly Alternative | Where to Find |
| New plywood | Salvaged wood panels | Construction sites, pallets, old furniture |
| New 2×2 lumber | Reclaimed wood strips | Pallets, old bed frames, discarded shelving |
| New plastic sheeting | Repurposed glass or plastic | Old windows, shower doors, plastic packaging |
| Food-grade mesh | Window screening | Old screen doors, window screens |
When using recycled materials, ensure they’re clean and free from harmful chemicals, especially for components that will come in contact with food. Always sand rough edges and apply food-safe sealants when necessary.
Step-by-Step Construction Guide
Building your solar dehydrator requires attention to detail but doesn’t demand advanced carpentry skills. The design focuses on creating two main components: a solar collector to generate heat and a drying chamber to hold your produce. Follow these steps for a successful build.
Building the Frame
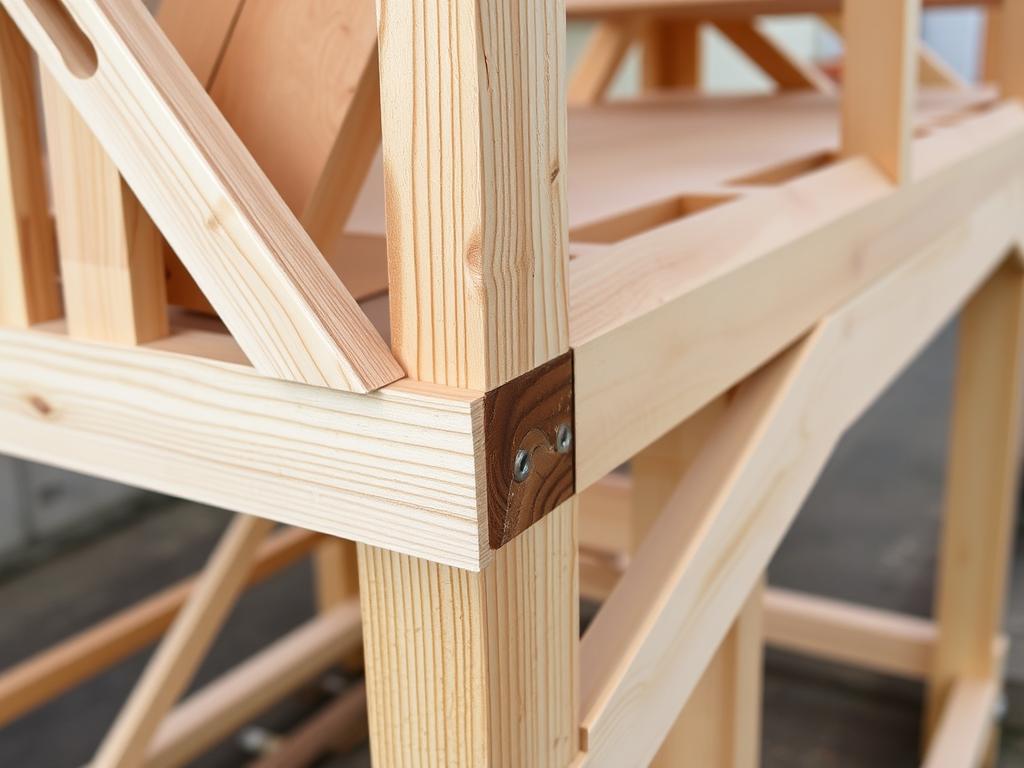
Basic frame assembly showing collector box and drying chamber
- Cut the plywood to create the sides of your dehydrator. For our design, cut two identical pieces measuring 24″ wide by 36″ long.
- Mark and cut angles on the sides to create the sloped collector section (approximately 30° angle works well for most latitudes).
- Cut the back, bottom, and top pieces to fit your side measurements.
- Assemble the frame using wood screws and glue, ensuring all joints are tight.
- Sand all edges to prevent splinters and create a smooth finish.
The frame dimensions can be adjusted based on your needs, but maintaining the proper angle for the collector is crucial for optimal performance. A 30° angle works well for most locations in the United States, but you can adjust this based on your specific latitude.
Creating Ventilation

Proper ventilation ensures efficient air circulation
Effective airflow is essential for proper dehydration. Your dehydrator needs both intake and exhaust vents to create natural convection.
- Cut a 2″×12″ vent opening at the bottom of the collector box for air intake.
- Cut a 3″×12″ vent opening at the top back of the drying chamber for air exhaust.
- Cover both vents with insect screening to prevent bugs from entering.
- Create adjustable vent covers from small pieces of plywood to control airflow.
- Attach the vent covers using small hinges or sliding mechanisms.
The size and placement of vents affect the dehydrator’s performance. Larger vents increase airflow but may reduce temperature, while smaller vents maintain higher temperatures but slow the drying process. Finding the right balance is key.
Installing the Solar Collector
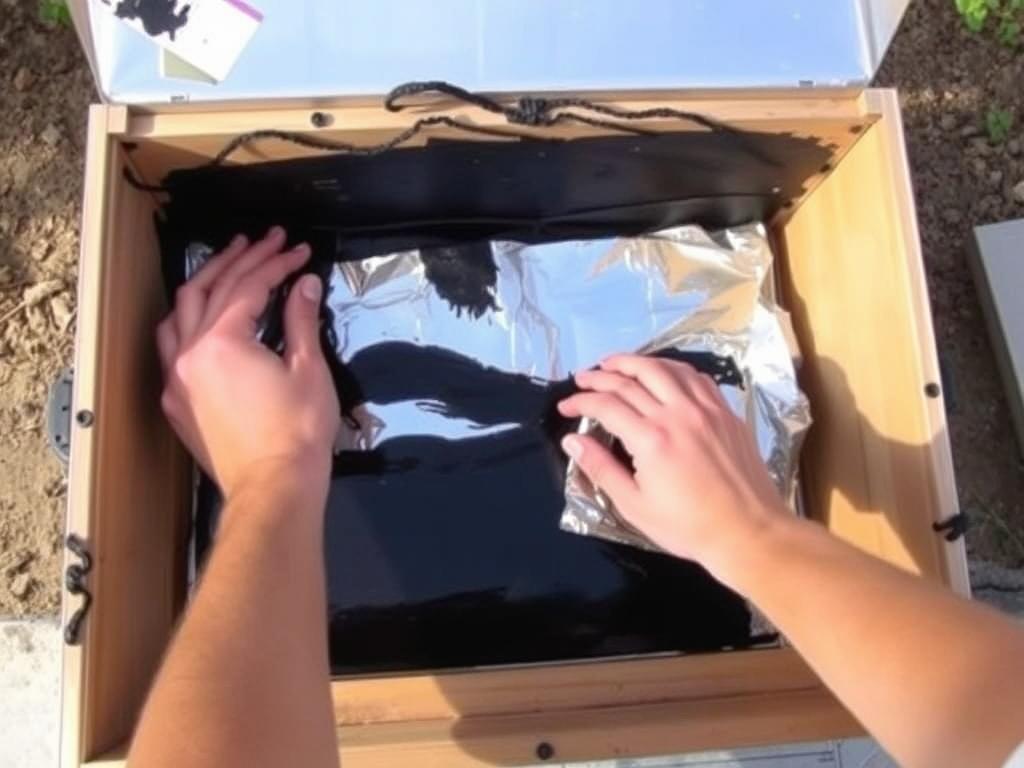
The solar collector transforms sunlight into heat energy
The solar collector is the heart of your dehydrator, converting sunlight into heat energy.
- Line the inside bottom of the collector box with aluminum foil, shiny side up, to reflect heat.
- Paint the inside walls of the collector box with black paint to absorb heat.
- Cut clear plastic sheeting to cover the top of the collector box.
- Secure the plastic with staples and seal edges with weatherstripping to prevent heat loss.
- For improved efficiency, create an absorber by painting metal window screen black and placing it diagonally inside the collector box.
The angle of your collector box should face south in the Northern Hemisphere (or north in the Southern Hemisphere) to maximize sun exposure throughout the day. The ideal angle is roughly equal to your latitude plus 10-15 degrees.
Want More Detailed Instructions?
Join our newsletter for seasonal preservation tips and get access to our complete solar dehydrator blueprint.
Adding Trays and Mesh Screens
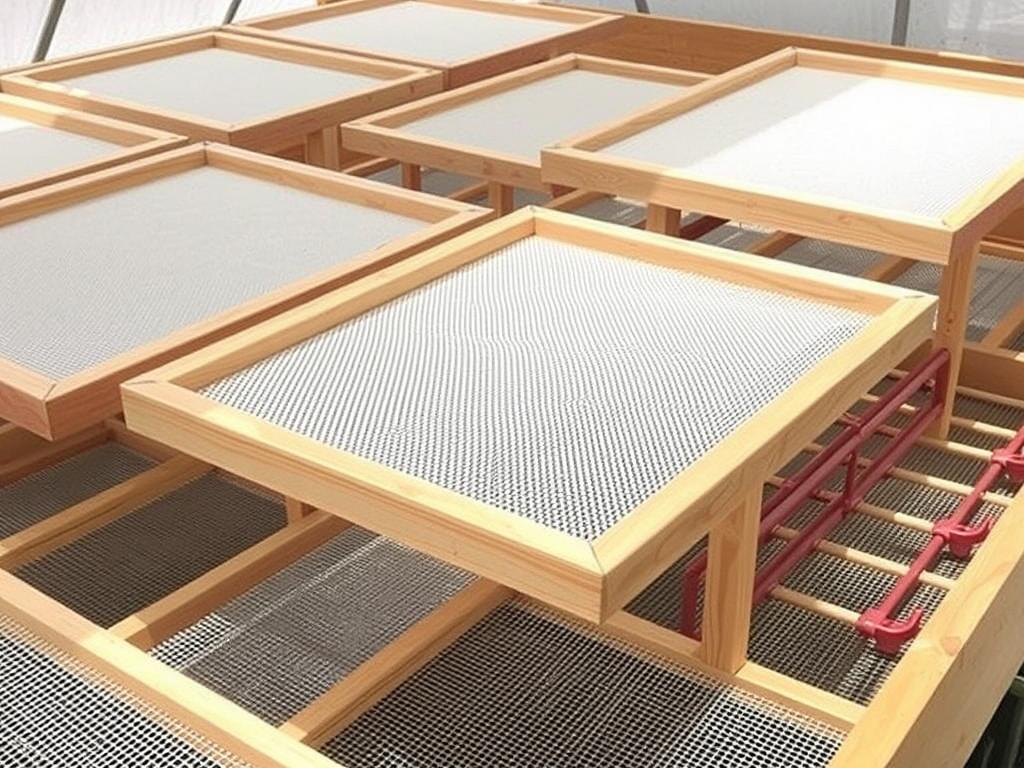
Drying trays should allow for maximum airflow
The drying trays hold your produce while allowing air to circulate freely around each piece.
- Cut 1″×2″ lumber into pieces to create frames for your drying trays.
- Assemble each tray frame using wood glue and small nails or screws.
- Cut food-grade mesh slightly larger than each frame.
- Stretch the mesh over each frame and secure with staples.
- Install wooden cleats inside the drying chamber to support the trays.
- Space the cleats 2-3 inches apart to allow for multiple trays.
For maximum efficiency, make your trays removable so you can adjust spacing based on what you’re drying. Thicker items like tomato slices need more space than thin herbs.
Using Your Solar Dehydrator Effectively
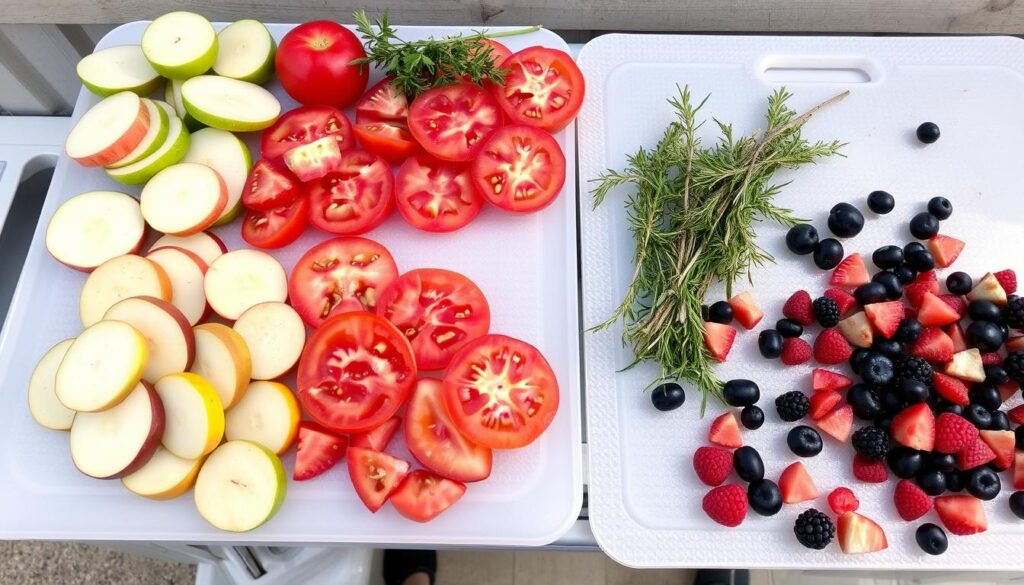
Proper food preparation is essential for effective dehydration
Now that your solar dehydrator is built, it’s time to put it to work preserving your harvest. Successful dehydration depends on proper food preparation, optimal weather conditions, and regular monitoring.
Preparing Produce for Dehydration
| Food Type | Preparation Method | Approximate Drying Time |
| Apples | Core, peel (optional), slice 1/8″ thick | 6-12 hours |
| Tomatoes | Remove seeds, slice 1/4″ thick | 10-18 hours |
| Herbs | Remove stems, leave leaves whole | 2-4 hours |
| Berries | Halve larger berries, leave small ones whole | 12-24 hours |
| Zucchini | Slice 1/8″ thick | 8-14 hours |
For best results, prepare all foods consistently in size and thickness. This ensures even drying times and prevents some pieces from over-drying while others remain too moist. Some fruits benefit from a brief soak in lemon juice or ascorbic acid solution to prevent browning.
Optimal Weather Conditions
Solar dehydrators work best on sunny days with low humidity and temperatures above 80°F. Here are some guidelines for different weather conditions:
- Sunny days: Ideal for dehydration. Position your dehydrator to receive maximum sunlight.
- Partly cloudy days: Still effective but may require longer drying times.
- Humid days: Increase ventilation by opening vents wider to help moisture escape.
- Cool days: Close vents partially to maintain higher internal temperatures.
- Rainy days: Not suitable for solar dehydration. Consider bringing partially dried foods indoors to finish in an oven on the lowest setting.
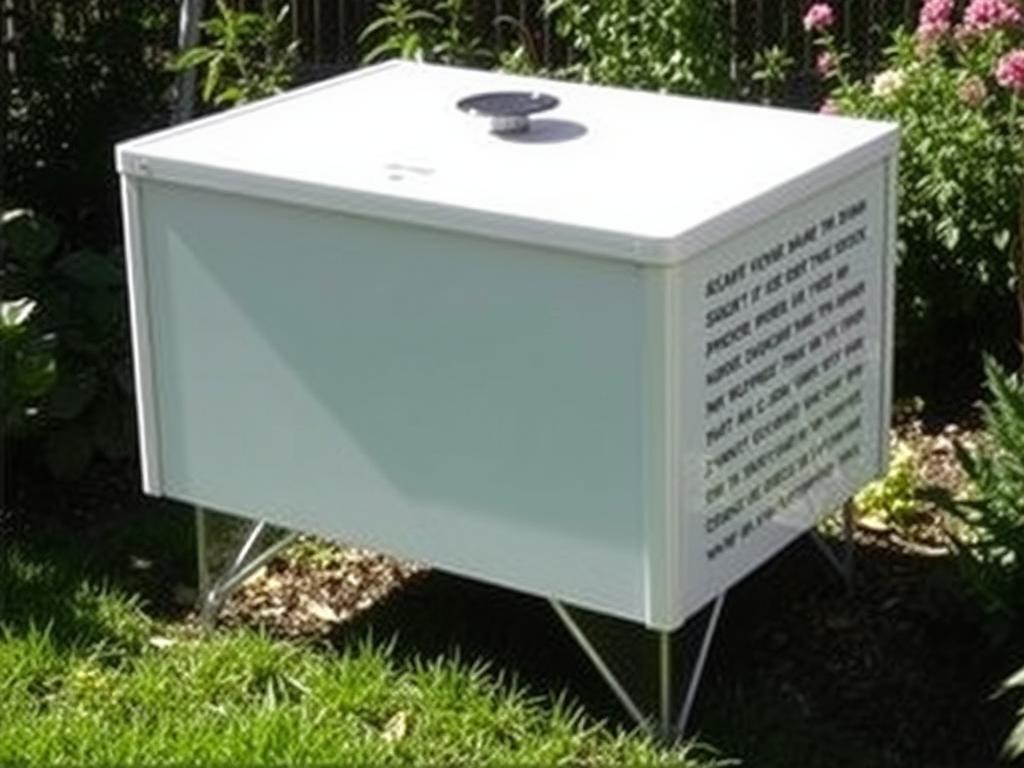
Position your dehydrator to maximize sun exposure throughout the day
Monitoring Dehydration Progress
Regular checking is essential to achieve properly dehydrated foods. Here’s how to monitor progress:
- Check internal temperature using an oven thermometer placed inside the drying chamber. Aim for 120-140°F for most foods.
- Rotate trays every few hours for even drying, moving bottom trays to the top and vice versa.
- Test for dryness by cutting a piece in half – no moisture should be visible at the center.
- Fruits should be leathery and pliable, while vegetables should be brittle.
- Herbs are done when they crumble easily between your fingers.
Troubleshooting Tip: If foods are drying too slowly, check for air leaks in your dehydrator and ensure vents are properly adjusted. If drying too quickly or burning, increase ventilation or position the dehydrator at a slight angle away from direct sun.
Storing and Using Your Dehydrated Harvest
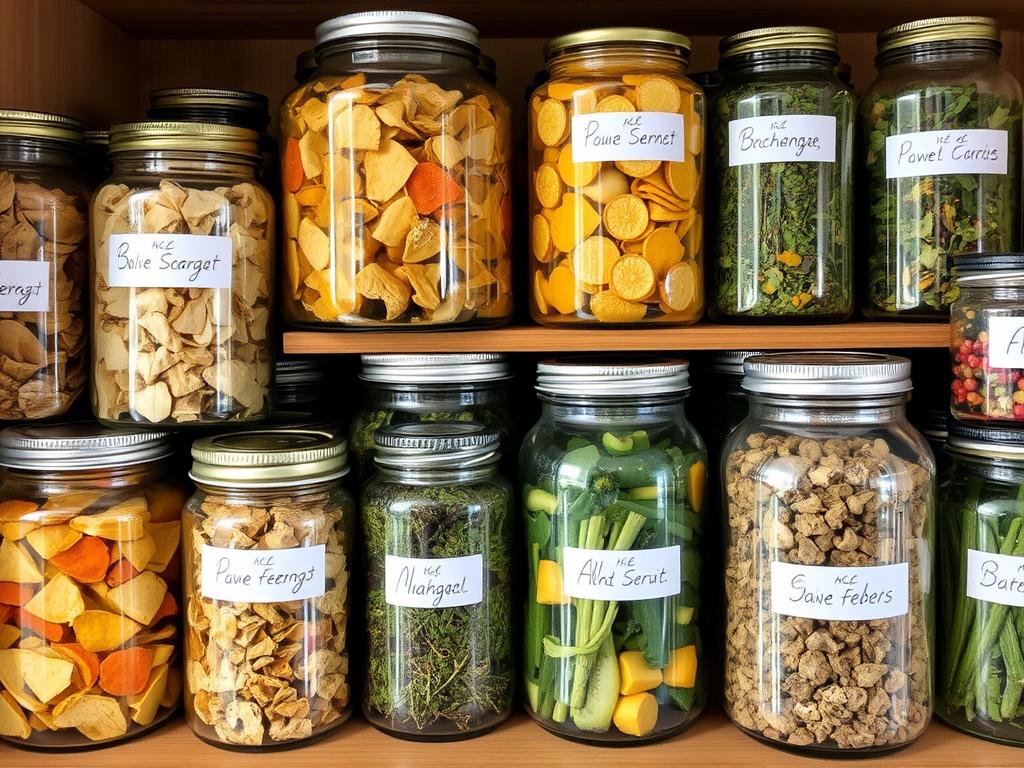
Proper storage extends the shelf life of your dehydrated foods
After all your hard work growing and dehydrating your harvest, proper storage is essential to maintain quality and prevent spoilage. Correctly stored dehydrated foods can last from 6 months to several years.
Storage Containers and Methods
- Glass jars with tight-fitting lids: Ideal for most dehydrated foods. Mason jars work perfectly.
- Vacuum-sealed bags: Excellent for long-term storage and space saving.
- Mylar bags with oxygen absorbers: Best for very long-term storage (1+ years).
- Paper bags: Suitable only for short-term storage of completely dry herbs.
Whatever container you choose, always label with contents and date. Store in a cool, dark, dry place for maximum shelf life. A pantry or kitchen cabinet away from the stove works well.
Conditioning Your Dried Foods
Before final storage, it’s wise to condition your dried foods to ensure even moisture distribution:
- Place cooled dried food loosely in large glass jars, filling only about 2/3 full.
- Seal and let stand for 7-10 days.
- Shake jars daily to redistribute any moisture.
- If condensation appears, the food isn’t dry enough and needs more dehydration time.
- If no condensation appears after the conditioning period, transfer to final storage containers.
Food Safety Note: If you notice any signs of mold during storage, discard the entire container. Dehydrated foods should never develop mold if properly dried and stored.
Creative Ways to Use Dehydrated Foods
Your dehydrated harvest can be used in countless ways throughout the year:
For Fruits:
- Healthy snacks straight from the jar
- Added to oatmeal, yogurt, or cereal
- Rehydrated for pies and cobblers
- Blended into smoothies
- Added to homemade trail mix
For Vegetables:
- Added directly to soups and stews
- Rehydrated for side dishes
- Ground into vegetable powder for seasoning
- Added to pasta sauces
- Used in homemade instant soup mixes

Dehydrated vegetables add flavor and nutrition to soups and stews
Dehydrated herbs can be used just like fresh in most recipes, but with more concentrated flavor. Use about 1/3 the amount called for in recipes that specify fresh herbs.
Ready to Preserve Your Harvest?
Download our complete guide with recipes and tips for using your dehydrated foods.
Conclusion: Sustainable Preservation for Every Garden
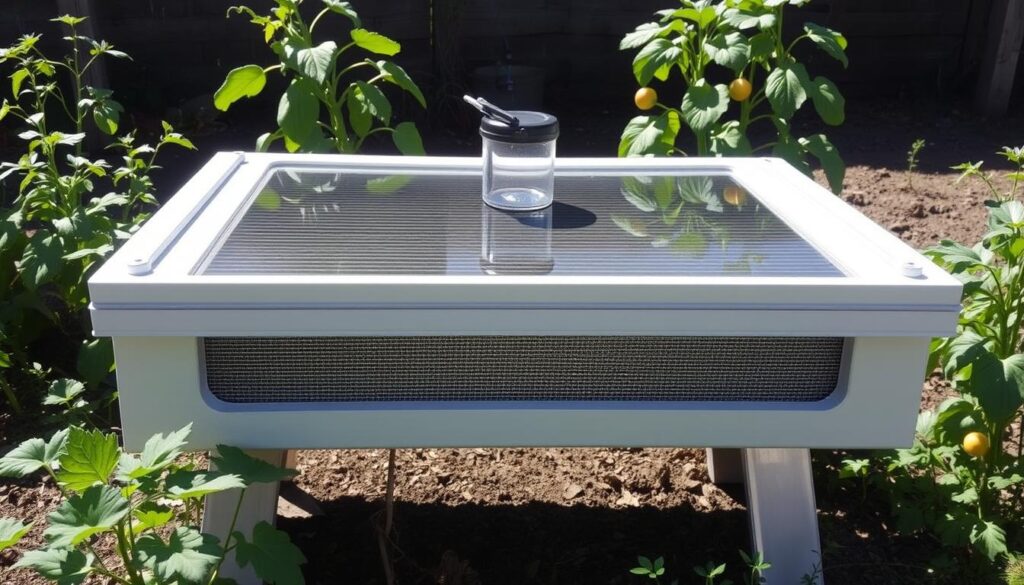
Your solar dehydrator is a sustainable addition to any garden
Building your own inexpensive solar dehydrator is a rewarding project that connects the dots between growing food and preserving it sustainably. This simple device allows you to extend your harvest throughout the year without ongoing energy costs or complex equipment.
The beauty of this design lies in its simplicity and adaptability. You can scale it to fit your needs, modify it based on available materials, and improve it as you gain experience. Many gardeners find that their solar dehydrator becomes an essential part of their seasonal rhythm, transforming garden surplus into nutritious pantry staples.
As you begin your solar dehydration journey, start with easy foods like herbs and apple slices before moving on to more challenging items. Each batch will teach you something about the process and help you refine your technique. Before long, you’ll have a pantry full of home-preserved foods that capture the essence of your garden’s bounty.
“The ability to preserve food without electricity is not just a skill for self-sufficiency—it’s a connection to traditional wisdom that has sustained communities for generations.”
We hope this guide inspires you to build your own inexpensive solar dehydrator and discover the satisfaction of preserving food using nothing but the sun’s energy. Your garden, your wallet, and the planet will all benefit from this sustainable approach to food preservation.
Start Your Dehydrator Project Today
Download our complete plans and get access to our video tutorial series.
Will is a vertical gardening enthusiast and sustainable cultivation specialist with a passion for helping people grow fresh food in small spaces and dry climates. With years of hands-on experience testing smart irrigation systems, optimizing urban gardens, and exploring eco-friendly solutions, this author shares clear, practical tips to turn any corner into a productive garden. Whether on a sunny balcony or in a compact backyard, Will helps readers save water, maximize space, and enjoy healthy harvests year-round. When not tending to his plants, you’ll find him sipping herbal tea and sketching ideas for new sustainable projects.

